Modkid boutique
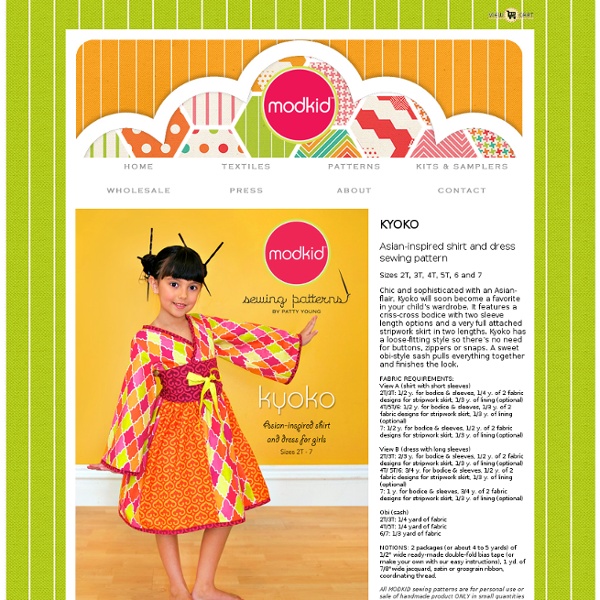
Asian-inspired shirt and dress sewing pattern Sizes 2T, 3T, 4T, 5T, 6 and 7 Chic and sophisticated with an Asian-flair, Kyoko will soon become a favorite in your child’s wardrobe. It features a criss-cross bodice with two sleeve length options and a very full attached stripwork skirt in two lengths. Kyoko has a loose-fitting style so there’s no need for buttons, zippers or snaps. A sweet obi-style sash pulls everything together and finishes the look. FABRIC REQUIREMENTS: View A (shirt with short sleeves) 2T/3T: 1/2 y. for bodice & sleeves, 1/4 y. of 2 fabric designs for stripwork skirt, 1/3 y. of lining (optional) 4T/5T/6: 1/2 y. for bodice & sleeves, 1/3 y. of 2 fabric designs for stripwork skirt, 1/3 y. of lining (optional) 7: 1/2 y. for bodice & sleeves, 1/2 y. of 2 fabric designs for stripwork skirt, 1/3 y. of lining (optional) Obi (sash) 2T/3T: 1/4 yard of fabric 4T/5T: 1/4 yard of fabric 6/7: 1/3 yard of fabric
The Crafty Cupboard: Slim Stash: The Resident RN- Old School Style
I scored an older Sesame Street Doctor Set the other day at a thrift store, and my munchkin has been taking everyone’s temperature and blood pressure since. I decided it was time for a little addition to the dress-up collection we have going on at our place. And I thought I’d share, although the instructions are… pretty pathetic. Pieces to cut:SkirtTopTiesNeck strapPocket I started with a scrap piece of blue cotton fabric. Nothing exciting. I measured the belly, hip to hip, of my little girl to determine the front “skirt” width. Cut out your pocket piece (not pictured) to your desired size. I finished all my edges on my serger (not really necessary, but nice) and did a 1/2″ hem on three sides of the skirt and the top pieces and on the pocket piece. This is a good time to add your pockets and appliques. When this is done, fold the pocket right side up and sew the sides to the skirt. Then, you will gather the skirt top. Find the middle of your gathers and mark it with a pin. Back to Blog
Tinker Bell Costume
Halloween is fast approaching…..and I needed to hurry and create something sweet for my little kiddos. I have been looking forward to costumes, candy, imagination, and excitement since last year. And of course, I wanted my little munchkins to match…..well, sort of. Just fit together somehow. Today I’ll show you Tink….and tomorrow, Peter. (I figured this was an easy outfit to throw on a long-sleeved white shirt underneath……and cozy white tights. And even if you already have a costume for this year…….consider creating one of these for your dress-up box. Oooh, I can’t wait until next week. How to make Tinkerbell? First, start with the bodice. Then cut out your front and back pieces out of something stretchy. Then turn under the raw edges of the leg holes…..using a zig-zag stitch to allow for stretch. Then turn under the arm sections, and the top front and top back sections. Now, you’re going to create 2 flutter sleeves. Then cut out some of your same material for your skirt.
snow white costume
Use a long stitch and gather the top of the skirt With right sides together sew top to skirt Puffed sleeve: Finish off the sleeves with narrow white cuffs. You are ready to go walking in the forest. As we walked through the forest, we met this little guy.
Related:
Related: