Hands
Close-up images of materials needed.Enlarge Picture of basic supplies. Overview There are dozens of methods to sculpt hands. This is one of the easiest and can be modified in scale up and down fairly easily, this pair of hands is sculpted in 1/12th scale. Hands are difficult to sculpt accurately because people are so intimately aware of how hands look; their shape, size, proportions, etc. Another reason why hands are difficult to sculpt is mushy clay. It is best to use a firm clay to sculpt hands in order to keep the fingers from wilting and to prevent you from accidentally mushing the details. Study pictures of hands, your own hands and look at the hands other sculptors produce. 1. 2. 3. 4. 5. TIP The clay gets warm from the friction of working it, the heat from your hands, etc. 6. 7. 8. 9. 10. 11. Q. A. 12. TIP Be sure to make a left and a right hand, not two lefts or two rights for the next step! 13. 14. 15. Pose and bake. Tony is a valued member of the CDHM Forum.
BJD Making from scratch by ~TherieKardie
BJD Making from scratch by ~TherieKardie
BJD Terminology
BJD: Ball Jointed Doll.Is any doll that is articulated with ball and socket joints. These are cast in a polyurethane resin: a hard and dense plastic. These body parts are strung together by a thick elastic cord. The modern bjd market began with Volks line of Super Dollfie in 1999. SD: Super Dollfie size is around 60cm or 22 inch. SD13: These are the same 22 inch range. MSD: Mini Super Dollfie sized. YoSD: These are 26cm. Tiny bjd's: These are 15-30cm or 6-12 inches in height. U-noa: This is a great resource for this doll www.rakurakutei.com/theloft/unoa_faq.htm Dolpa: Doll party. Face up: BJD paint on the face to represent natural skin or make up. Customization: BJD are created in a way to encourage customization. MSC: Mr. Wiring: Any thin, coated wire inserted into the joints to aid in posing. Hot glue sueding: Adding a thin, consistent layer of hot glue to the inside of all movable joints to aid in posing.
Sculpting lips
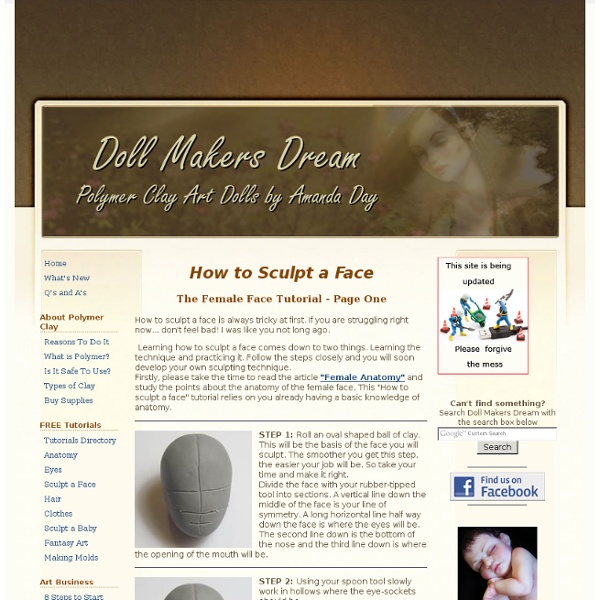
Sculpting the lips – time to fix some errors! Well, I have some good news and I have some bad news. The bad news is that I checked the proportions of my sculpture in the mirror and a lot of the facial features were off. The eyes, nose, cheeks and mouth just need a lot of work. This is a good example of why you should consistently check your sculpture in the mirror when you are sculpting. The good news for you is that I have to sculpt the eyes and mouth all over again. Next lesson Sculpting eyes Previous lesson Sculpting hair Back to the series home
sac
Making a Mohair Wig for your Fashion Doll
Making a Mohair Wig for your Fashion Doll For our first mohair tutorial, I will be showing you how I make an easy mohair wig. You will need a piece of gauze or thin, loose weave fabric that can be shaped around the head, Aleene's Brush on Tacky Glue, FabriTac Glue , scissors, a small crochet hook, tweezers, or hemostat, a couple rubber bands, mohair on the skin, and plastic wrap. You will need a bald doll as well to use as a mold for the wig. I would use a doll that isn't yet repainted, as there is quite a bit of handling of the head. Why chance ruining a repaint. This technique can be used on any size fashion doll. Then you will need to remove the head from your doll. Some folks like to pour hot water over the back of the neck to soften the vinyl, and some use a heating pad. Cover your doll head with plastic wrap and use a rubber band around the neck to hold it in place. Step one: Bald Doll Step two: Plastic Wrap Step three: Gauze Wrap Step four: Glue saturation
Guide for Designers
Guide for Designers 'Be lazy like a fox'. Rather than solving problems from scratch, adapt other people's solutions, and then give them credit. Linus Torvalds thought of this phrase. Design for materials and components which are reasonably cheap to buy, low-carbon and fully recyclable or biodegradable. Design is disruptive when it lowers the threshold. WikiHouses should be capable of being habitable throughout the year, and as efficient as possible in the use of energy and water. Design in such a way as to offer maximum provision for the safety, security and health (both mental and physical) of the users at all stages of the structure's life. As a general rule, design for the climate, culture, economy and legal / planning framework in which you live, and you know best. Share your work as much and as openly as possible, it might come back better. "It is easier to ship recipes than cakes and biscuits" - John Maynard Keynes Design to dismantle. Design for mistakes. A Series Sections 1.2m wide.
ALTER EGO 1/12 scale doll by Mr_props on Shapeways
The original 1/12 scale doll, 145mm tall when completed. I wanted to make a doll that lives through the way it moves and poses. I love stop motion, this is why it is possible to string it both with aluminium wire or doll string. I would advise the white strong and flexible material even if it requires sanding for a clean result. Tags: Figurines,Sculptures,1/12,1:12,3d,action figure,articulated,ball,ball jointed doll,bjd,character,doll,figure,figurine,jointed,joints,print,printed,puppet,scale,stop motion,toy
Enfin mon mien !! Et le tutoriel du sarouel hydride super facile !
Et voici donc le troisième du nom, et son tuto (tutoriel et patron super simple du sarouel pour la créa, et pour les attaches, pas forcément intuitives la première fois) Bon alors, pour commencer, QuéZaCo ? Il s'agit tout simplement d'un grand rectangle de tissu (pour moi T.36: 72x150 cm + 4 liens aux extrémités - 50 cm pour chacun: sergé, biais, ruban ou autres...). A vous de lui faire la ceinture de votre choix (ou pas) et les déco qui vous plaisent :o) Ci-dessus, une pintade qui essaye de le tenir pour vous montrer alors qu'il y a du vent Avant le tuto pour les attaches, un grand merci à ma copine Pam pour le tuyau de ce sarouel qui est vraiment une chouette idée ! Pour le porter, 2 options : 1. On place le coté "dos" et on l'attache sur le devant de la taille: On remonte ensuite le devant et on l'attache au niveau de la taille, dans le dos: Et voila le sarouel qui déchire tout ! Celui là c'est enfin MON MIEN (enfin!!!!!) 2. (ça marche mieux sur de "vraies" poitrines ;o) )