
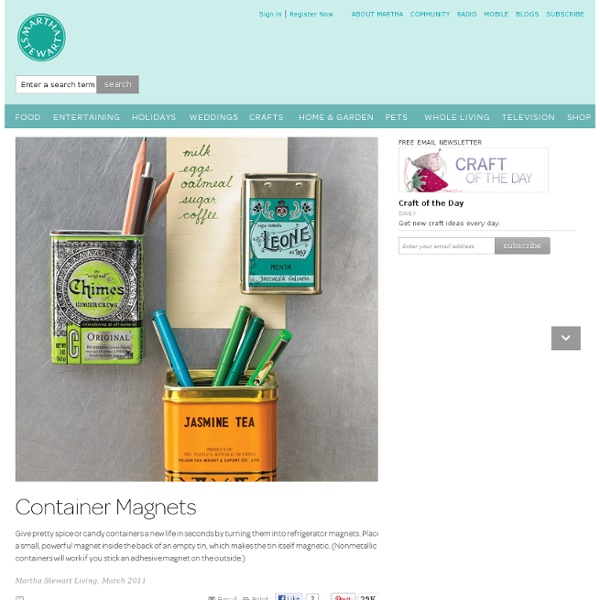
How To Make "Clean" Play Slime Home Hacks | Apartment Therapy Ohdeedoh Previous image Next image We have yet to meet a child who isn't into slime. What You Need Materials:1 1/2 cup Cornstarch1/2 cup Tap WaterFood Coloring (optional)Liquid Extracts (optional)Empty Container Instructions 1. 2. 3. 4. Additional Notes This mixture can be "eyeballed" in any amount. (Images: Sarah Rae Trover)
Homemade Holidays: Crock Pot Candles Growing up in my house, we always made our own holiday gifts. We were pretty poor, and I suppose it was our only option. But it was never presented to me like that (I didn’t even know what ‘poor’ was, really, and I had a stupendously fabulous childhood full of ‘thing finding’ and ‘government cheese’. The first holiday season that Damian and I spent together, I was a starving college student. Last year we made all our gifts together – our attempt at canning. Anyway, there I go reminiscing. How To Make Candles In A Crock Pot All you need is some wax, some wicks + wick bases, and some candle-holders. Optional additions include color (candle dye is available at the craft store) and smell. Once you’ve gathered all your supplies, set aside some time when you’ll be around the house for a couple of hours. 1) Spoon the pieces of wax into your candle holders and arrange them in the bottom of the crock pot. 2) 20-30 minutes later you can check back. 3.5) He was very helpful. 4) Stir it up!
Balloon and torch lightsabres OK, ok, let's get this out of the way before we start. I know these look very inuendoish. Let's have no more mention of that! First off, gotta give credit where credit is due. The idea for this larking around came from a post from a while back by Zakka Life, showing how they made lightsabres for her son's birthday party out of toilet roll tubes and modelling balloons. Absolutely fab idea! The modelling balloons that I had were kinda skinny little ones, so I had to tape them into the loo roll tubes to work. So I cut each toilet roll tube in half, so the length of the tube was shorter and you got a brighter result. We've done this three times in the last week with three different groups of friends ranging in age from 2 to eight years old, and they all absolutely loved it! It's impressive to note just how much leaping around was actually going on, because the longest exposure photo in this lot was eight seconds!
DIY: Blueprint-Inspired Holiday Project Our own Angelica completed a DIY project over the holidays that's positively brilliant. She writes: After a series of failed baking adventures I realized it was time for me to transfer my love for YumSugar and food magazines to CasaSugar and design magazines. In the spirit of the holidays I picked a Light Bright project from this month's Blueprint magazine. I must admit, I'm a much better painter and craftswoman than I am a baker so the project was definitely a confidence booster. To find out how to make your own replica, just read more What You'll Need stretched canvaspaintbrushesgroundcloth or newspapers to protect your floorpencilawlwhite twinkly tree lightscraft glue You can find the complete Blueprint directions here. Start by painting a stretched canvas from an art-supply store (Blueprint used a pale-pink latex paint, I picked a light-gold color because the walls of my house are all beige.)Plot out your design by penciling dots on the back, keeping them a half inch apart.
Booze it Up! 13 Rad Recycled Bottle Crafts & Projects Got a recycling bin full of glass bottles? Why waste them when you could have a new table lamp, candle holder, shelving unit, hummingbird feeder, glass countertop, building block – even a whole glass-bottle house? Reuse beer, wine and liquor bottles for these 13 fun and creative crafts and upcycling projects ranging up to a recycled bottle home and garden. Wine Bottle Table Lamp (images via: wit and whistle) Turning any wine bottle into a table lamp is as simple as drilling a hole and inserting a strand of lights. Wine Bottle Candle Holder (image via: design sponge) How simple and elegant are these DIY wine bottle candle holders? Wine Bottle Shelves (images via: renest) Would you ever have thought of using wine bottles and slabs of wood to create a shelving unit? Bottle Trees (images via: recyclart, metaefficient, examiner) Turn your holiday tree into an ode to beer (or perhaps just a sparkling green alternative to a living tree) using reclaimed empty bottles. Beer Bottle Drinking Glasses
Tutorials for Recycling Books - StumbleUpon We rode bikes around our neighborhood this weekend and stopped at all the garage sales we found along the way. I love doing this because it's like exercise and shopping in one! Plus, my bike basket is perfect for holding whatever treasures I find. On this particular trip I was noticing a lot of old books for sale. DIY TUTORIAL and a giveaway! Happy Monday everyone! Today I am going to show you how to make this necklace and introduce my first giveaway! Below are the steps to make this tulle necklace. Good luck! Step 1: Pick out your fabric and beads. Step 2: Measure the fabric around a bead and then add an inch, this is where you will cut. Step 3: Cut the fabric the long way. Step 4: You should now have a long strip of fabric. Step 5: Sew the folded fabric at the open end. Step 6: You should now have a tube. Step 7: In order to turn the tube right side out, attach a safety pin to one end. Step 8: Feed the safety pin through the tube. Step 9: Once the tube is right side out, put a bead in the tube and center it. Step 10: Make a knot at each end of the bead. Step 11: Feed another bead into the tube and knot after the bead. Step 12: Sew the ends shut. Step 13: Add flower by gathering strips of the fabric together and sewing the center together. Finished Necklace! Now leave a comment for the chance to win this!!
How To Make A Stylish Photo Frame For Several Photos Here is a simple yet stylish photo frame that can accomodate quite many photos at once. The idea is very simple. Fasten twines on the empty frame and hang photos using clothes pins on them. You can use a frame you bought or a frame you made by yourself. To make it you just need to find some wood strips, sand them, paint or stain them and fasten together with the staples and nails. Yes, everything is as simple as it sounds. Homemade kaleidoscope toy The kaleidoscope is one of those toys that make me nostalgic for my childhood. Today, just before children go back to school, I'd like to show how to make a homemade kaleidoscope toy. On the photo above you can see samples of what's seen through the kaleidoscope I've built with my kids. You will need: A large plastic mirror like those used in baby toys. 1. 2. 3. 4. 5. 6. 7. Now point the toy to a source of light (make sure the light isn't too bright) and look through it.
Tutorial: Homemade Sidewalk Chalk | oh my! handmade goodness - StumbleUpon by Michelle Vackar, Modern Handmade Child One of our favorite outside activities at our home is drawing with chalk on the driveway. You can play hopscotch, four-square, and of course draw and create silly stories. My daughters and I were talking one day as we played hopscotch about how to make chalk and I thought to myself, let’s try it! It ended up being quite a lot of fun. What you will need: • Toilet paper or paper towel tubes • Scissors • Duct tape • Wax paper • Small bucket or disposable container to make the recipe • ¾ cup of warm water • 1 ½ cups Plaster of Paris • 2-3 tablespoons of tempera paint • Paper bag or a “mess mat” ** we made six tubes of chalk – we simply doubled the above recipe Step 1: If you are using paper towel tubes, cut each tube in half, so it is roughly the length of a toilet paper roll tube. Step 2: Cover one end of each tube with duct table to hold the contents within. Step 3: Cut as many pieces of wax paper as you have tubes.
mini tutorial: vintage looking signs - StumbleUpon first off, i just have to say you have entertained me for the past few days with your comments! everything from laughing and agreeing with my sentiments about the tree, to stories about how much more crazy you are than me, to touching stories of memories of when your mother finally gave in to the ugly tree, or your memories of how awesome your mom was to let you have your stuff on the tree.whatever the case... thanksmy family and i had a blast reading your comments! :) ready to see ONE of the things i've been working on? (yes i'm working on seasonal projects too and will show those later on next week possibly.)okay.so i like "vintage" looking things. if i can get my hands on the real thing it's like christmas no matter what time of the year it is... but too often that doesn't happen, and if i do come across something, it's too expensive for me to feel good about it.so i decide to make my own. what you need first:wood. old barn wood if you have it. with chipped paint even better.
Finding Fabulous