
PB knock off candle chandelier So, we have a large room that we've decided is a living / dining combination. But there is only one light fixture, and it's in the middle of the room. We had contractors give us an estimate for putting more light in, but that is going to have to wait until we have more $$$ I wanted more definition over the area, so this is what I did: I've seen these all over candle chandeliers all over, I've seen them at Pottery Barn, Z Gallery, Restoration Hardware, Crate and Barrel, and some high end boutiques. The problem was, while this wasn't going to cost nearly what it would in the store - it would still be expensive with all of those candles. I decided to buy some glasses at Walmart. Then I got some scrap wood at Home Depot for $0.50, and covered one side in bead board wall paper. And painted it the same chocolate color as our cabinets I attached (and by I, of course I mean Jarrod) moulding around the sides and put the hooks where the chains could attach And Ta Da!! Total Cost: $32.50 Trim - $7
Shabby Sweet Tea: No-Sew Pillows Today I made a no-sew pillow with fabric I purchased from Ikea. I keep seeing funky pillows on Pinterest that people have made so I decided to go for it... Here's how: Linking up to: It All Started With Paint , Chic on a Shoestring Decorating , Young House Love , Home Stories A to Z Cozy Home Scenes The Scott's Crib, Funky Junk Interiors , Embracing Change , Elizabeth & Co., Coastal Charm Cozy Home Scenes, I Heart Nap Time, Tatertots and Jello, Serenity Now, French Country Cottage , My Romantic Home Shabby Creek Cottage , Savvy Southern Style , Faded Charm , Todays Creative Blog, Vintage Mauve,C.R.A.F.T, Skip To My Lou, Mad In Crafts , Craft-O-Maniac, The Girl Creative
Frugal Home Ideas Expedit Island Expedit Published on June 9th, 2011 | by Jules IKEAHacker Materials: Expedit 2×4 bookcase, Vika Amon table top, casters from hardware store, screws, anchors, drill/driver with bitsDescription: 1) Construct the bookcase according to instructions. 2) Turn case horizontally and add casters to whichever side you want to be the bottom. 3) Carefully flip the whole piece over and mark where you want the top to sit. 4) Remove the Vika insert a short drywall anchor into each hole (make hole larger if necessary). The whole thing went together in less than two hours, cost around $140 including casters, screws and anchors, and is absolutely perfect for its intended use. ~ Kim, Oregon The Author Jules IKEAHacker "I am Jules, the engine behind IKEAHackers and the one who keeps this site up and running.
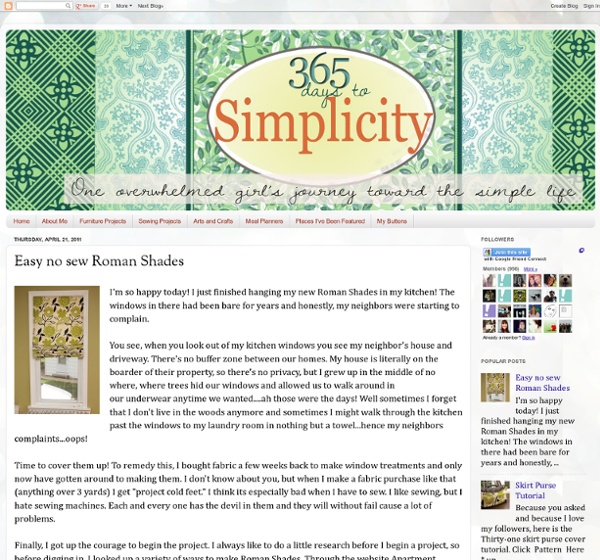
No Sew Roman Shades As I was doing my daily shopping on blogs for the next best idea - I found it! I almost fell out of my chair... really. I have always loved the look of roman shades, but the affordable kind you can buy at Target never seem to fit my windows. I am no seamstress. I was scared to use hem tape until a few weeks ago! I'm over it. So anyway, back to shopping. I will take credit for (on my very own) coming up with spray painting my blinds - but I can't take credit for this complete stroke of genius. Here's what you do: First, you take down the nasty ugly blinds you currently have which are a nice sturdy faux wood that someone either made into a really light natural wood color, or that used to be white and had yellowed over time. Next, I marked which slats would stay. Then you'll want to cut the horizontal strings (the vertical strings are the lift strings). Next you will take your bottom piece off (remove the plastic plug) and slide off all the slats. Then hang! Dang it! They are fully functional!
Hold Everything: Do You Remember William Sonoma Inc.'s Home Organization Store? - OrganizingLA Blog It's a shame that the folks behind retail organization store Hold Everything could not get the concept to stick. The retail store operated from 1983 to 2006 and sold everything from newspaper caddies to stylish de-cluttering books to small furniture to nicer office supplies. I use their very well-made clear acrylic magazine files on my own desk-- which I love. While sitting at my desk one day recently and looking at those files, I wondered where they came from and where they went. As a professional organizer in Los Angeles, I am not only fascinated with consumerism, but with how businesses function. This is what I came up with. Originally a mail order catalogue, Hold Everything merchandise was such a success they opened a brick-and-mortar in 1985. Origins of Hold Everything: There is some conflicting information of how Hold Everything originated. "During frequent trips to Europe, Charles E. The official Williams Sonoma corporate timeline has another: A brief timeline: 38 locations open.
How to Make a Gift Bag: Step-by-Step Instructions Edit Article Make a Gift BagFill the Gift Bag Edited by Sondra C, Flickety, julia bee, Gcbragg and 14 others Gift bags are very handy and come in many sizes. Ad Steps Method 1 of 2: Make a Gift Bag 1Count how many guests you'll have to know how much material you'll need. 9Add colored tissue paper to the inside of the bag, leaving it extend over the top. Tips Use ribbon or thick yarn as the handles.When you go grocery shopping and you are asked, "plastic or paper," take the paper.
Tea Tree Oil: This is How I Use it It occurred to me this week that I am tea tree oil dependent. I guess it's a relatively harmless oil dependency; I seriously don't know what I would do without it. Its antifungal and antiseptic properties make it perfect for a surprisingly wide array of applications where toxic or less healthy alternatives are usually employed. I'm partial to Desert Essence's organic variety. Though it can be pricey at about $11 for 0.5 ounces, it's much less expensive than buying all of the potentially toxic or synthetic products it replaces. Sinus Infection I was one of millions who had my style cramped by a sinus infection last week. Farewell, Mustiness I just liberated a bunch of belongings from storage this week.They needed some help airing out. Heal, You Abrasion When I was unloading a box from the storage unit, I scraped my hand. Stay Fresh, MouthA drop of tea tree oil in a glass of water makes a good mouth wash. Don't Offend, Feet I like my shoes to last a long time, and I like to go sockless.
The Glampsformation! I did it! It's done! The secret project I've been hinting at is completely finished. First, let's look at the before: A floor lamp. Can you believe how glamorous it is now? I fixed the shade first. And now for the sparkly part. Then I polished off more coke than I did during my Studio 54 days. See how you cut one of them lower? And then the two pieces will slip together like this. And the date stamp lifts right off with nail polish remover. Now you can start stacking. You can use tiny blobs of clear glue or tape where you need to as you work your way up. The top holes of the bottles can be pretty small because you can bend and stretch them over the widest parts of the lamp. Keep stacking. And that's it! And I'm not drinking coke again for the rest of my life.
Custom Die Cut Vinyl Prints - Fathead Offical Site Shop Create Your OwnWin Stuff Track OrderEmail SignupHelpInfoCartCart(0) Cart(0)Menu Create a Custom Print: Die-cut Vinyl Custom Canvas Custom Vinyl Mural Custom Big Head Custom Laptop Skins Corporate Solutions Our Current Contests Fathead Custom Die Cut Vinyl Prints Step 1: Choose your size Tip: Don't worry about cropping or aspect ratios or orientation at this stage. Step 2: Upload your photo Upload Image Alert: You must have rights to upload this image. My Computer No runtime found. Pick Files Upload Files Supported formats are JPEG, GIF, and PNG. Step 3: Choose photo effects Step 4: Design Instructions With your die-cut Fathead graphic, you may select up to three separate people or objects to be cut out from the background. Step 5: Digital proof via email If you decide you want a proof, allow up to 3 business days for turnaround. Item Summary Size: 24" (61 cm) x 36" (92 cm) Red Eye: No Color Effect: No Special Effects Image Effect: No Special Effects Production Timeline Address: