
Nested Fabric Buckets Tutorial | Whipstitch I didn’t invent the idea of the fabric basket/bucket–nothing like–but I am certainly more than happy to walk you through how I made the ones I’m using in my studio. After discovering–purely by accident–that a smaller (prototype) bucket fit neatly inside the larger size I settled on, it occurred to me as I prepared to put together a tutorial that a set of nested buckets would be pretty cool. So, here they are: a set of three nested fabric buckets to mix-and-match at will. I’m even thinking the littlest size would make a sweet handbag for the spring, don’t you? I’m really digging on the graduated sizes, and still completely in love with the idea that these can be used as dividers, so that the biggest basket isn’t so super huge that there’s a ton of wasted space. These are all batted with a fusible fleece that I had on hand (supplemented when I ran low with some off the bolt at the shop), so they’re fairly soft-sided. Gather up your supplies and let’s Learn As You Sew ™! Supplies
How To Sew Darts - Coletterie For beginners, sewing darts tends to seem like a complicated step. I know that I was confused about getting a straight line and ending right at the point. Double pointed darts seemed even more confusing. Straight Dart Straight darts have only one point with dart legs along the edge of the pattern. 1. 2. 3. Curved Dart Curved darts are often used around the bust as they can be very flattering. 1. 2. 3. Double Point Dart Double point darts tend to be found on dresses with simple lines. 1. 2. 3. 4. 10 Free Tote Bag Patterns and Tutorials Totes make great handmade gifts. Here is a Tuesday Ten that shows a round-up of lovely totes. If you love to sew you might also like these free sewing tutorials right here on Skip to my Lou! Every tote needs a matching pouch. Pleated Zippered Pouch Lined Zippered Pouch 1. 2. 3. 4. 5. 6. 7. 8. 9. 10.
Felt Initial Notebook Tutorial {Gift Ideas} Hi, my name is Kim and I’m addicted to felt! Yes, I’ll add a little felt to just about anything, and today I’m sharing how I made these sweet little felt initial notebooks. Use pretty Spring colors to create an Easter gift that perfect for any age! This is a fun project to do with a group of children or adults with just a few supplies. Here’s how it’s done… You’ll need: NotebooksWool FeltEmbroidery FlossStick PinsSharp ScissorsGlue StickNeedlePrinted Initial 1. 2. 3. 4. 5. Start at the front edge of the notebook and line up your cover. 6. Simple and Sweet! Please email me if you have any questions and I hope you’ll check out my selection of beautiful wool felt at KimberlyLayton.com for your next project! ~Kim Need more Easter gift ideas???
Charming Window Pillows Hi! I’m Angela from My Three Sons and I was a mechanical engineer in my life before kids. Really an engineer to the core, I’m all about optimized processes and well-utilized materials. I tried to figure out the best way to make the elusive cathedral window block. So I’ll share some things I found for getting nice points and neat windows. And they are a perfect showcase for your favorite charm pack. We’re going to make two pillows here – most efficient use of materials and all. 1 Just Wing It Charm Pack 1 3/4 Yards Bella Solid Snow 4 Just Wing It Fat Quarters Washable glue stick 2 Square pillow forms – 20″x20″ 2 18-20″ zippers (optional) Pink and Blue Matching thread (optional) Step One: In which you fold fabric and steam it into submission First, from the white yardage cut 5 strips the entire width of the fabric and each 10.5″ wide. Subcut each of those 5 strips into 10.5″ squares so that you end up with a total of 20 pieces. But you do need to make a perfect 9″ square out of poster board.
Free Pattern Fitting Series Pattern Fitting Series I am presenting a pattern fitting series entitled "My Approach to Successful Pattern Fitting". This series is written and produced solely by myself and all of the content is offered from my experience in the Fashion Industry and tailored to appeal to a DIY Sewist/Sewer. I hope that if you've had a difficult time with fitting yourself in the past that you will find my information helpful. If you'd like to read my opening post about the series I'm currently writing it's here.
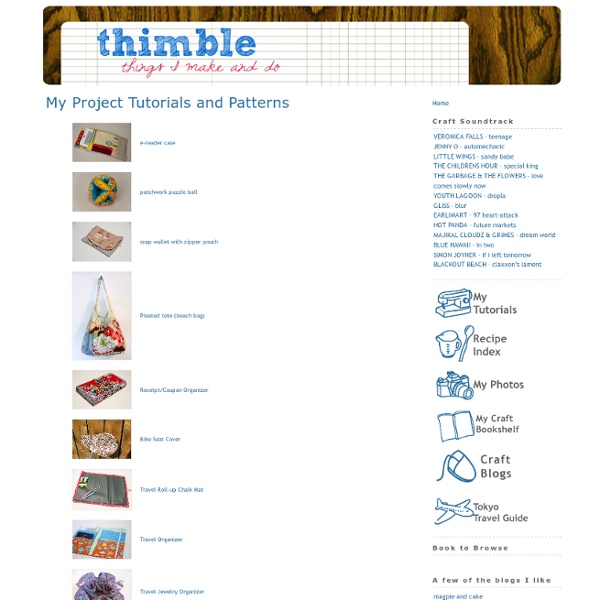
MADE: TUTORIALS by Dana on July 2, 2008 Click an image below for step-by-step instructions and easy sewing projects. Don’t worry…we won’t leave you hanging! We’ve got all the nitty gritty details. So click around and have fun. NOTE: If you’re looking for PATTERNS, they’re in the SHOP Leave a Comment Previous post: Advertise Next post: for ME SUBSCRIBE to MADE via EMAIL Enter your email address:Delivered by FeedBurner Purchase my new BOOKS! | Copyright © 2014 MADE * All Rights Reserved | Web Hosting By RFE Hosting WordPress Admin
solitaire Moda Bake Shop Bag Your Jacket Lining Lining a jacket makes it last longer and become easier to slip on and off. Best yet, using the bagging method is as quick or quicker than finishing an unlined jacket. Photo: Sloan Howard. by Sandra Millettfrom Threads #88, pp. 56-59 Sewing jackets is something I like to do, but lining them is another matter. Prepare to bag All jackets benefit from having a lining; it lets the jacket slide easily over other clothes, drape correctly on the body, and stand up to wear and tear. If you're using a pattern without a lining, it's easy to make a lining pattern. The bagging procedure begins only after the jacket and lining have been constructed, but there are a few details to attend to before construction. Since the jacket's seam allowances will be pressed open, don't serge any two seam allowances together, as you might be tempted to do, for example, on the center-back seam. The next step is to create a temporary hem on the jacket. Join lining to jacketReady to sew nonstop?
tutorial: how to sew a simple maxi dress The Plan. Fabric. You will be making a maxi dress so buy fabric accordingly. I stand 5′ tall (I know, I know, I am tiny) and I needed 2.5 meters of fabric with a 45-inch width. Preparation and Cutting. Sewing. Don’t forget the banana. Instructions for making the rosettes are HERE. merry christmas