Lace Up Your Shorts!
I know it’s winter and wearing shorts is probably one of the last things on your mind. Here in Los Angeles, however, girls are still strutting their stuff in their short shorts, with degrees staying in the 60s during the day and dropping to the mid 40s at night. With lace shorts becoming the up-and-coming hot trend, I figured it’d be fun to post a few inspiration photos on what you can do with a little bit of time, some old jean shorts, and some lace. These shorts are by far my favorite.
The world's best sewing tutorials in no particular order.
Alina's Adventures sew everything A P indicates a printable tutorial or pdf pattern. An F indicates a personal favorite. PET CARECatnip fish toy (Martha Stewart)Clothespin apron (Pick Up Some Creativity)Cool and cozy pet bed (Sew4Home)Country gent dog coat with pattern (Craftzine)Collapsible travel dish (Craft Stylish)Color spectrum pet bed (Design Sponge)Custom-fit doggy coat (Pretty Little Things)Dog leash (The Purl Bee)Embellished doggy sweater (Miss Lovie)Fabric dog coat pattern (Cut Out & Keep) PFabric pet bed (Inspiration & Realization)Fabric pup tent (CasaSugar)Family connection writing center (Craftzine)Fleece dog bed (Dog Under My Bed)Pet pouches (The B Line)Sweater dog toys (Craft Stylish)Squeaky doggie bone (Laura Griffin)Water resistant doggy coats (Martha Stewart)
Pillow Mattress Tutorial
Several friends have sent me some amazing project ideas - they're all in a file and at some point I'll get to them (I swear!). Two days ago, however, my friend Tatiana posted this on my Facebook wall: She found it on pinterest and thought I would like it. Welllll....she was right.
DIY : Rainbow Ribbon Necklace // Collier à Rubans Arc-En-Ciel
Recently I had the urge to make something cute as candy. This rainbow of pastel colours is the perfect accessory for a Spring outfit. I wore it out today with a black teeshirt and mint jeans – perfectly sweet. There are quite a few steps in this tutorial but it’s an easy necklace to make and I think it’s the perfect gift for the girlies – in fact I made mine in the good company of a friend, a mug of tea and a chocolate cupcake ! Cet arc-en-ciel de pastels est l’accessoire parfait pour votre tenue printanière.
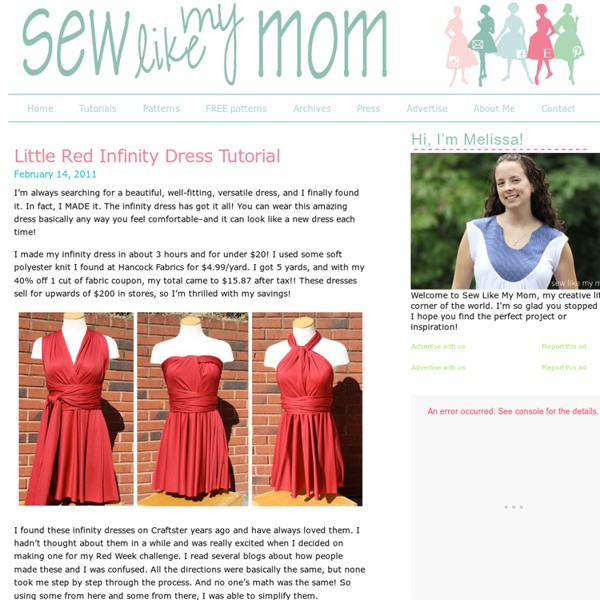
rostitchery: convertible/infinity dress
(this post was originally published on 29 june, 2006, with the title "one seam convertible dress".) have a question? please visit the convertible dress FAQ's. have you made a convertible dress? do you want to see other convertible dresses, share ideas on how to make them, and find ways to make your convertible dress even better? then hop over to flikr and join the convertible dress group!
Key Fobs With Secret Pocket & Lanyard - Sew4Home
For the next several Fridays, we've collected some S4H classic gift ideas for you. Each one is especially fast and fun, and can easily be made with fabric from your stash. So when you hear yourself screaming, "I gotta getta gift!!!" We're here to help. This handy little carrying case is modeled after the lanyards you often get at conferences or other events. In fact, you could certainly use it for that or to hold small travel documents and ID.
XL Mens Tee Sewn Into Dolman. Directions + Video
Supplies: XL mens tee DIY intructions: Cut neckline scoop neckline, cut arms (as shown). Don't cut the shoulder seam, you will need the long width for the dolman shape. Gather the bottom hemline in a few inches to be snug on your waist (this is what changes the shape of the shirt).
DIY projects made from everyday objects.
I was inspired to make this DIY tote bag after I took a trip to the farmer's market and realized I needed a comfortable and lightweight bag to carry all my goodies. I love the way this DIY project turned out and, more importantly, there was no sewing involved! A pillowcase already has all the stitching you need to create this easy and stylish tote bag.
Make It and Love It: Women's Corsage Shirt
I’ve been drooling over the Jcrew line this fall. And I have seen others make this corsage tee, so I thought I’d try my hand at it. I zoomed in really close to this picture (in the lavender shown below) and you can see the shapes that they used to cut out the pieces. More on that later. I bought and used about a yard of knit fabric, which I bought for about $5 at Joann’s. Compare that to the $35 shirt at Jcrew….what a deal.
how to make a paper flower
This is a flower that I put together for a series of projects that I've been working on for the shop. I was going to include it with the Petal Collection, but I decided that this was one worth sharing. It doesn't require any fancy equipment at all! Materials
25 Handmade Gifts Under $5
If your gift list is long and your budget is small here are some great Handmade Gifts that you can make. Keep in mind that handmade items are not just beautiful but special… I love to give them and I love to receive them.
DIY 20 Minute Beach Cover Up
** NO SEW VERSION CLICK HERE!****HIGH-BACK VERSION/STREET WEAR- CLICK HERE****HALTER VERSION- CLICK HERE****MAXI WITH THICK STRAPS HERE** Need more help? Click HEREProbably my favorite 'la vie' project... ever.
Embellish Knit Month: Day 6
A lot of you expressed questions about resizing sweaters. I mentioned briefly how to do that on day one but I didn't go too in depth. So today and tomorrow I'll be redoing sweaters by first showing you how to turn them into cardigans today and then tomorrow showing you how to resizing body and sleeves, nothing else. Today I found this Wet Seal sweater for $1.50 at Community Aid. I liked the stripes and the colors used. It was soft and had some nice ribbing around the cuffs and waist but it was just a little too short as a sweater.
Finely Ground: One-A-Day Challenge: Spring Cleaning
How are you doing on your spring cleaning? I've been knocking things off my to-do list, and it's such a handy one that I thought I'd share it. Just check off one item every day, and in three weeks you'll have thoroughly spring-cleaned your entire house--easy-peasy and I've included cheapskate tips where applicable! I recommend doing them in order; I've organized it as a top-to-bottom list so you won't end up dusting off your ceiling fan right after you vacuum. . .No, I haven't done that, why do you ask?