
ISLAND FLOUNCER Courtesy: Vogue A flirty flouncer has that button-to-hem flippancy and shows lots of sun-kissed shoulder. A very easy sundress draft to get you in that tantalizing “island-in-the-sun” attitude. You will need: Approx. 2 – 2 ¼ yds [1.8 - 2m] of fashion fabric, 45″ [114 cm] wide2.5 yds. [2.3 m] of pre-cut interfacing, 1″ [2.5 cm] wide1 pkg. of single fold bias tape, ½” [12.5 mm] wide1 yd of elastic, 3/8″ [10 mm] wide8 buttons, line 20; ½” [12.5 mm] diameterCoordinating threadKraft paper Bust = measure around the fullest part of chest just under the arms. Hip = measure around the fullest part of the seat about 9″ [23 cm] below the natural waist. Back waist length = distance from nape of neck to natural waistline. This pattern is drafted by height. Make a SQUARE template with length and width equal to your Back Waist Length. On the kraft paper, square lines from X at 90 degrees. The line squared down from X is the length. Along the length line of the paper, set up A-B-C as shown. 1. 2. 3. 4. Like this:
...love Maegan: Ethnic Sash Cinch Belt DIY Fashion+Home+Lifestyle Blog Yet another DIY from the New York Design Shop’sCreate Couture DIY Blogger Challenge …who sent me & 9 other DIYers a box of goodies to get creative with and this is another one of mine. * 3″ wide ribbon or fabric {I used the Ethnic stripe sash in white/brown/gold} – would also work well with stretch material or wide elastic* fashion buckle cinch nickel* needle & thread * Measure waist & cut sash/ribbon accordingly, leaving about an inch & a half extra on each side * Depending on what part of the design you want to be visible, fold in/under & stitch in place * Pull through the metal cincher clasp, fold over & stitch down, carefully hiding the stitches within * After completing one side, try it on around your waist & readjust if necessary, adding the opposing cincher clasp to the opposite side, repeating steps above. This is a really simple DIY however, you can make it more intricate depending on the fabric you choose and/or if you decide to line it and hide all your stitching. Have fun!
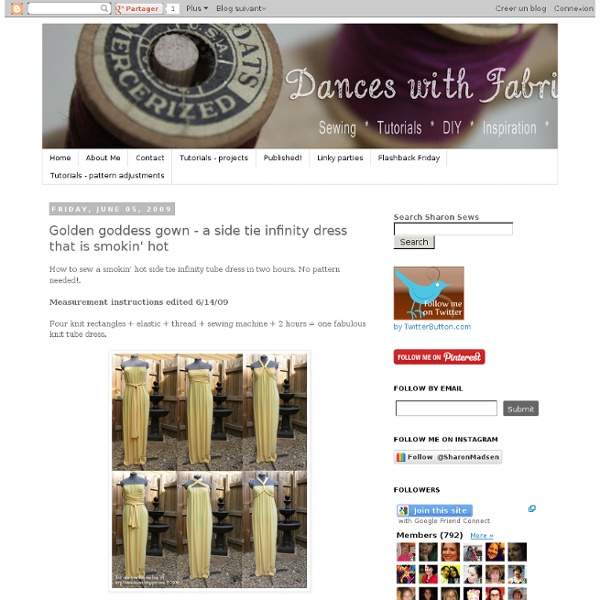
A Casually Cute Knit Dress I’ve been wanting to make a casual dress out of cotton knit for a while. And I’ve really wanted to use some navy blue knit my MIL found for me a while back. And I’ve pinned a few really cute knit dresses lately… (Click on each picture to go to their site.) With so much inspiration in mind, and an itch to sew after not doing much for a week, as well as an upcoming holiday weekend, I figured why not make a dress that could be worn any time but made to look patriotic? I love the way it turned out! This bolt of small-ribbed knit was the kind where the material is woven in a tube, which made it even easier! You can see in the picture above where the slits were. I serged the tops of the shoulders as they were the only unsewn seam thanks to the knit being a tube! I did four rows for the shirring around the neckline, and then just one row around the arm holes to finish them off. At this point, the main part of the dress is done. And the look was finished! And the best part?
NAUTICAL HALTER Featured: Selma dress In many cases, discover your fabric as inspiration and the theme for the piece begins there. There are so many design ideas you can do with patterned fashion fabric and a bit of elastic. Take for instance, the Selma dress with an elasticized bodice and striking rope trim makes for a nautical style and fun back by Christopher Deane. Come across your own themed fabric and try this dress draft for summer. You will need: approx. 2 ½ yds. [2.3m] of fashion fabric, 45″ [114 cm] wide (depends on desired length)shirring elastic thread.4 yds. [3.6m] of cording, 1/2″ [12mm] diameterCoordinating thread X = bust measurement (measure just under the arms around the fullest part of the chest). Finished length = measure vertically from the armpit to the desired hemline . This is a patternless design (simple block draft). Cut 1 front, cut 1 back, cut 4 bra cups and cut 4 loop carriers (1-1/2” [4 cm] wide strips). 1. 3. Design Note: The fit of this style is not a snug one. 4. 5. 6. 8.
CONVERTIBLE DRESSING Here’s a clever little idea…convertible clothing. This dress works double duty as a skirt. It’s ideal for weekend wear or travel wear. It’s functional and versatile at the same time. Basically the concept is a wrap-around garment so it is adaptable to many shapes and sizes. No pattern is needed to construct it. Cut 2 panels along each selvedge edge 15″ wide for wrap tiesRemaining fabric panel is wrap skirt portion. Assembly: On the large skirt portion, fold in a ½” turn on each short edge to the wrong side of the fabric. Then turn each folded edge in ½” again. Along one of the long edges, create a rolled hem by turning ½”, then 1″. Next, fold the skirt portion in half and align and match the finished edges. From the finished edges along the long raw edge, measure 6″ and mark this location point. Now, take the two tie portions and align them, right sides together, along one short edge. Measure and chalk 1 ½” from each end of the seam. Divide the bust measurement by 4. Like this:
One of the greatest men's shirt makeovers ever--tutorial! Okay, I'm partial, but I think this is one of the greatest makeovers of a men's dress shirt into something else--a cute, springy skirt! I had so much fun with this and just figured it out as I went along, but I do have the pics and instructions for you in a tutorial. Follow along if you ever want to do this to an old shirt! Do note--I'm using a 100% cotton chambray shirt here. It's really sturdy and thick. I started out with this shirt from Goodwill Outlet. I grabbed a skirt from my closet to use as a pattern. Cut off the collar and back yoke--basically cut in a horizonal line, as high up as you can comfortably do it. Press the center back pleat out flat and mark your centers. To cut the back out, lay your shirt out with the center back becoming the fold of the fabric. For the front, lay the shirt front out flat and put the skirt on top. I placed the shirt front pocket in a good place on the skirt front and cut off the bottom of the shirt to make the skirt as long as possible. Ta-da!
CAFTAN Featured: Oscar de la Renta Caftan Oscar de la Renta shows us how to relax with this 2009 caftan style. The sheer striped silk print is so feminine and the flat braid trim makes this style ultra luxe. Can you just imagine lounging around in this? (You’ll definitely want to sew one up as no pattern is required.) This is a classic piece that belongs in any collection of beautiful, fine clothing. You will need: Fashion fabric, 45″ [114cm] wideFlat braid trim, 2″ [5cm] wideCoordinating thread12 half-ball buttons, line 20 [12.5 mm dia.] Measure from the nape of your neck down to the desired length: purchase twice this amount of 45″ [114cm] wide fashion fabric and four and a half times this amount of 2″ [50mm] wide flat braid trim . Cut the fabric into two equal lengths. Reduce the width of both pieces to 35″ [89cm]. From the excess cut-away material, cut two rectangles, each measuring 10″ wide x 40″ long [25.5cm x 102cm]. Choose one length of fabric to be the front of the caftan. Like this:
Summer of Skirts - Elastic A-Line Tutorial This skirt is great, because it is almost as easy as the 20 minute skirt but is more flattering and versatile. I plan on making many more of these! It's also worth noting that my current giveaway (enter to win if you haven't already!) dress features this type of skirt. What you need:-elastic - enough to fit around your waist; i prefer 3/4 inch for skirts-1 yard of fabric if you normally wear a small/medium, maybe a little more if you are large and up- a yardstick or newspaper or something with a long straight edge Step 1: Cut along the fold of your fabric, so you have two pieces with the cut fold on one end and the selvage on the other. Step 2: Now you have a little bit of math to do. Step 4: Then, put your yardstick/newspaper/whatever at each of these marks, so you have a diagonal across the fabric. Step 5: You should know have four pieces of fabric. Step 6: This part is optional, but it will make hemming a whole lot easier. Step 7: Sew the skirt panels together.