
Ten minute no-sew recycled t-shirt bag! Tutorial time! I got a gig teaching a recycled t-shirt project at the library a few months ago, with a request for a recycled tee bag – the only bags I’d made from tees in the past had required sturdy sewing, and I didn’t want hand-sewing to be the only thing holding the bottom closed in a class version of the bags, so I started brainstorming about some kind of hand-sewing-friendly or no-sew bag idea…. and here’s what I came up with! The simplest version of these bags is great for smaller tees, or the more light-weight kind of girl-tees – just turn the bottom of the shirt into a drawstring and tie it closed! But to make smaller holes, just make more than one of them! And now for the actual tutorial – for this one, with the step-by-step, I will be making the bottom with 3 holes. Cut the sleeves off, but try to make a somewhat straight line, and go in a bit from the seam – these lines will be the sides of your straps: You could make it rounded, V-shaped, or squared like this one:
Texas Wedding Ideas Planning Checklists Wedding Tips Wedding Professional Copycat Crafts | DIY Designer Knock-Off Things to Make Blog | Richmond, Virginia Wedding and Event Planner | Merriment Events Flower Magazine Thrilled to see Megan and Will’s wedding in the current issue of Flower Magazine. We adore this couple and couldn’t have asked for a better team to work with us. Southern Hospitality Tuesday, January 14th, 2014 In addition to styling Janie Medley’s lovely feature in the latest Southern Weddings Magazine, the SW girls were kind enough to ask me to contribute to a story called “35 tips for a wedding full of southern hospitality.” Bouquets inspired by southern states we call home… Friday, December 20th, 2013 It was such a pleasure to work on this story last spring with Patricia Lyons and Janie Medley for Southern Weddings Magazine’s current issue. floral design by Janie Medley // photography by Patricia Lyons // styling by Courtney Spencer of Merriment Events Flowers for Ave 42′s holiday pop-up style studio Saturday, November 16th, 2013 I was delighted to put together some pretty flowers in blush and gray tones for Ave 42 Design’s pop up shop at short pump mall. a family affair
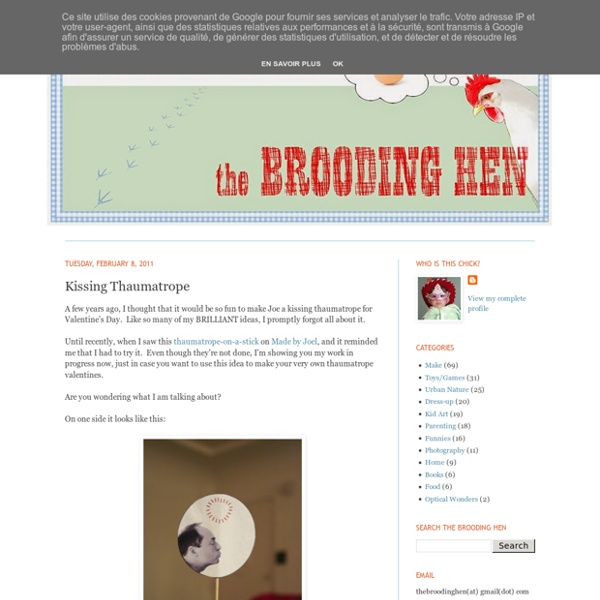
Newspaper flowers I'm still on the newspaper kick. I picked out the parts with colored ads and made these flowers with instructions from the book Paper Flowers by Michael LaFosse. Found it at the library. These are made with two pages of newspaper glued together to make a thicker sheet. There they are, adorning the newspaper basket. The Knotty Bride ~ Wow Factor Weddings Blog
Uniquely Scandinavian: A Crocheted Stool Makeover » Curbly | DIY Design Community « Keywords: DIY, crochet, stools, how-to I've never crocheted before in my life, but after seeing this charming stool I've got a serious desire to learn how! Kristin from Sweden shared this stool makeover on IKEA Hackers, but I'm wondering what else you could spruce up with a little crochet action... Any ideas? While you're thinking about what else you could cover in yarn, let's see what we'll need to create this whimsical stool. Materials: A stool (this one uses the Marius Stool from IKEA)Cotton YarnFoamFreeform pattern from Ravelry Kristin explains she first crocheted long tubes to cover the stool legs and then created the freeform birds. So, have you thought of what else you'd give the crochet treatment to? [via IKEA Hackers] Tagged : crochet, stools, How-To, Ikea hack, scandinavian, yarn, Inspiration, Craft, DIY
Brooklyn Bride - Modern Wedding Blog - Part 2 Top 10: Fruit & veggie centerpieces 1. via Babble | 2. anyone know the credit for this? via Pinterest | 3. via Brooklyn Bride | 4. via On The Go Bride | 5. via MSW | 6. via Minted | 7. via MSW | 8. via The Daily Basics | 9. via GWS | 10. Designs by Ahn 7 years Funny how time goes by when you least expect it. [image from Girlhula] Patina x The Color Condition Patina has totally upped the color quotient for weddings thanks to this collaboration with The Color Condition…there are tons of options from swags to baskets (kinda like chandeliers) to canopies, in multiple colorways that will guaranteed add tons of color and movement to your wedding! [images from Amber Gress] Phi-Style: The Paisley Bride Nicholas dress, $557 | Ten Thousand Things earrings, $1125 | Favor Jewelry bracelet, $34 | Casadei shoes, $495 - Tram @ Phi-Style.com [images from Outnet, Fab, Barneys, and Shopbop]
Attempting the T-Shirt Necklace Last week, every day snuck up on me, catching me off guard, and leaving me behind schedule. It may have been my very heavy heart thinking about the devastation in Japan. It could have been the time change that left me groggy every day, all day. But I’m fairly certain I felt perpetually past-deadline because a “simple” craft failed me repeatedly at the start of the week and threw the blog into scramble-mode. That craft was the T-Shirt Necklace. I was looking online for fun crafts to do with my nieces after school, and came across the “T-shirt Necklace” on MarthaStewart.com. Fail #2 The problem with the first two attempts may have been the material used (100% cotton t-shirts that were SLIGHTLY stretchy,) but more likely it was because I used regular scissors to cut the strips of fabric, (ok, I also washed and dried the pink necklace to see if that would put some curl in my edges) and completely disregarded the rolling blade (or rotary cutter) recommendations.
ever ours. - all things romantically weddings- Making a Fabric Locket I’ve been rolling the idea of a hand-crafted locket around in my head for about a month now. I’ve tried making lockets out of all kinds of paper, craft foam, even aluminum foil- but nothing has worked out the way I envisioned it. Truthfully, I’m not great at sewing, so I kept putting a fabric locket off …until now. While this locket isn’t the most beautifully crafted, I feel like it’s successful enough to share with you here. I mean, I would wear it. After collecting my potential materials, I started by drawing the chalk outline of two hearts (connected at the curve) onto my wool blouse. Next, I folded the heart in half (keeping them connected), and trimmed away the excess fabric. I wanted the back of the pin to be sturdy and strong, so I cut out a paper backing from a grocery bag. While I figured out the configuration of the inside of the locket, I pinned down green rickrack trim all around the lid… and sewed it in place.
erin ever after Elizabeth Anne Designs: The Wedding Blog - Wedding Ideas and Inspiration No words can express our love for the beauty that unfolds on our favorite blogs each and every day and this week the wedding world was blooming with a limitless amount of prettiness. We are so thankful that we get to close out every Friday with a small amount of lovely from the week. Have a beautiful weekend! {Image by Lisa Lefkowitz via Snippet & Ink} A few of our favorites from the week: Have you visited the EAD Shop lately? From pretty pastels to naturally dyed eggs, we went on a virtual Easter egg hunt and found 15 creative and fun do-it-yourself ideas perfect for decorating your Easter eggs this season. Start slideshow » This romantic inspiration shoot from Ashley Seawell Photography has us swooning! The beautiful New England seaside town of New Shoreham, Rhode Island, was the setting for Grace and Mark’s bohemian outdoor wedding. A classic, elegant twist on Americana was the theme of Ginny and Matt’s DC wedding, and we love the crisp, pretty vibe of it all.