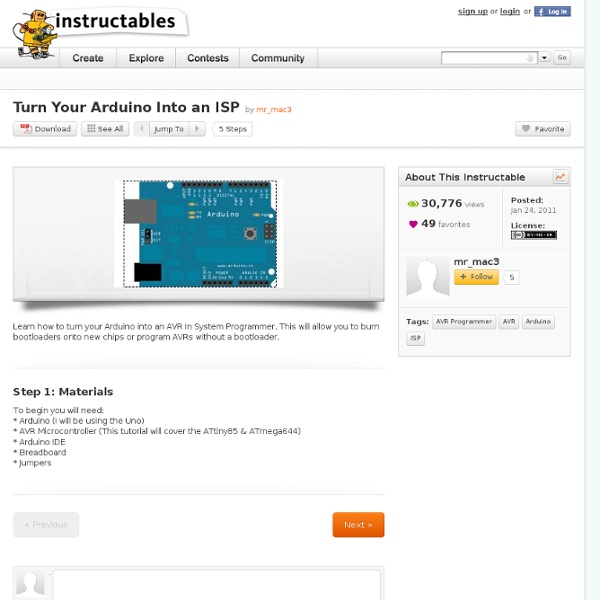
Turn Your Arduino Into an ISP
There are a few instances in which it is neccesary to program microcontrollers without a bootloader. For example, if have run out of storage on a chip you can get an additional 2KB when you program without a bootloader. Another example, the one I will show you how to do, is to program chips that have no serial capabilities and therefore cannot use a bootloader. The ATtiny85 is one of these chips. To program the ATtiny85 using the Arduino ISP you must first add ATtiny85 support to the Arduino environment: * Download attiny45_85.zip * Unzip the folder * Copy the folder to the Arduino IDE's Hardware folder * Reopen the Arduino IDE, you should see the ATtiny85 in the Tools >> Board menu Now connect your Arduino ISP to the ATtiny85 like the diagram below. Open the Blink sketch, change every '13' to '0', select ATtiny85 from the Tools >> Board menu, and select the serial port that is your Arduino ISP.
Environment
(redirected from Tutorial.Bootloader) The Arduino development environment contains a text editor for writing code, a message area, a text console, a toolbar with buttons for common functions, and a series of menus. It connects to the Arduino hardware to upload programs and communicate with them. Writing Sketches Software written using Arduino are called sketches. NB: Versions of the IDE prior to 1.0 saved sketches with the extension .pde. Additional commands are found within the five menus: File, Edit, Sketch, Tools, Help. Edit Copy for Forum Copies the code of your sketch to the clipboard in a form suitable for posting to the forum, complete with syntax coloring. Sketch Verify/Compile Checks your sketch for errors. Tools Auto Format This formats your code nicely: i.e. indents it so that opening and closing curly braces line up, and that the statements inside curly braces are indented more. Sketchbook '''Beginning with version 1.0, files are saved with a .ino file extension. Uploading
Program PIC with Arduino
This is just another "show and tell", but once again, there are gerber files and so on included. This Arduino shield is a PCB version of a circuit designed by Rhys Weatherley. When used in conjunction with two arduino sketches and a host program also designed by Rhys, it provides a pretty neat way of programming various 8 and 18 pin PIC micros using an Arduino as the programmer. Full list of supported devices, sketches, host program, schematics and instructions for use are here. The circuit is the same as the one on that site, except that I have added a jumper to allow you to select pin 9 or 10 as the program pin. This lets you program a couple of extra PIC models in the ZIF socket. If you are not comfortable with command line interfaces or you are not willing to play around a bit to teach yourself how to use this hardware and software, this is probably not the project for you. PCB was designed using free designSpark software by RS components and manufactured by SEEED Studio.
ISP
Learning Examples | Foundations | Hacking | Links This tutorial explains how to use an Arduino board as an AVR ISP (in-system programmer). This allows you to use the board to burn the bootloader onto an AVR (e.g. the ATmega168 or ATmega328 used in Arduino). The code in this example is based on the mega-isp firmware by Randall Bohn. Instructions To use your Arduino board to burn a bootloader onto an AVR, you need to follow a few simple steps. Open the ArduinoISP firmware (in Examples) to your Arduino board. Circuit (targeting Arduino Uno, Duemilanove, or Diecimila) An Arduino board serving as an ISP to program the ATmega on another Arduino board. Circuit (targeting Arduino NG or older) On NG or older boards, connect the reset wire to pin 1 of the Atmega chip on the board, as shown above. Circuit (targeting an AVR on a breadboard) See the Arduino to Breadboard tutorial for details.
Related:
Related: