
Tradigital Imaging. Make Photoshop Faster: 2 little tips to help speed up the tool web designers love to hate.
{LaB} » Adobe Photoshop . Perspective Textures. Cool 2D Site Plan Process. Tutorial07: Rendering Architectural Interior in Photoshop. In this 1h:18min video tutorial we will be showing you how to render a one-point perspective interior scene entirely in Photoshop, this time completely from scratch, i.e. there will be absolutely no 3D involved.

Instead, we will be adding details on the go, using Photoshop brushes and cutting, skewing, masking, stretching, erasing and modifying pieces of photographic materials from of our extensive reference library that we’ve taken ourselves at different locations around the globe. These types of conceptual images, sometimes referred to as “digital painting” or “speed painting” and, which we here at Vyonyx are marketing as “Quicksilver images” is a very flexible and quick way of not just visualising your ideas, but also a very intuitive way of designing things in general and architecture in particular.
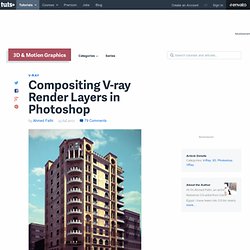
This way of working allows easy changes – changes are important to your client and to your team. Touching up renders with photoshop. FRANKLIN AZZI ARCHITECTURE. Site Plan Rendering in Photoshop. AutoCAD to Photoshop II. AutoCAD to Photoshop Part I. [CG Textures] - Textures for 3D, graphic design and Photoshop! Compositing V-ray Render Layers in Photoshop. In this tutorial Ahmed Fathi takes a look at how to composite together V-ray render layers using blending-modes and masks in Photoshop.

Once completed, this process allows you to change or tweak any aspect of your image in seconds without having to re-render a thing! Ahmed also covers a few extra post production techniques such as Chromatic Aberration and Depth Of Field, as well as how to emulate a Cross-processed look. Republished Tutorial Every few weeks, we revisit some of our reader's favorite posts from throughout the history of the site.