

Birthday Card #6 Stripes are Nice. This is a pretty easy card that can be great for a boy or a girl. 1.To start make your card.
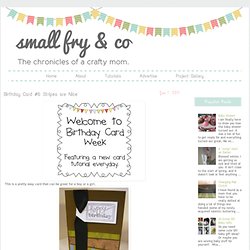
You can really use any size of card that you want. Mine was 4 x 5 inches (finished size). 2. Now you will cut your paper stripes. To do this I used my paper cutter but angled my paper to get an uneven strip of paper. 3. 4. 5. 6. 7. Like this. The ends of the ribbon fold around the front of the card like this: Not Your Grandma's Pop Up Card. Pop up cards are fun, we've all been making them since kindergarten right?
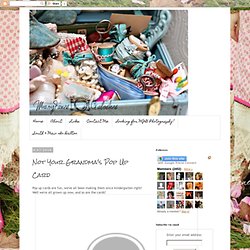
Well we're all grown up now, and so are the cards! What you need- Cardstock Paper glue Exacto knife Ribbon Glitter (optional) Step 1- Cut out two of your pop up figures. You can cut out anything you can think of as long as they are both the same and have a box at the bottom to anchor them onto the card. Step 2- At the base of our pop up image, cut a slit on each side about half an inch into the box. Fold your pop up down at the base of the slits you just cut. Step 3- Glue each square onto a larger piece of paper (the paper you want for the outside of the card). You can cover the white squares with other prettier paper if you like. On the front side I cut a decorative edge with a Martha Stewart Punch. On the back side I free handed then cut a partial heart.
Now when it's all folded up it looks like this. All set! Freebie Friday - Goodbye, Friend! - Two Paper Divas. For those of you who receive our emails automatically, SORRY you are receiving this on Saturday.
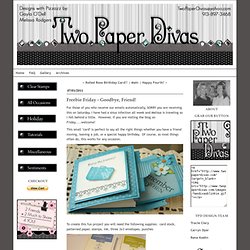
I have had a sinus infection all week and Melissa is traveling so I fell behind a little. However, if you are visiting the blog on Friday.....welcome! This small "card" is perfect to say all the right things whether you have a friend moving, leaving a job, or a special happy birthday. Of course, as most things often do, this works for any occasion.
To create this fun project you will need the following supplies: card stock, patterned paper, stamps, ink, three 3x3 envelopes, punches Next, cut a piece of Marina Mist card stock to 3-1/2" x 8-1/2". Now you are going to create the cards (inserts) that go in the 3x3 envelopes. Here is what they look like finished. Next, fold the envelope flap down into the envelopes and insert your cards. Add Scor-Tape or Sticky Strip to the back of all the envelopes and to the front as well on ONE envelope only. Love you bookmark. Need a last minute Valentine gift?
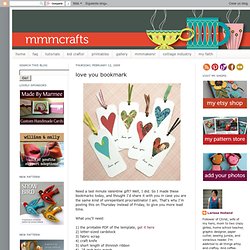
Well, I did. So I made these bookmarks today, and thought I'd share it with you in case you are the same kind of unrepentant procrastinator I am. That's why I'm posting this on Thursday instead of Friday, to give you more lead time. What you'll need: 1) the printable PDF of the template, get it here2) letter-sized cardstock3) fabric scrap4) craft knife5) short length of thinnish ribbon6) .25 inch hole punch7) spray adhesive8) bone folder. Paper bag Valentine card. The card is constructed out of these materials: 1 brown paper "lunch" bag 1 8.5" x 11" sheet light-colored coordinating paper 1 3" x 3" coordinating cardstock 1 pony bead of a coordinating color --any bead which can fit over your ribbon will work fine total 24 to 30 inches of thin, coordinating ribbon --2 pieces 6" to 8" --1 piece 12" to 14" These tools are required: glue of some sort -- I used a glue stick, but regular white glue would also be fine. scissors ruler For the decoration, you can go one of two routes, or combine them: a crayon of a coordinating color colored pencil or pen of a coordinating color OR ink pad of a coordinating color a pen of a coordinating color various stamps --I used one flowery type stamp for the outside, a curlique-type stamp for the bottom, and letter stamps for initials.
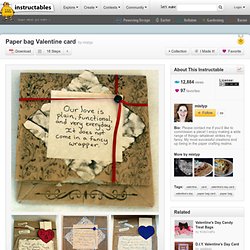
I created the instructable based on the red and black card, which uses the stamp and ink pad route. The other card pictured, the blue one, used only a crayon and a colored pencil.