
How to Organize and Print Years Worth of Photos. DIY: Indie Mix Tape Project. Hi!
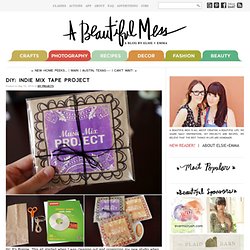
It's Promise. This all started when I was cleaning out and organizing my new studio when I came across Audrey Assad's indie album packaging from a few years ago (photo below). She is an amazingly talented singer/songwriter with a great idea on how to package cds. She just threw it in a paper bag and wrote her title on the front. Whether you are an indie artist that needs a low budget packaging option OR you just like to make mixed cds for your friends, this DIY is super fun and easy. (Audrey's album cover) INGREDIENTS: You will need the following items: small paper bags, scissors, twine, string, or yarn, your cd, and printable sticker paper. 1. 2. 3. 4. 5. 6. Your Indie CD DIY packaging is now finished and looking mighty fine.
Loves, Promise. Best Friend Wall Art: Weekend Project. I love to decorate my home for each season.
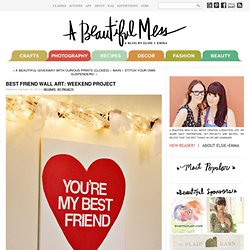
This time of year it's a celebration of L-O-V-E! I used some Queen song lyrics (a song from our wedding) to make a simple, graphic piece of art for our bedroom. Would you like to play along? 1. You will need: Vinyl letters (I used 3 inch), a large canvas (mine was appx. 4 feet tall) and craft paint. 2. Guest Blogger: Ez from Creature Comforts. I’m beyond thrilled to have Ez from Creature Comforts with us today!
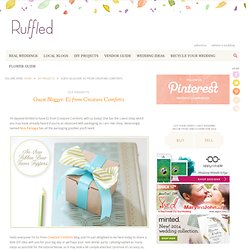
She has the cutest shop which you may have already heard if you’re as obsessed with packaging as I am. Her shop, deservingly named Nice Package has all the packaging goodies you’ll need. Hello everyone! I’m Ez from Creature Comforts blog and I’m just delighted to be here today to share a little DIY idea with you for your big day or perhaps your next dinner party. I photographed as many steps as possible for the tutorial below, so it may look a bit complicated but I promise it’s as easy as, well…tying a bow!
Step 1: Gather your supplies. Step 2: Prepare the elastic cording (used to attach the finished bows onto your favors) by measuring a length that fits snugly around the bag or box you will be using. Step 3: Measure a length of ribbon around 9 inches long. Step 4: Place another glue dot onto the underside of the remaining end and fold in to the center. Step 8: Pull knot tightly. Step 10: Tie ribbon into a tight knot. Nyc mixed paper journal. **********UPDATE: Sorry the photos are no longer working!
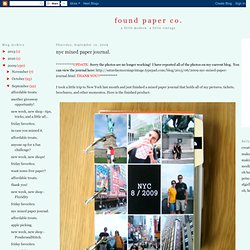
I have reposted all of the photos on my current blog. You can view the journal here: THANK YOU!! ********** I took a little trip to New York last month and just finished a mixed paper journal that holds all of my pictures, tickets, brochures, and other mementos. Here is the finished product: If you want to make your own to celebrate a recent trip or other special event, follow these simple steps. Step #1: Collect tickets / brochures / postcards / other paper along the way. I saved everything that I came upon while I was away, include stuff that's free (ticket stubs, pamphlets) and stuff that I bought (postcards, maps). Before I left for my trip, I put an envelope like this in my purse to hold all of the paper I accumulated along the way.
Step #2: Document your trip on a variety of mixed papers. Step #3: Label your photos. I view these mixed paper journals as somewhere in between a plain photo album and an all out scrapbook.