
Mudbox Tutorials > Detailing and Aging Props in Mudbox Tutorial. Sculpting a Modular Stone Staircase in Autodesk Mudbox. Twice a month we revisit some of our reader’s favorite posts from throughout the history of Cgtuts+.
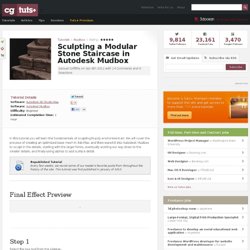
Today we have a great Mudbox tutorial by Samuel Griffiths, focused on creation of a modular stone staircase. In this beginner level tutorial. Samuel will show the process of creating a base mesh in 3ds Max, and then how to export it into Autodesk Mudbox for detailing. This tutorial was first published back in January of 2010 and proved to be quite popular! So let’s revisit it… In this tutorial you will learn the fundamentals of sculpting hi-poly environment art. Final Effect Preview Step 1 Select the box tool from the sidebar. Step 2 Click and drag on the grid, then enter the dimensions. Step 3 Select the hierarchy tab, and click ‘Affect Pivot Only’. Step 4 Access your array menu by going to “Tools >Array”. Step 5 Click the preview button, and alter the settings as shown below. Step 6 You should now have something similar to below.
Step 7 Step 8 Step 9 Step 10 Step 11 Step 12 Step 13. Free tutorial: easy texturing in Mudbox. We asked Mudbox master Wayne Robson: How can we easily texture a tree stump in Mudbox?
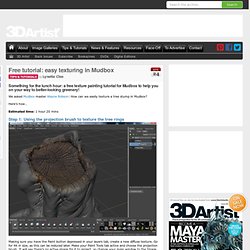
Here’s how… Estimated time: 1 hour 20 mins Step 1: Using the projection brush to texture the tree rings Making sure you have the Paint button depressed in your layers tab, create a new diffuse texture. Go for 4K in size, as this can be reduced later. Step 2: Using Layer Masks to help with the tree rings With your ring texture layer active go to the small arrow and choose New Layer Mask. Step 3: Making the tree ring bump map Now create a bump map layer by clicking on the new layer icon and choosing Bump map as its type. Step 4: Using the projection brush for the bark Choosing the image you wish to use for your tree bark, use the projection brush and paint this onto your model.
Step 5: Adding the moss With a nice mossy texture or photo active, use the projection brush once again, but this time pick a stamp from the stamps tab, or one of your own to help it look less harsh around the edges. Watch out for: Mudbox techniques for props #2 - Stone. Autodesk Mudbox Free DVD's : Wayne Robsons gives you all DVD's for free.... LEGALLY! Mudbox - A Comprehensive Introduction. In this DVD, Instructor Riki Babington guides you through many of the powerful features in Autodesk Mudbox.
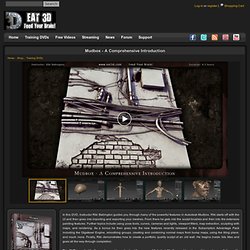
Riki starts off with the UI and then goes into importing and exporting your meshes. From there he gets into the sculpt brushes and then into the extensive painting features. Further topics include using pose tools, curves, cameras and lights, viewport filters, map extraction, sculpting with maps, and rendering. As a bonus he then goes into the new features recently released in the Subscription Advantage Pack including the Gigatexel Engine, smoothing groups, creating and combining normal maps from bump maps, using the tiling plane, and much more. Finally, Riki demonstrates how to create a portfolio quality sculpt of an old wall. This DVD is perfect for those who want to understand the power of Autodesk Mudbox and how to use it to create a portfolio quality environment piece.