
Photo to Canvas Transfer. First off, let me just say, I really love photos printed onto a canvas.
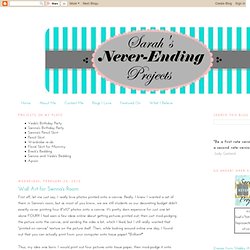
Really. I knew I wanted a set of them in Sienna's room, but as most of you know, we are still students so our decorating budget didn't exactly cover printing four 8"x10" photos onto a canvas. It's pretty darn expensive for just one let alone FOUR!!! I had seen a few ideas online about getting pictures printed out, then just mod-podging the picture onto the canvas, and sanding the sides a bit, which I liked, but I still really wanted that "printed on canvas" texture on the picture itself. Then, while looking around online one day, I found out that you can actually print from your computer onto tissue paper!
Thus, my idea was born. What you need: Canvas (however many you are using, I used 8x10's) White tissue paper (I only needed one regular sized sheet for four pictures) Printer *with ink* :) Regular printer paper Scissors Tape Mod-Podge Brush Step1: Take a piece of printer paper. Step 2: Step 3: Step 4: Step 5: Step 6: Step 7: The photo-to-wood transfer. This Christmas, I made most of my gifts.
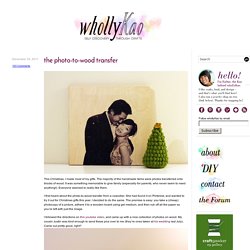
The majority of the handmade items were photos transferred onto blocks of wood. It was something memorable to give family (especially for parents, who never seem to need anything!). Everyone seemed to really like them. I first heard about the photo-to-wood transfer from a coworker. She had found it on Pinterest, and wanted to try it out for Christmas gifts this year. I followed the directions on this youtube video, and came up with a nice collection of photos on wood. I thought I’d share some tips I learned during this process.
Photo-to-wood transfersmaterials wood gel medium paintbrush photo, printed on copy paper varnish (or Mod Podge)step one: the wood I think any wood works, but just look for something that doesn’t have a lot of markings on it, or this will affect your end image. Step two: the image Two rules of thumb here: use cheap cheap cheap paper (i.e. photocopy paper), and use a laserjet printer. Then it was time to rub the paper. Polaroid Magnet Frame. I found these magnets on Photojojo a few weeks ago, and thought, “ These are cool.
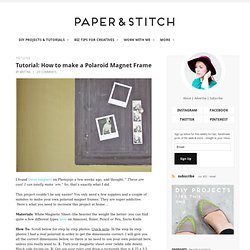
I can totally make ‘em.” So, that’s exactly what I did. This project couldn’t be any easier! You only need a few supplies and a couple of minutes to make your own polaroid magnet frames. They are super addictive. Materials: White Magnetic Sheet (the heavier the weight the better- you can find quite a few different types here on Amazon), Ruler, Pencil or Pen, Xacto Knife How To: Scroll below for step by step photos. Looks just like the real thing, doesn’t it?
For more ideas for quick and easy projects, click here to visit the tutorials page filled with more than 40 diy’s. A Stylish Photo Frame For Several Photos. Here is a simple yet stylish photo frame that can accomodate quite many photos at once. The idea is very simple. Fasten twines on the empty frame and hang photos using clothes pins on them. You can use a frame you bought or a frame you made by yourself. To make it you just need to find some wood strips, sand them, paint or stain them and fasten together with the staples and nails. Yes, everything is as simple as it sounds.