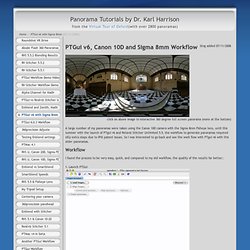

Www.erik-krause.de. Homepage H. Dersch. Panorama Tutorials-PTGui v6 with Sigma 8mm. Click on above image to interactive 360 degree full screen panorama (more at the bottom) A large number of my panoramas were taken using the Canon 10D camera with the Sigma 8mm Fisheye lens, until this summer with the launch of PTgui v6 and Relaviz Stitcher Unlimited 5.5, the workflow to generate panoramas required silly extra steps due to IPIX patent issues.

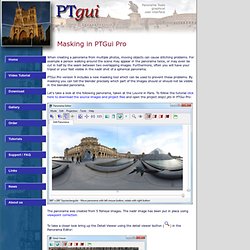
So I was interested to go back and see the work flow with PTgui v6 with this older panoramas. I found the process to be very easy, quick, and compared to my old workflow, the quality of the results far better.: 1. Launch PTGui 2. 3. 4. 5. 6. Masking in PTGui Pro - PTGui. When creating a panorama from multiple photos, moving objects can cause stitching problems.

For example a person walking around the scene may appear in the panorama twice, or may even be cut in half by the seam between two overlapping images. Furthermore, often you will have your tripod or your feet visible in the nadir shot of a spherical panorama. PTGui Pro version 9 includes a new masking tool which can be used to prevent these problems. By masking you can tell the blender precisely which part of the images should or should not be visible in the blended panorama. Let's take a look at the following panorama, taken at the Louvre in Paris. The panorama was created from 5 fisheye images. To take a closer look bring up the Detail Viewer using the detail viewer button ( ) in the Panorama Editor: Two blending problems can be seen here: first of all the tripod from the nadir image is visible, and secondly we see only part of the lady approaching the camera. Hide the tripod by painting it red. Viewpoint correction - PTGui. One of the more advanced features in PTGui Pro is viewpoint correction.

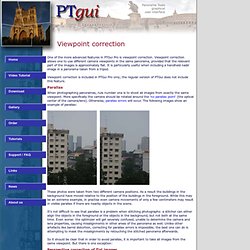
Viewpoint correction allows one to use different camera viewpoints in the same panorama, provided that the relevant part of the images is approximately flat. It is particularly useful when including a handheld nadir image in a panorama taken from a tripod. Viewpoint correction is included in PTGui Pro only; the regular version of PTGui does not include this feature. When photographing panoramas, rule number one is to shoot all images from exactly the same viewpoint. More specifically the camera should be rotated around the 'no parallax point' (the optical center of the camera/lens). These photos were taken from two different camera positions.
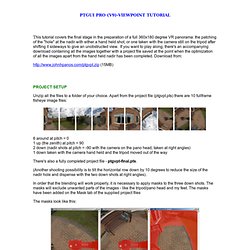
It's not difficult to see that parallax is a problem when stitching photographs: a stitcher can either align the objects in the foreground or the objects in the background, but not both at the same time. But this only works if the photographed subject is flat. TUTORIALS ETC. PTGUI PRO -VIEWPOINT TUTORIAL. Launch PTGui Pro and open the project file ptgvpt.pts (not the final version) with File->Open Note that for simplicity, the hand held nadir shot has not been initally included.

Select Advanced mode on the Project Assistant tab and select the Optimizer tab. Use the Advanced mode there also: Click on the Run Optimizer button to confirm the current optimization state: Now select the numerical transform option (the 123 button) to bring the nadir to centre stage: set the pitch to -90 and click Apply. Note that this transformation is optional, being mainly used for historical reasons in order to work around a problem with versions of PTGui Pro up to V7.8. Select the Source Images tab and use the Add button at the bottom to add the hand held nadir image.
Select the Mask tab and add a mask to the newly added image 9, similar to the one below. Select the Control points tab and add five points between images 7 and 9, like this: Five points should be enough, but you may add more.