
Hand Stiching. One of my favorite crafts is hand stitching-- it's fun, addictive, expressive and relaxing :) Over the next few weeks, I'm going to share easy ways to make your own patterns for hand stitching along with some tips and ideas :) These are some samples of my past projects-- I like to draw patterns freehand and use my handwriting.

However, sometimes I adapt clipart type images to make a more complicated pattern, like the sewing machine or I just stitch the outline of an image I love, like the Goonies "Hey You Guys" silhouette :) I use a Back Stitch for all my hand stitching because it's very versatile and I like the look but you can use any combination of stitches for your projects... there's lots of fun ones! Today, we're going to start with handwriting & transferring your pattern :) You will Need: - Card-stock or Thick Paper (I cut a piece of 6x8" card-stock & folded it in half to create a greeting card) - Needle & Scissors - Embroidery Thread - Scrap Paper & Pen - Thumbtack or Piercing Tool.
Magazine Envelopes. 18K+ Well I got this idea from our friend Nina.
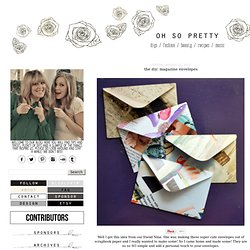
She was making these super cute envelopes out of scrapbook paper and I really wanted to make some! So I came home and made some! They are so so SO simple and add a personal touch to your envelopes. You will need: An old magazine, scissors, an envelope, a glue stick and a Sharpie. Tear out some magazine pages that you like. Carefully pull the envelope apart. Trace the envelope on a magazine page. Cut the envelope shape out. Turn the envelope over as well as the magazine cut-out. Unfold everything and separate the magazine cut-out from the envelope. Glue the bottom flap down to the two side flaps. And you've made your own envelope! The great thing about making these envelopes our of magazine pages is that the envelopes have a character all of their own. Plantable Greeting Cards. You’ve might have seen seed paper recently.
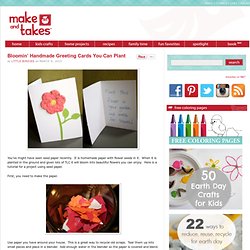
It is homemade paper with flower seeds in it. When it is planted in the ground and given lots of TLC it will bloom into beautiful flowers you can enjoy. Here is a tutorial for a project using seed paper. First, you need to make the paper. Use paper you have around your house. When your paper is nice and evenly blended you can add your seeds. Now it is ready to be shaped. Place a towel on the counter and if you have a piece of felt, place the felt on top of the towel. Take another towel and press it down on the paper pulp to help dry the excess water. When your paper is dry, cut it out into a flower shape. Make sure you add a message somewhere on your card to let the recipient know they can plant it! Little Birdie Secrets are regular contributors to Make and Takes and was born from the crafting obsession of three friends living in the Pacific Northwest. Tagged as: card, fun with paper Written by Little Birdie Secrets.
Scratch Off Cards. Wax Seal.