
Birthday Present. Somewhere in all the commotion of family coming and family going, Darren managed to finally turn 29 something.
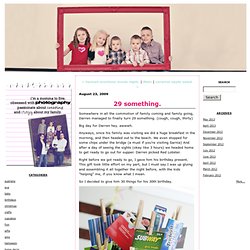
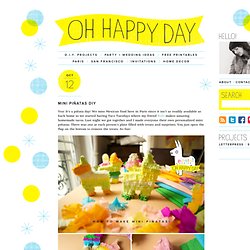
(cough, cough, thirty) Big day for Darren hey. awwwh. Anyways, since his family was visiting we did a huge breakfast in the morning, and then headed out to the beach. We even stopped for some chips under the bridge (a must if you're visiting Sarnia) And after a day of seeing the sights (okay like 3 hours) we headed home to get ready to go out for supper. Darren picked Red Lobster. Right before we got ready to go, I gave him his birthday present. So I decided to give him 30 things for his 30th birthday. I started by buying a big sturdy base (plant pot in this case) and I bought some of that styrofoam plant stuff to stick in the bottom. The sticks poked into the styrofoam base, and the clips were able to hold up all sorts of goodies; gift cards, chocolate bars, candy etc.
I filled in the gaps with the rest of his gifts. His favorite candy... skittles in 5 different flavours. Mini Piñatas DIY. Oct 12 Yea!
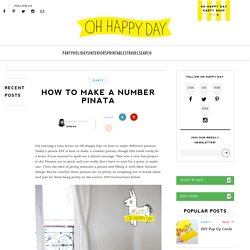
It’s a piñata day! We miss Mexican food here in Paris since it isn’t as readily available as back home so we started having Taco Tuesdays where my friend Rubi makes amazing homemade tacos. Last night we got together and I made everyone their own personalized mini piñatas. There was one at each person’s plate filled with treats and surprises. Materials Needed: Cereal boxes, scissors, exacto knife, crepe paper in folds, tape, glue. How to Make a Number Pinata. I’m starting a new series on Oh Happy Day on how to make different pinatas!
Today’s pinata DIY is how to make a number pinata, though this could easily be a letter if you wanted to spell out a (short) message. This was a very fun project to do! Pinatas are so great and you really don’t have to wait for a party to make one. I love the idea of giving someone a pinata and filling it with their favorite things. But be careful, these pinatas are so pretty its tempting not to break them and just let them hang pretty in the corner. Materials needed: Cardboard, Exacto, Pen, Ruler, Tape, Crepe Paper, Glue 1. 2. 3. Cake postcard tutorial. Supplies Materials needed to make two cake postcards: 1 large sponge (yellow paints the best)Serrated knifeX-Acto or utility knifeSpray paint (brown, yellow, pink or white)1 tube acrylic latex caulk (brown, cream or white)Spray adhesive (3M Super 77 works great!)
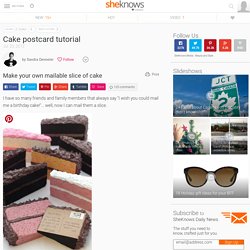
Cardboard, kraft paper or scrapbook paper Instructions Cut sponge into wedge shape With a serrated knife, using a sawing motion, cut a sponge into two, cake wedge shapes. Cut a center groove into sponge Using an X-Acto or utility knife, cut a section of foam from the center of the sponge. Paint the sponge wedges in desired color. Trace the slice of cake When the sponge wedges are dry, trace around them on a piece of cardboard, kraft paper or colorful scrapbook paper. Spray glue the postcards to the solid, flat sides of the sponge wedges. Using a caulking gun and your desired caulk, fill a plastic disposable piping bag with half of the caulk.
Pipe the center of the cake Pipe the icing on the top Note from the editor This totally works!