
Grungy Metal Texture. I’ll be teaching you how to make some grungy metal with a star in this tutorial.
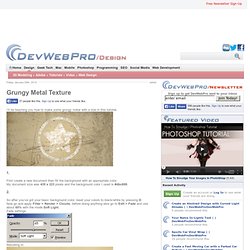
First create a new document then fill the background with an appropriate color. My document size was 435 x 223 pixels and the background color I used is #dbc699. So after you’ve got your basic background color, reset your colors to black/white by pressing D. Now go and apply Filter > Render > Clouds, before doing anything else go to Edit > Fade and use about 65% with the mode Soft Light.
3d models. Ok for this tutorial we're going to have a quick look at how to make a worn metal texture in Photoshop.
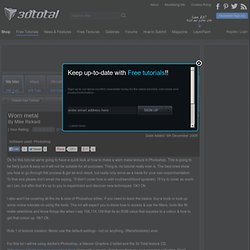
This is going to be fairly quick & easy so it will not be suitable for all purposes. Thing is, no tutorial really ever is. The best ones show you how to go through the process & get an end result, but really only serve as a basis for your own experimentation. To that end please don't email me saying, "It didn't cover how to add mud/sand/blood spots/etc. I'll try to cover as much as I can, but after that it's up to you to experiment and discover new techniques. I also won't be covering all the ins & outs of Photoshop either. Rule 1 of texture creation: Never use the default settings - not on anything, (filters/tools/etc) ever.
For this tut I will be using Adobe's Photoshop, a Wacom Graphire 2 tablet and the 3d Total texture CD, ( along with a couple of textures from my own personal collection. Creating a Cool Brushed Metal Surface in Photoshop. Today's tutorial comes in response to a reader request from Tom and it won't be about lighting effects, glows, or sparks.

Instead, I will show you how to create the brushed aluminum texture similar to the Apple products! Step 1 To start, create a new document. As I wanted to create a wallpaper for my laptop I used 1440x900. Unlock the background layer, then apply a Gradient Overlay using a Layer Style. Step 2 Create a new layer and rename it to "noise. " Step 3 Creating the Pattern. With the Ellipse Tool (U), create six very small circles. Step 4 Make sure the rulers are visible.
Step 5 Duplicate the three circles from the first column and move them as I did in the image below. Step 6 Select all circles and Convert them to Smart Objects. Step 7 Hide the background and the noise layers. Step 8 With the Rectangular Tool (U), create a rectangle. Step 9 Add your logo or any symbol you would like to use and place it in the center of the image. Tutorials >> Realistic Metal.
Ripped and Torn Edges and Stuff. Photoshop allows you to create that ripped, torn and distressed effect that has been seen around lately.
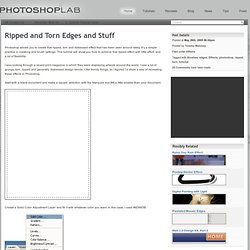
It’s a simple practice in masking and brush settings. This tutorial will show you how to achieve that ripped effect with little effort, and a lot of flexibility. I was looking through a recent print magazine in which they were displaying artwork around the world. I saw a lot of grungy, torn, ripped and generally distressed design trends. 3nhanced.com - Imagine, Design, Develop, Create the Web. Tagged Photoshop by Jon The “web 2.0″ look has taken over the web and has given it a very clean and polished look.
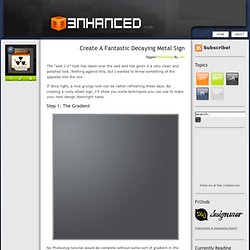
Nothing against this, but I wanted to throw something of the opposite into the mix. If done right, a nice grungy look can be rather refreshing these days. By creating a rusty street sign, I’ll show you some techniques you can use to make your next design downright nasty. Step 1: The Gradient No Photoshop tutorial would be complete without some sort of gradient in the background. Step 2: The Sign In this step, I used the rounded rectangle and custom shape tool (U) to create a basic looking sign. After you are happy with your sign, flatten all the layers you used to create it. Step 3: The Grime The next step will involve 5 different filters/effects to for the specific texture that is needed. Futuristic, Grungy Metal Text Effect in Photoshop.
In today’s quick tip tutorial, we will demonstrate how to create a futuristic, grungy, text effect with lots of scratches and fancy neon lights.
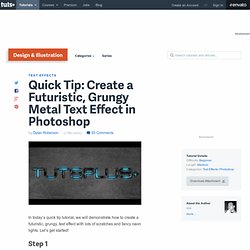
Let’s get started! Step 1 Create a new document with any desired size, in this case I made the document 1920px wide and 1080px high at a resolution of 300ppi. Next, change the background color to #272727. Metallic Styles in Photoshop. In this tutorial, we're going to create a metallic effect using layer styles and gradients that you can apply to different objects.
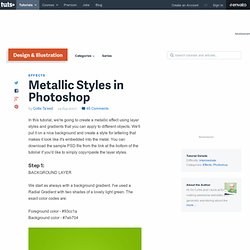
We'll put it on a nice background and create a style for lettering that makes it look like it's embedded into the metal. You can download the sample PSD file from the link at the bottom of the tutorial if you'd like to simply copy+paste the layer styles. Step 1: We start as always with a background gradient.