
Paper Airplane Throw Pillow. It‘s challenging to decorate on a budget.
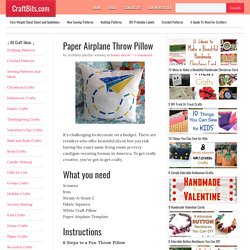
There are retailers who offer beautiful décor but you risk having the exact same living room as every cardigan-wearing human in America. To get really creative, you've got to get crafty. What you need Scissors Iron Steam-A-Seam 2 Fabric Squares White Craft Pillow Paper Airplane Template Instructions 6 Steps to a Fun Throw Pillow Step One: Gather your materials • Scissors • Iron • Steam-A-Seam 2 • Fabric Squares • White Craft Pillow • Paper Airplane Template Step Two: Cut out paper airplane template Cut out part of the template leaving a generous area of white around it.
Step 3: Layer pieces Place cut-out fabric and template onto the Steam-A-Seam (face up) and cut with precision. Petal Pillow Tutorial. Today we’re going to make a Petal Pillow.
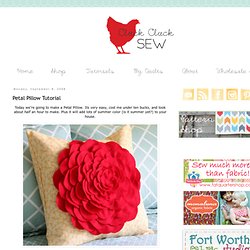
Its very easy, cost me under ten bucks, and took about half an hour to make. Plus it will add lots of summer color (is it summer yet?) To your house. First you’ll need: -a little over a 1/2 yard of fabric….19 inches to be exact. . - 1/4 yard felt. . - a large and small cup (or other circles) for tracing, a large bowl for tracing, a pen, scissors, and cardstock to make your template. Trace the rims of your cups onto your cardstock and cut out. Pin the templates to your felt and cut out circles.
Cut out roughly 30 large circles, and 20 small circles. Now cut your circles in half. Now your going to cut your fabric into three pieces. 1 large square 19 inches x 19 in. , 1 rectangle 19 in. x 15 in. , and 1 rectangle 19 in. x 12 in. Shabby flower pillow (a tutorial) Sometimes, ideas in my head don’t always turn out as planned.
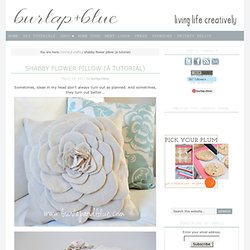
And sometimes, they turn out better…. After running across Sweet Jessie’s Scalloped Garland tutorial a few months ago, I wanted to take the same technique and use it to make a shabby, fun, linen pillow. Here’s how I did it: Supplies Needed:fabric (I used linen)sewing machinezipper (if desired) Step 1: Create your “petals”. Step 2: Take sew petals and turn inside out. Step 3: Stitch petals down to fabric. Step 4: Continue creating petals and attaching them to pillow front. Step 5: Almost there! Six-Sided Pillow with Tassels is a Fussy Cutting Superstar. You know what's cool about pillows?
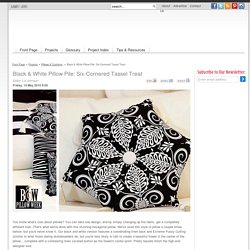
You can take one design, and by simply changing up the fabric, get a completely different look. That's what we've done with this stunning hexagonal pillow. We've used this style of pillow a couple times before, but you'd never know it. Our black and white version features a coordinating linen back and Extreme Fussy Cutting (similar to what those daring skateboarders do, but you're less likely to fall) to create a beautiful flower in the center of the pillow... complete with a contrasting linen covered button as the flower's center point.
Pretty tassels finish the high-end designer look. The Citrus Holiday: Elegant Hexagonal Pillow and the Pretty Prints Please: Star Pillow both use this same design. Our thanks to Michael Miller Fabrics for providing us with an awesome selection of fabrics from their brand new Black and White Collection. Using a ½" seam allowance, sew the two halves together. Tassels Fabric covered buttons. Owl Cushion Tutorial by The Craft Revival. Daisy with her Dottie BT Pillow. Car pillow tutorial. Gotta car lover on your hands?
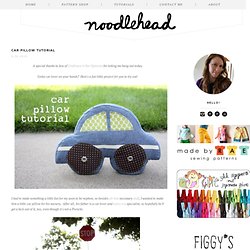
Here's a fun little project for you to try out! I had to make something a little fun for my soon to be nephew, so besides all that necessary stuff, I wanted to make him a little car pillow for his nursery. After all, his father is a car lover and autocross specialist, so hopefully he'll get a kick out of it, too, even though it's not a Porsche. Materials needed: 1/2 yard focus fabric1 yard lightweight fusible interfacingscraps for windows/wheels1/2 yard twill tape7/16" grommets (two)poly fiber fillheat n bondthread, etc.car pattern piece (I set it up to print on an 11x17 paper, but you can select 'tile all pages' if you're printing on a regular home printer - just butt pieces together, tape, and cut out shape.
Take one of the car shapes. Install the grommets in the center of each wheel piece. Fuse the windows/wheels into place using manufacturer's instructions while using the pattern as a positioning guide. Finish!