
Create a 3D Flowery Text Effect.
Create a Watercolor Painting in Photoshop. December 27th, 2006.
Blog topics. Photoshop brushes. Paper tutorial. Mock-up help. Converting Text to Outlines The Right Way. Why do so many people want their all the text in their documents converted to outlines?
Don't answer that; I've heard the reasons, and they all make me sad. Nevertheless, some people do want all the text converted, and they find themselves up a creek because Type > Create Outlines doesn't always give them what they want. Specifically, paragraph rules (rule above/below) disappear. Bullets and numbering disappear. Underlines and strikethroughs disappear. Fortunately, there is a better way to convert text to outlines. Flatten, Don't Convert Here's the whole tip in a nutshell: Don't use Convert to Outlines at all. Choose High Resolution from the Transparency Flattener Presets dialog box and click New (which creates a duplicate of the currently-selected preset). InDesign CS5 & CS5.5 * Buttons. Intricate Patterns in Illustrator. How to Create a Van Icon in Photoshop. This is another icon I have created with Negreu Andreas.
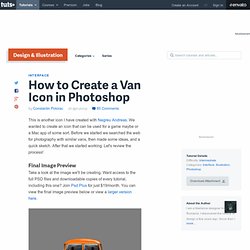
We wanted to create an icon that can be used for a game maybe or a Mac app of some sort. Before we started we searched the web for photography with similar vans, then made some ideas, and a quick sketch. After that we started working. Let's review the process! Final Image Preview. Make a Nice, Smooth Bevel in Illustrator (a how-to)
August06 While working on a project for one of my clients, I encountered the need to make a beveled object, but I didn't want to create several 300+ dpi objects in Photoshop.
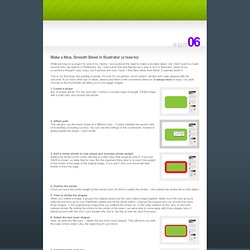
So, I took some time and figured out a way to do it in Illustrator. Some of my co-workers thought I was crazy, but it worked and now I have 1.5mb files rather than 40mb. It seemed worth it. This is my first foray into posting a tutorial. 1. Create a Google Docs Icon. FanExtra Launch Week (Day 1) As part of our FanExtra Network launch, we will be publishing one tutorial every day for our launch week.
We hope that you enjoy them. You can also sign up for your FanExtra membership for just $1 for the first month (offer ends Friday 22nd, October). This will give you access to our hundreds of tutorial source files, members only tutorials, hundreds of textures/vectors/icons, and great design discounts! Sign Up Today. 3D Arrow Design in Photoshop. Design a Price Tag in Photoshop. Design in Photoshop Using Patterns from Illustrator.
Photoshop Button Maker. In this simple tutorial, we're going to create a clever little way of making little buttons using a couple of layers and one interchangeable image layer.
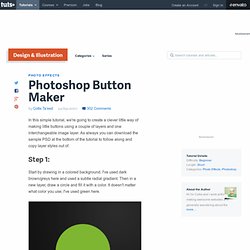
As always you can download the sample PSD at the bottom of the tutorial to follow along and copy layer styles out of. Step 1: Start by drawing in a colored background. Create the Adobe CS4 Icons in Photoshop. In today’s tutorial, I will show you how to create the Adobe CS4 icons in Photoshop from scratch.
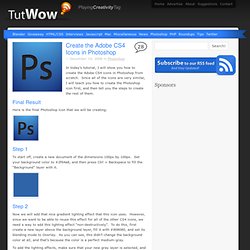
Since all of the icons are very similar, I will teach you how to create the Photoshop icon first, and then tell you the steps to create the rest of them. Final Result Here is the final Photoshop icon that we will be creating: To Do List Clipboard Business Card. What’s included: 2 well organized CYMK 300 DPI PSDs with layers for every element.
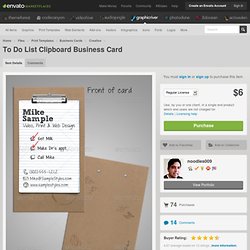
PDF Help file. With this card I’ve created a slightly used or worn look. The “To Do List” aspect is sure to catch peoples’ attention. Icons were hand drawn as well as the doodles etc. The labeling/embossing tape was also scanned in. There are extra icons included. If more room for address etc is needed, there is an alternate set of papers that go further down the front of the card. There are also extra embossing tapes in case you need more or longer ones. The Free fonts used in this file are: Sketch Rockwell Janda Every Day Casual Embossing Tape 3 If you have any questions, please use the comments. From PSD to HTML the easy way – Using Ultimate CSS Framework. From PSD to HTML the easy way – Using Ultimate CSS Framework Already a member?
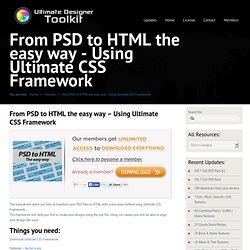
This tutorial will teach you how to transform your PSD files to HTML with a very easy method using Ultimate CSS Framework. This framework will help you first to create your designs using the psd file. Using css classes, you will be able to align your design like a pro. Things you need: Download Ultimate CSS Framework Optional – Vector icons Please note: we have created over 60,000 premium design items which you will be able to download instantly and use in your own or client designs. View layout option: Before you start this tutorial it is better to look on the layout option. View Layout Option After you have the framework .zip file, extract it to your hard drive. The first step is to open the PSD file included in the “PSD Template” folder. In case your layout will not look the same try to make the folder with the blue blueprints visible. After you enable the Guides you will see some vertical blue lines.
Demo 1 1. Adobe Photoshop Tutorials. If you're looking for a clean custom web design, then visit the incredible team over at Captain Marketing Thanks for visiting!
Step 1 First up we are going to be creating a new document (the size that I have chosen is 500 by 200 pixels). Select the gradient tool and select the radial gradient style. Now fill the document with a gradient from the left to th e right (start about 100 pixels or so inwards from the left and half way down from the top). Step 2 Using the rectangular marquee tool make a fixed sized selection of 100 by 100 pixels on the left like so.
Step 3 On a new layer (Layer > New > Layer) fill the selection with a radial gradient from the top left (colour is #69a01e) to the bottom right (colour is #93d43b). Glossy & Beveled Buttons Tutorial - Photoshop Tutorial. Web Gallery Example.