
Designing a 3D Software Box. In this tutorial, we are going to create a 3D software box using Photoshop.
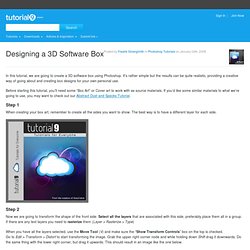
It’s rather simple but the results can be quite realistic, providing a creative way of going about and creating box designs for your own personal use. Before starting this tutorial, you’ll need some “Box Art” or Cover art to work with as source materials. If you’d like some similar materials to what we’re going to use, you may want to check out our Abstract Dust and Specks Tutorial. Step 1 When creating your box art, remember to create all the sides you want to show. Step 2 Now we are going to transform the shape of the front side. When you have all the layers selected, use the Move Tool (V) and make sure the “Show Transform Controls” box on the top is checked. (Tip: If you’d like to adjust the perspective so that the top and bottom right corners both adjust the EXACT same, hold Ctrl + Alt + Shift while dragging the transformation nodes.)
How to make a catalog photoshop mockup tutorial. In this tutorial we will look into how to make a photoshop catalog mockup with smart layers to drag and drop your designs.
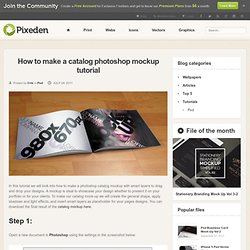
A mockup is ideal to showcase your design whether to present it on your portfolio or for your clients. To make our catalog mock-up we will create the general shape, apply shadows and light effects, and insert smart layers as placeholder for your pages designs. You can download the final result of the catalog mockup here. Step 1: Open a new document in Photoshop using the settings in the screenshot below: Starting with a simple shape we will make the diferent pages of the catalog. Next we need to give the shape a curved page form with the “Convert Point Tool” working on the vector points of the rectangle until getting a shape close to that of the screenshot below: Once we have the desired shape, we make two layer copies of that shape and position them as below (you can create more shapes according to the number of pages and size of the mock-up you want to create) Step 2:
Mockup Blister Packaging in Photoshop. Designers and clients often have different ideas about how a finished product should be presented.
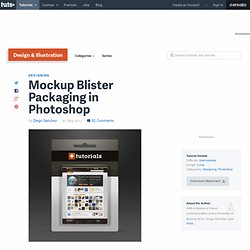
Designers want to show the finished artwork, clients want to know exactly how their design will look on the shelves. In this tutorial, we will demonstrate how to create a mockup for some blister packaging so that you can present your design to your clients. Let's get started! Tutorial Assets The following assets were used during the production of this tutorial.
Before You Begin In order to make the file scalable and easy to edit, we will work always with shape layers, so please be sure to select the Shape Layer option in every single shape we make, doesn´t matter if is a circle, rectangle or even the Pen Tool (P) always have it selected from the tool menu. Document Set-Up Start with a RGB Document with a 600 x 600 px canvas size at 72dpi, with the Background Contents set to White and name the file as Exhibition Blister Mock-up. Step 1 - Setting up the Background. Step 3 - Saving for the future. Create A Business Card Mockup In Photoshop Using The Vanishing Point Filter. This tutorial will teach you how to take a photograph of an existing business card and use it to create a digital mockup with the Vanishing Point filter within Photoshop.
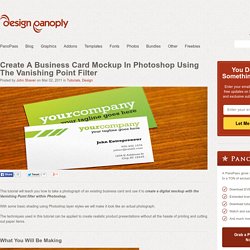
With some basic shading using Photoshop layer styles we will make it look like an actual photograph. The techniques used in this tutorial can be applied to create realistic product presentations without all the hassle of printing and cutting out paper items. What You Will Be Making Step 1 First, you'll have to take a couple of pictures. I used a mostly white card and painted over any lettering that might be a distraction to make it completely white. Without moving the camera, remove the business card and take another photograph. Step 2 Create a new document, ours is 1040px x 680px, and paste your photographs in, each as a separate layer.
Hide the layer of the photo without a business card. Create a new layer above all the rest. Step 3 Open one side of your business card template. Step 4.