
Create an Underwater, Vector-Style Illustration in Photoshop. Photoshop isn't the first application that we think of when some one mentions vector-style illustrations.
That's because we have Illustrator to easily produce vector artwork. While Photoshop wasn't originally designed to create these types of illustrations, it does have the capability to produce illustrations that can meet or exceed that of Illustrator. In this tutorial we will demonstrate how to create a fun, underwater, vector-style illustration using Photoshop. Let's get started! Before You Begin. Create "Cool" Typography Using Paths in Photoshop. In this tutorial we will demonstrate how to create some "cool" custom typography.
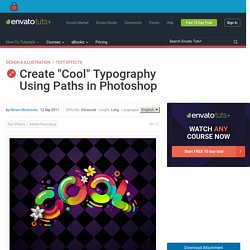
Let's get started! The following images were used during the production of this tutorial. We will use the circle path and parts of it and stroke them with brush. Pick Ellipse Tool (U) and choose Path option on the properties panel. This way you will create circle path and not the shape. Pick the Brush tool (B). Create a new layer, and with Brush tool choosing press Alt + Enter. Pick the Direct Selection Tool (A). Pick the Pen Tool (P) and add anchor points on the path as shown below. With Direct Selection Tool (A) select and delete the extreme anchor points of the path. Pick the Brush Tool (B), pick darker color, create new layer and press Alt + Enter to stroke the path.
As you see we just cut parts of the original circle path by deleting anchor points. Create a new document 1600 pixels wide and 1200 pixels high at a resolution of 72 dpi. Create an advanced glossy Web 2.0 orb tutorial in Photoshop. How to Create a 3D Book Icon in Photoshop. This design tutorial is meant to explain how to draw a 3D book icon from scratch with the help of Photoshop.
We will use tools such as the Pen Tool, Polygonal Lasso Tool, and Gradient Tool, among other things. A strong proficiency in drawing shapes is needed in order to complete this tutorial. Preview Step 1: Set Up the Photoshop Canvas Open a new file using File > New (Ctrl/Cmd + N). Step 2: Draw the Book Cover Use the Pen Tool (P) to draw a shape above the Background layer. Double-click on the book cover’s layer to view the Layer Style window. Army Swiss Knife Tutorial. Design a Shiny Bass Guitar Illustration Using Photoshop. In this tutorial, we're going to draw a detailed bass guitar illustration.
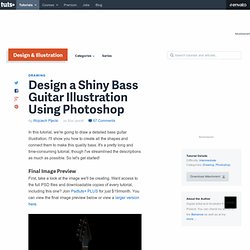
I'll show you how to create all the shapes and connect them to make this quality bass. It's a pretty long and time-consuming tutorial, though I've streamlined the descriptions as much as possible. So let's get started! Final Image Preview First, take a look at the image we'll be creating. Video Tutorial Our video editor Gavin Steele has created this series of video tutorials to compliment this text + image tutorial. Guitar Video 1 Guitar Video 2 Guitar Video 3 Step 1 Create a new document with the dimensions of 940 pixels by 1970 pixels, and a resolution of 300 pixel/inch.
Don't worry if your shape isn't perfect, you can use the Direct Selection Tool (A) to correct the path. Step 2 Create a new document 1000 pixels by 1000 pixels, with a resolution of 300 pixels per inch. Make a Photorealistic Electric Guitar in Photoshop. In this tutorial, I’m going to show you how to create a realistic electric guitar using only Photoshop.
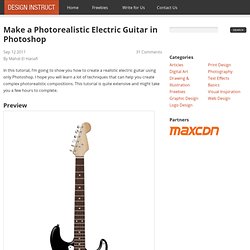
I hope you will learn a lot of techniques that can help you create complex photorealistic compositions. This tutorial is quite extensive and might take you a few hours to complete. Preview Step 1: Draw the Guitar’s Headstock Create a new document with the following dimensions: 2,048×3,072px. Let’s create the basic shape of the headstock of our guitar. Next, create a new layer, choose the Rectangular Marquee Tool (M) and then draw a rectangle with the size of 417x287px. Then, change your Foreground color to #966a39 and Background color to #cdac85. Go to Filter > Render > Clouds and the layer will then be automatically filled with the filter. Let’s use another filter: Go to Filter > Render > Fibers. Create a Cardboard Box Icon in Photoshop.
In this Photoshop tutorial, I will show you how to make a cardboard box that can be used for a number of purposes, such as for icons or for other design purposes.
The procedure used to create the cardboard box is simple and easy to understand, using tools such as the Gradient Tool and the Polygonal Lasso Tool. Preview Tutorial Resources Icons: Qure Dock Icons by Prax08. How to Create A Detailed Cassette Tape in Photoshop. Anyone remember audio cassettes?
Back in the day, when I was a kid, we were listening to music from audio tapes and vinyl records. In this step-by-step tutorial we will reinvent the tape … again! I will walk you through the process of creating a detailed audio cassette, from scratch, in Photoshop using shapes, layer styles and filters. Interested? Let’s start! Preview.