
Page Curl Effect with Photoshop. I love Photoshop for many reasons.
One of those reasons is the huge number of filters, effects and actions that come built in as standard. Great as Photoshop is, there are a few things that Adobe seem to have missed out. Despite the many filter effects that have been added to each new version of Photoshop, to date there has never been a page curl filter. But I’m not going to let a minor point like that put me off, especially as it’s something that can be achieved very quickly using the standard tools that are in Photoshop CS3, CS4 and CS5 The first thing you’ll need is a suitable image. Copy the layer With your image open in Photoshop press CTRL+J to duplicate the layer. Replace the background Fill the background layer with white and then click Layer 1 to make it active.
Triangular selection Hold ALT and click once outside the selection and about 1/3rd of the way up on the left hand side. Removing a green screen background in Photoshop. How To Create 3D Ball in Photoshop. In this tutorial we’re going to learn how to create a 3D ball with photoshop in 8 steps.

We also included a PSD file as source files. We’ll use of a few fundamental tools in Photoshop such as circle tool, brush tool, and layer styles — combining them with easy and creative techniques to come up with a graphic that you can adapt into icons, infographics, and other design projects. Final Image Preview Once you have finished the tutorial, you should have something like this. Lets get started! Step 0. How to Create a Transparent Gradient in Photoshop. Text Reflection Effect in Photoshop. Written by Steve Patterson.
In this Photoshop text effects tutorial, we're going to create a simple text reflection effect. This effect has been used everywhere in advertising, and as we'll see, it's very easy to do. Here's the reflection we'll be creating: The final text reflection effect. Let's get started! Place An Image In Text With Photoshop Clipping Masks. Written by Steve Patterson.
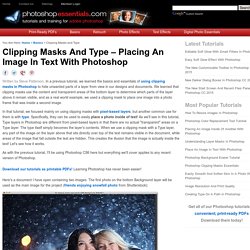
In a previous tutorial, we learned the basics and essentials of using clipping masks in Photoshop to hide unwanted parts of a layer from view in our designs and documents. We learned that clipping masks use the content and transparent areas of the bottom layer to determine which parts of the layer above it remain visible, and as a real world example, we used a clipping mask to place one image into a photo frame that was inside a second image. In that tutorial, we focused mainly on using clipping masks with pixel-based layers, but another common use for them is with type. Creating Type On A Path In Photoshop. In this Photoshop Basics tutorial, we'll learn how to add type along a path!
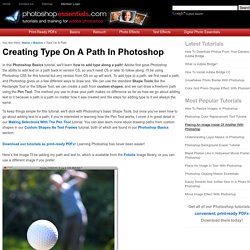
Adobe first gave Photoshop the ability to add text on a path back in version CS, so you'll need CS or later to follow along. Add a Frosted Background to Photo Captions. In this Quick Tip tutorial, we will demonstrate how to improve a text caption by creating a frosted glass-like text bar that can improve the look of your photos or designs.
Open up any image in Photoshop. I used an autumn photo. You can use a similar one if you like. Otherwise, any image will do. Unlock the background layer by double clicking on the layer, call it "Leaves". Create a new layer (Cmd (Ctrl) + Shift + N) on top of the Leaves layer, and call it "Frosted Bar". Fill in the selection using the Paint Bucket tool (G) with white (#FFFFFF) and deselect the current selection (Cmd (Ctrl) + D). Apply the following layer styles to the "Frosted Bar" Layer. Stroke: Using white (#FFFFFF) with size set to 2 and position outside and 50% opacity. Photoshop backgrounds, textures and icons. Use Photoshop to Quickly Change the Color of Objects in Your Photos. You are here: Blog Home » Guest Bloggers » Use Photoshop to Quickly Change the Color of Objects in Your Photos Photoshop is a powerful tool that can be used to do pretty much anything in a picture.
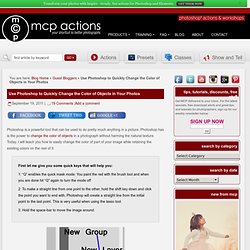
Photoshop has is the power to change the color of objects in a photograph without harming the natural texture. Today, I will teach you how to easily change the color of part of your image while retaining the existing colors on the rest of it. First let me give you some quick keys that will help you:1: “Q” enables the quick mask mode. You paint the red with the brush tool and when you are done hit “Q” again to turn the mode off2: To make a straight line from one point to the other, hold the shift key down and click the point you want to end with.
Let’s get started: I have a picture that is unedited but the bride asked if the car could be another color. With the image loaded, I first duplicate the layer. Photoshop Quick Tip: Ultra Glossy Text Effect. Really shiny beveled text is cool, and eye catching.

When I come across effects like this I always stop and try to identify the layer styles that were used to achieve the look. The fact is you can create a very complex look with just a few layer styles. In this Quick Tip, I’ll show you just how easy it can be. Preview. Gold Plated Text Effect In Photoshop. Written by Steve Patterson.
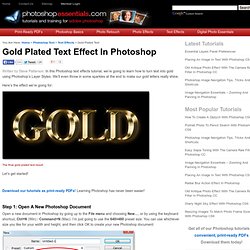
In this Photoshop text effects tutorial, we’re going to learn how to turn text into gold using Photoshop’s Layer Styles. We’ll even throw in some sparkles at the end to make our gold letters really shine. Here’s the effect we’re going for: The final gold plated text result. How To Create Rounded Corners for Your Pictures in Adobe Photoshop CS6. Let’s Round Some Corners On Pictures Using Adobe Photoshop CS6 I really struggled with this one.
I literally spent about 4 or 5 hours searching the Internet for a how-to create rounded corners on my picture that I use as a header for this website. All the Photoshop tutorials and videos I looked at online were for Photoshop CS4 and 5. Photo To Sketch With More Detail. Written by Steve Patterson. In a previous Photoshop tutorial, we learned how to convert a photo into a sketch using a technique that works great with portraits, since it tends to leave out small, unwanted details like wrinkles and other skin blemishes while focusing more on the general features we want to see in the sketch, like a person’s eyes, nose and lips. Sometimes though, when working with other types of images like landscape or nature photos, buildings and architecture, still lifes, or really any image that doesn’t focus on people, you’ll want the sketch to include those tiny details the previous technique would ignore.