
Google Image Result for. Google Image Result for. Scrangie. NAILED IT! Photos/post/design: Kristin Ess (wood floor insert photo from remodelista.com) You gotta love those magical moments when you’re just minding your own bizz and inspiration jumps out and smacks you right between the eyes. Not long ago I was looking through floor patterns for a home project. My favorite pattern in the world is called the “herringbone pattern”. While I’m speaking to this flooring guy, all I could think about is making this pattern into a manicure. As he started demonstrating the way it gets laid down, I only saw colorfully painted nail strips. NOTE: Before you start, use one of your polish colors as a base for your nails about an hour before (or the night before) so they have plenty of time to dry before you apply the nail strips! Take a section of nail strips from the Sally Hansen Hard as Nails French Manicure kit and cut them in half long ways.
Hair & Nails / dots. August 2011. This is just something that's been on my mind lately and I'd like to ask you guys what your method is. Personally, I change my nails on a daily basis. I like them to somewhat match/coordinate with my clothing. (Remember I'm a single woman with no kids, so I have all the free time in the world to do this.) When I've taken off my polish and am planning what to wear for the next day, I'll do some swatches of new polishes, or I'll experiment with crazier nail art. That's when I will try out different things that might be too bold for me to wear out to work. So by the time I get around to sitting at the computer and uploading my pics, I've usually got several blog posts worth. Throughout the course of the day I check my blog very frequently on my iPhone.
I realize that I'm no good at replying to comments. :( I really tried in the beginning, but I can't hardly keep up. Very Emily » Nail Art: Marble Manicure. Some of you may have heard of water marbling, you will find endless tutorials on youtube on how to do it, though beware!
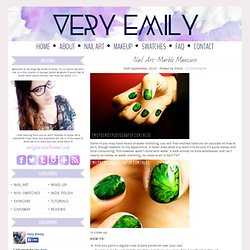
In my experience, it never does what you want it to do and it’s quite messy and time consuming. This however wasn’t done with water, it took almost no time whatsoever and isn’t nearly as messy as water marbling, no mess at all in fact! In close-up. First you paint a regular coat of dark polish all over your nail.Quickly put a few small dots of lighter polish on your nail while everything is still wet.Swirl them together to create a marble effect with either a fine brush, a toothpick or a needle. How To Get Swirly, Tie-Dyed Nails.
Make your own nail polish. Hey GL girlies!
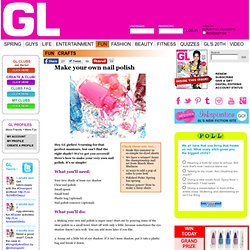
Yearning for that perfect manicure, but can’t find the right shade? Nails / Make your own nail decals! Nails / LOVE! PRETTY POLISH IDEA. Photos + post by Kristin Ess First of all, sorry for the lack of posts this week.
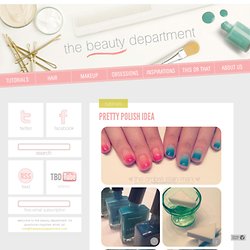
By now you know that Lady Conrad has a brand new book called THE FAME GAME. We joined her on her book tour and that busy schedule left little time for much else. But we’re back and bringing you the ombre stain mani! We’ve seen lots of ombre techniques in the past, but this one is pretty cool because it’s done on your bare nails and has more of a stain effect than looking like actual nail polish. You will need: 3-4 gradient nail polish colors (dark to light and all in the tonal family), a clear top coat, a triangle makeup sponge, a cup of water, a piece of paper for blotting the polish, a paint brush + nail polish remover for clean up. Unscrew the lids of your 3 or 4 gradient colors so they’re ready to go. Try it in other colors. Tags: DIY, do it yourself, how to, kristin ess, mani, mani monday, manicure, nail art, ombre, paint, polish, spring, stain, style, summer. STICKY SITUATION.
Photos + design by Kristin Ess It’s really hard to get clean lines when it comes to putting stripes on manicures. I’m going to share a little DIY secret– nail polish on scotch tape. You can cut a perfect line or triangle and get a fun geometric mani. DIY Glitter Toes. Nails / Las uñas / loveee. Nails/Makeup / . Newspaper Nails. A few weeks ago I shared in this post that I learned how to do this amazing thing called "newspaper nails.
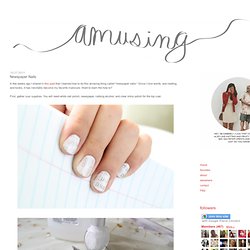
" Since I love words, and reading, and books, it has inevitably become my favorite manicure. Want to learn the how-to? First, gather your supplies. You will need white nail polish, newspaper, rubbing alcohol, and clear shiny polish for the top coat. Step one: Grab some newspaper and cut it into pieces big enough to cover your nails. Step two: Paint your nails white. Step three: Dip a piece of newspaper into the rubbing alcohol and saturate them well. Step four: Press the bit of newspaper on your fingernail hard for about three seconds and peel it off. Step five: Top coat time! Now admire your creation; and try not to chip your nails the first day like I all-too-often do.