
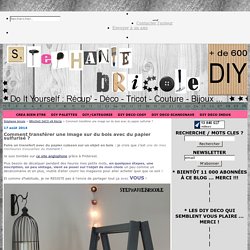
Tutoriel transfert d'image au vernis colle. Vous êtes nombreux à me demander des explications au sujet de la technique du transfert d’images au vernis colle.
Voici un petit mode d’emploi. 1. Il suffit de photocopier une image(en noir et blanc ou en couleur), de la découper et de l'enduire côté imprimé d'une couche de vernis colle, le même que l'on utilise pour le collage de serviettes. J’utilise un pinceau brosse assez large ou un pinceau mousse. Attention, l'image sera inversée: si vous voulez transférer du texte, pensez à imprimer en miroir! 2. Il est impératif de procéder au transfert sur un support parfaitement sec. 3. 4. 5. 6. 7.
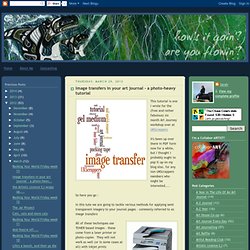
Le principal intérêt de cette technique réside dans l’effet de transparence qui peut être obtenu, c’est pourquoi le résultat est davantage bluffant lorsque le support récepteur est imprimé comme ici avec ce texte. Comment transférer une image sur du bois avec du papier sulfurisé. Faire un transfert avec du papier cuisson sur un objet en bois : je crois que c'est une de mes meilleures trouvailles du moment !
Je suis tombée sur ce site anglophone grâce à Pinterest. Plus besoin de décalquer pendant des heures mes petits mots, en quelques étapes, une inscription, un peu vintage, vient se poser sur l'objet de mon choix un peu comme un décalcomanie et en plus, inutile d'aller courir les magasins pour aller acheter quoi que ce soit ! Et comme d'habitude, je ne RESISTE pas à l'envie de partager tout ça avec VOUS ! Image transfers in your art journal - a photo-heavy tutorial.
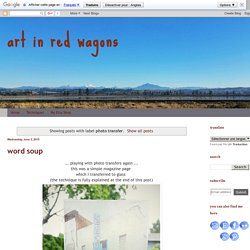
This tutorial is one I wrote for the (free and rather fabulous) six month Art Journey workshop over at UKScrappers It's been up over there in PDF form now for a while, but I thought I probably ought to pop it up on my blog also, for any non UKScrappers members who might be interested....
So here you go : In this tute we are going to tackle various methods for applying semi transparent imagery to your journal pages – commonly referred to as image transfers All of these techniques use TONER based images – these come from a laser printer or photo-copier. They will not work as well (or in some cases at all) with inkjet prints If you do not have direct access to a laser printer, perhaps you have a partner or friend who works in an office and could run you off some photocopies? Photo transfer. (beware: lots of photos) I have been busy the last 2 days creating these, and took pictures along the way to show you how I did it (this is by far the easiest method I have found for photo transfer) you will need: ink jet printer or copier photographic prints heavy paper (cardstock or watercolor paper) mod podge or acrylic medium medium sized paintbrush fine grade sandpaper beeswax (optional) bone folder soft rag or towel 1. print your images and cut or tear along the edges removing any white border.
Acrylic Paint Transfer. Supplies needed: Acrylic dabbers, photocopy of an image, water spritzer bottle, paintbrush, card stock, craft sheet and heat tool (optional) Take the lid off the dabbers and brush the paint onto the card stock, ensure you get a good coverage Take your photocopied image ( remember that you will get a reverse of the image, so don't use bold words), flip it over and place it in the acrylic.

Lightly press it down making sure it's smooth and not wrinkled Leave to air dry for at least 15 minutes and then if you wish give it a blast with the heat tool Only move onto this step when you are sure your paint is completely dryTake your water filled spritzer bottle, spray the back of the paper no more than two squirts, you don't want it too wet Next start to rub the paper very gently with your finger Keep rubbing and extra spritzing if you need too Eventually you will get rid of all the paper, but it does take a bit of patience as you have to be careful not to wet it too much and rub the image away. Birgit's Daily Bytes: Print Transfer Technique. A quick and easy way to transfer some print material to your art journaling pages, that I came across mostly by accident and have since used on many an art journaling page!
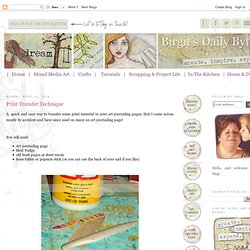
You will need: Art journaling page Mod Podge old book pages or sheet music bone folder or popsicle stick (or you can use the back of your nail if you like) I generally use this method when I’ve already layered on several paints, inks, stamps and splatters, so the transfer print sits on top of the page. 1.) Tear your piece of printed paper to about the size you would like the print to appear on your page. 2.) 3.) You just need to go over it a few times. 4.) Keep on pulling as much or as little as you like. I quite like it when some of the paper remains, especially since the print that transfers onto the page is of course mirror imaged, but the print you don’t pull off isn’t, so it makes for interesting texture and visual interest! 5.) And that’s it! Oh, and one more little tip. Art in red wagons: photo transfer.