
Pearltrees+Pinterest [ are a great combination for tracking the vast array of inspirational images & links I use every day. ••••••Feel free to visit or follow my pinterest page! •••
Earthquake apathy means B.C. is not prepared for the big one. Brian Hull. War: history uncovered 2017. PressReader.com - Journaux du Monde Entier. Bikes 2017. Our 1928 home: Projects. MINIMAL Minimalism. This month I found : An even BETTER VERSION of yourself. YENSID | DISNEY. Tiki. ART + CREATIVITY. CARPENTRY & woodworking. Canadian Bankers Association. HALLOWEEN • DIY • props • blogs • websites • inspo. Had my IDENTITY stolen ... H&H. No More 404s! Resurrect dead web pages with our new Firefox add-on. Have you ever clicked on a web link only to get the dreaded “404 Document not found” (dead page) message?
Have you wanted to see what that page looked like when it was alive? Well, now you’re in luck. Recently the Internet Archive and Mozilla announced “No More 404s”, an experiment to help you to see archived versions of dead web pages in your Firefox browser. Using the “No More 404s” Firefox add-on you are given the option to retrieve archived versions of web pages from the Internet Archive’s 20-year store of more than 490 billion web captures available via the Wayback Machine. To try this free service, and begin to enjoy a more reliable web, view this page with Firefox (version 48 or newer) then:
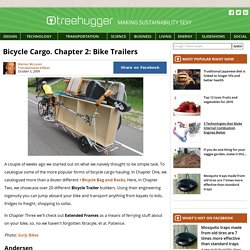
Show us your palette colors and tell us why: 2006-present. Bicycle Cargo. Chapter 2: Bike Trailers. A couple of weeks ago we started out on what we naively thought to be simple task.
Firefox add ons. CHRISTMAS. My Best of Pinterest. Emergency prep. Mad World Locations, Then and Now - From the Current. Restaurant Scams* How some servers and bartenders SCAM! Dressing 40's 50's patterns,dresses,designers. Using GIMP. FOOD. PROPs. Gone too soon. TALENT at PIXAR. :( Young man with ALS shares heartbreaking response to Ice Bucket Challenge. WATCH ABOVE: You’ve likely heard about the ice bucket challenge, aimed at raising money for ALS research.
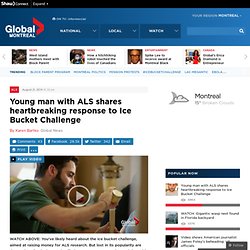
But lost in its popularity are the stories of pain, loss and suffering. One young man changed that with his video. Shirlee Engel reports. EDMONTON – In recent weeks it seems everyone and their dog has taken up the ALS Ice Bucket Challenge. How to Write the Perfect Thank You Letter After Your Job Interview. 34inShare109 Think about your last job interview.
Did you send a follow-up note afterward? The thank you letter is an overlooked part of the interview process, likely because it comes after what people think is the most important part of the job search: the application and the interview. But underestimating the value of a well-written thank you letter could jeopardize all the hard work you put into the resume, application and interview. (Click here to tweet this thought.) BRA FITTING 101.
Hodge Podge. Boutique Displays and Visual Merchandising by boutiquewindow on Pinterest. Postcard Inn Beach Resort & Marina at Holiday Isle - Resort Reviews, Deals - Islamorada, Florida. Introduction to Surface Design: Creating and Mixing Patterns. Coastal Gardening in Southern California. Cheese Fondue Recipe : Tyler Florence. Anthony Bourdain's Life Advice.
What’s the one adventure, journey, or trip that most changed your life—like before you were famous I would guess.My first trip to Japan — a couple of years before Kitchen Confidential — was absolutely life changing.
It was like my first acid trip. It was that mind-expanding and climcatic. I came back thinking about everything in a completely different way. I went there thinking there were a certain amount of primary colors. I came back knowing, in fact, there were 10 or 12 more. What’s the best advice you ever received from anyone? Anthony Bourdain Has Become The Future Of Cable News, And He Couldn't Care Less. "Ready to eat well?
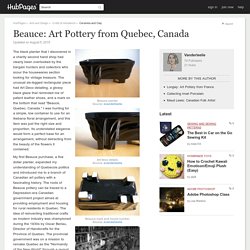
" asks Anthony Bourdain. The chef turned TV star is leading the way toward a pair of narrow seats at the New York outpost of a Michelin-rated Tokyo yakitori joint called Tori Shin, a tightly packed establishment that's Bourdain's kind of place: little-known, deeply authentic, and a bit unusual. Beauce: Art Pottery from Quebec, Canada. The black planter that I discovered in a charity second hand shop had clearly been overlooked by the bargain hunters and collectors who scour the housewares section looking for vintage treasure.
TicTrac is a Great Personal Data Aggregation Dashboard and Reporting Service. The idea of aggregating data from disparate sources is a common issue on the internet and the search for doing this with social services was the impetus for this blog.
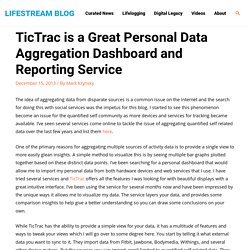
I started to see this phenomenon become an issue for the quantified self community as more devices and services for tracking became available. I’ve seen several services come online to tackle the issue of aggregating quantified self related data over the last few years and list them here. One of the primary reasons for aggregating multiple sources of activity data is to provide a single view to more easily glean insights. A simple method to visualize this is by seeing multiple bar graphs plotted together based on these distinct data points.
Featured Images of the Week. Your Pocket Concierge. Instagram viewers. Welcome to Open Library (Open Library)