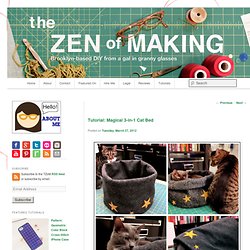

Quilt-ish. Wallet-ish (& other in-purse items) Household. Wearables (including totes) Small bags + pouches. Jewelry. Flowers. Make a Big Ironing Board. Magical 3-in-1 Cat Bed. Simon and Pixel, my two wonderful kitties, are convinced that my worktable is the very best spot for napping.

So, to give them a comfy place where they can still be close, yet well out of harm’s way, I designed this simple, compact 3-in-1 cat bed for my desk. Even my furry snobs—who prefer cardboard boxes and freshly washed laundry to plush cushions any day—couldn’t wait to snuggle in. Now, several days out, I can happily report that the kitties are still in love with their new bed, and I couldn’t be more pleased. Since I know that finding a cat bed that persnickety kitties will actually use qualifies as a minor miracle, let’s get right down to the project. This tutorial will show you how to make a cat bed that can be used in three different ways, so you’ll always be ready to accommodate even the most finicky feline.
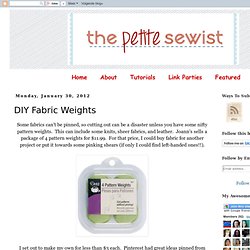
Supplies:* 2 yards of 36” wide craft felt. Step 1Using fabric scissors, cut out two 13” circles out of craft felt for the bottom of the cat bed. Step 12You’re done! 1. 2. DIY Fabric Weights. Some fabrics can't be pinned, so cutting out can be a disaster unless you have some nifty pattern weights.

This can include some knits, sheer fabrics, and leather. Joann's sells a package of 4 pattern weights for $11.99. For that price, I could buy fabric for another project or put it towards some pinking shears (if only I could find left-handed ones!!). I set out to make my own for less than $3 each. Pinterest had great ideas pinned from other sewers, so the tutorial below is not my idea, but it's a good one!
I bought the heaviest washers I could find at my local hardware store. I used a glue gun to stack the washers. I've seen these wrapped in ribbon, but I found an even thriftier idea of using fabric scraps to cover them. And here are my wonderful DIY pattern weights! Handmade Labels. Labels are always an after thought when it comes to creating, you use it to tell which way is which or the size but after stumbling upon a homemade dress at the thrift store and noticing no tag I realized that a tag can be used as a signature, years from now when I'm out of my black and white chevron phase hopefully someone will know that whoever this Tangible Artiste is, they put a lot of work and thought into this specific item and will take better care of it because it's handmade.
Want to make your own labels, here is the easiest way EVER! Pour white vinegar into a baking pan and soak your labels for 5 minutes (this will make it color fast)Let dry since it was a nice day out I just hung it outside to dry, but since there is now snow on the ground in May you could always use a blow dryer or hang it up to dry inside.