
La Fée "petits pois" Textura quilt sampler tutorial. This is my first sampler quilt that explores texture in fabric.
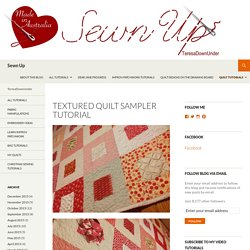
The second one is a 4-patch textured quilt. The quilt has 25 blocks. Each block is made out of a centre 5 inch square featuring some fabric texture such as pin tucks, smocking, shirring and the like. Then a 3 1/2 wide border encloses each centre square. The colour scheme is red and white/cream alternating reds and white/cream for the centre square and border. Some of the textures show better on plain colours than on heavily patterned fabric. FabricWorm. Puntada y Tutorial volteo: crea un Potholder Fácil. Stitch and flip quilting is a quick and easy technique for making quilt blocks.

You might sometimes hear it called the “flip and sew” method. This technique can create blocks ranging from log cabins to string blocks and even improvisational piecing. In the simplest form, stitch and flip quilt blocks are foundation-pieced blocks, meaning the top fabric is sewn onto a base fabric. The “flip” comes in when you peel the top fabric back and press the seam. You can make plenty of quilt blocks using the stitch and flip method. Flying geese blocks, like this quilt from Craftsy member Purplequilt, are one common example of stitch and flip quilting.
String blocks are popular stitch and flip quilt design, as seen in this pillow from ThursdayJune. When you stitch and flip with batting underneath, it’s called “quilt as you go.” Step 1: Cut a 4” square of fabric for the center and arrange it on point, as pictured. 作り方:16cmファスナーポーチ: うねうねごろごろ. Colcha Mundial de Ulla. Septiembre... Sewing. Pieces of Rana's Life: Prairie Points: One Fabric.
Step 1: Cutting Once you determine the size of the points you want, you will need to cut your fabric 4x wider than that.
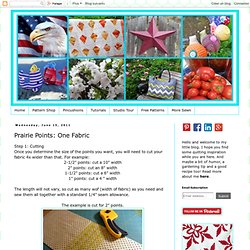
For example: 2-1/2" points: cut a 10" width 2" points: cut an 8" width 1-1/2" points: cut a 6" width 1" points: cut a 4 " width The length will not vary, so cut as many wof (width of fabric) as you need and sew them all together with a standard 1/4" seam allowance. The example is cut for 2" points. Step 2: Fold the strip in half, wrong sides together, and press to mark the fold. Step 3: Open the strip back up, and place it wrong side up on your cutting board. Continue across the entire length of your strip. Step 4: Turn the strip around (for easier cutting). Step 5: The remaining cuts will be made at the same interval as before, across the entire length of the strip. (4" in the example.) Step 6: End the same way you started, by notching out the last 1/2 cut. Step 7: Starting on one side, fold all of the points in half diagonally, and all in the SAME direction. Rainbow Windows – Version 2.
I liked Version 1 of this quilt, but I wanted to see what it would look like with a different quilting pattern.
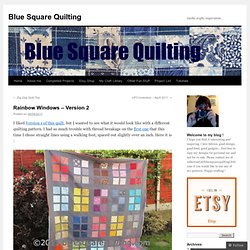
I had so much trouble with thread breakage on the first one that this time I chose straight lines using a walking foot, spaced out slightly over an inch. Here it is : I also used some matching pearl cotton to hand quilt a line around each windows. Quilts, crafts, inspiration… Ribbon Quilt Border – a quick tutorial. October 16, 2007 at 8:28 pm I had ‘snowing class’ last night and I’m so excited about the border to the courthouse steps quilt!
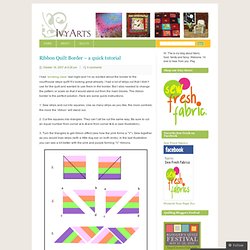
It’s looking great already. I had a lot of strips cut that I didn’t use for the quilt and wanted to use them in the border. But I also needed to change the pattern or scale so that it would stand out from the main blocks. Baby Clothes Quilt. I recently had a quilt made out of baby clothes for each of my sons.
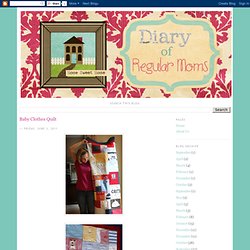
I have a hard time getting rid of things with sentimental value (and to me everything is sentimental!) , especially baby items. I can remember when I got each article of clothing and when my babies wore it. So the clothes mean alot to me. Yet, I can't really enjoy them when they are tucked away in tubs. Baby Rag Quilt Tutorial.