
5-minute skirt* Here's the 5-minute skirt how to I have been meaning to post.
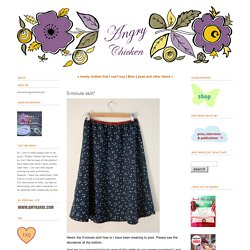
Please see the disclaimer at the bottom. And are you annoyed trying to read all this while at your sewing machine? I am! So get the PDF version right here. It's kind of a big file, just so you know. This super easy to sew skirt is 2 pieces, front and back, cut on the bias. Here's what you need: -skirt fabric (I strongly suggest a woven cotton with a wee bit of stretch. -FOE (fold over elastic) you need this for the waistband, so get at least your waist circumference. -A big ol' piece of paper to make your pattern. 1. A=your waist circumference divided by 2 plus 3" (So let's say my waist is 28", ha, that's funny.
B=A+22" (So, in my fabricated small waist example B=17"+22" which is 39") C=Your favorite skirt length. 2. 3. 4. 5. *Disclaimer: The 5 minutes only apply if you have a serger, all the supplies at the ready, and are sober. Techniques: Jeans Fly. This is how I make fly fronts on jeans, merging together methods originally learned from Betzina, Kwik Sew, and Palmer/Pletsch.
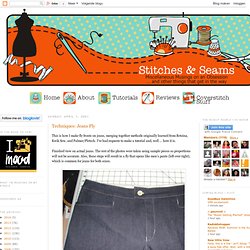
I've had requests to make a tutorial and, well … here it is. Finished view on actual jeans. The rest of the photos were taken using sample pieces so proportions will not be accurate. Also, these steps will result in a fly that opens like men's pants (left over right), which is common for jeans for both sexes. Maritime Shorts + A Variation. If you’ve been waiting for the step by step tutorial on how to sew the Maritime Shorts here it is!
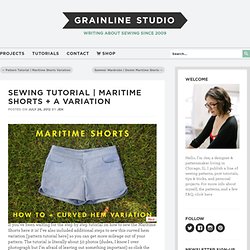
I’ve also included additional steps to sew this curved hem variation [pattern tutorial here] so you can get more mileage out of your pattern. The tutorial is literally about 50 photos (dudes, I know I over photograph but I’m afraid of leaving out something important) so click the link below to see the full post! Step 1 | Tape your pattern pages together and cut out your size, then cut out your fabric pieces. Step 2 | Sew Pocket to Pocket Lining. Trim pocket lining seam allowance to ¼” and clip around curve. Step 3 | Sew Pocket Facings to Fronts with wrong sides facing out. Step 4 | Lay the Pocket Lining on top of the Pocket Facing that you just attached to the shorts front with right sides together and sew along the curved line. Step 5 | Attach Back Pocket. Step 6 | Sew Fronts and Backs together along the side seam and inseam. Step 8 | Now to insert the fly. Урок лоскутного шитья 6. VESTIR cortinas. MK hacer y modelar .. Comentarios: LiveInternet - Russian Servicio Diarios Online.
Для работы нам понадобится плотный трикотаж,достаточно эластичный.

Материала нам понадобится больше желаемой длины платья на 30см. Берем подходящую выкройку платья .На основе переда до талии рисуем моделирующие линии(выделенные у меня красной линией).Линию плеча удлинила на 3 см,чтобы было слегка спущенным. Закрываем нагрудные вытачки. Вырезаем детали по моделирующим линиям,разрезаем вот таким образом для раздвижки деталей,чтобы получить свободу на ткани для создания драпировки. Выкраиваем детали переда,спинки . Обметывае все срезы(боковые,плечевые,горловину). Обметываем плечевые,боковые и средний шов спинки.Сшиваем и разутюживаем средний шов спинки. Скалываем и сшиваем подетально детали переда,припуски разутюживаем.Штрихами с двумя,тремя и четырьмя линиями показано,что с чем соединять.Одной полосочкой до какого уровня сшивать.
Выкраиваем обтачку спинки. Дублируем тонким трикотажным дублерином. Обметываем. Пришиваем обтачку,Подрезаем припуски обтачки ,чтобы не было дополнительного утолщения.