
Tutorial: Using AVR Studio 5 with Arduino projects. Note: This tutorial has been replaced with an updated version that covers the same topic with Atmel Studio 6.
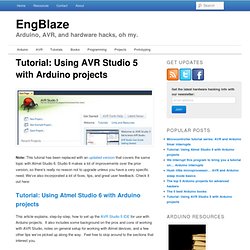
Studio 6 makes a lot of improvements over the prior version, so there’s really no reason not to upgrade unless you have a very specific need. We’ve also incorporated a lot of fixes, tips, and great user feedback. Check it out here: Tutorial: Using Atmel Studio 6 with Arduino projects This article explains, step-by-step, how to set up the AVR Studio 5 IDE for use with Arduino projects. Introduction My my, what a temperamental beast we are. The answer: well, partially.
Why should I switch? A primary use case for AVR Studio has always been to serve users that have grown out of the integrated Arduino IDE. AVR Studio is a huge step up from those limitations, but for many, making the switch cold turkey is just that: a huge step. So why not have the best of both worlds? Preparing AVR Studio and the Arduino core library First, a few preparation steps.
Compiler and linker setup Flash! Microcontroller tutorial series: AVR and Arduino timer interrupts. Does your program seem like it’s trying to do too much at once?
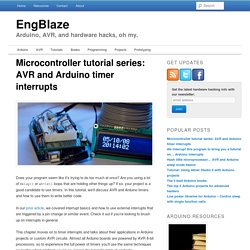
Are you using a lot of delay() or while() loops that are holding other things up? If so, your project is a good candidate to use timers. In this tutorial, we’ll discuss AVR and Arduino timers and how to use them to write better code. In our prior article, we covered interrupt basics and how to use external interrupts that are triggered by a pin change or similar event. Check it out if you’re looking to brush up on interrupts in general. This chapter moves on to timer interrupts and talks about their applications in Arduino projects or custom AVR circuits.
What is a timer? You’re probably familiar with the general concept of a timer: something used to measure a given time interval. The beauty of timers is that just like external interrupts, they run asynchronously, or independently from your main program. We interrupt this program to bring you an Arduino interrupt tutorial.
Ah yes… the wonderful and oft-misunderstood world of microcontroller interrupts.
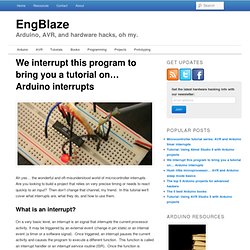
Are you looking to build a project that relies on very precise timing or needs to react quickly to an input? Then don’t change that channel, my friend. In this tutorial we’ll cover what interrupts are, what they do, and how to use them. What is an interrupt? On a very basic level, an interrupt is an signal that interrupts the current processor activity. ISR? If you’re new to the world of software development, you might wonder why all this complication is necessary just to respond to external events. You certainly can do all of these things in your main code, but interrupts give you a key advantage – they are asynchronous. Let’s use a real-world example. Instead, imagine if the package was sent Fedex or UPS with delivery confirmation. The AVR chips used in most Arduinos are not capable of parallel processing, i.e. they can’t do multiple things at once.
Types of Interrupts. Data logging with Arduino. Tom Igoe’s blog code, circuits, and construction has posted a tutorial on how to log data from your Arduino and put it into your platform or format of choice.
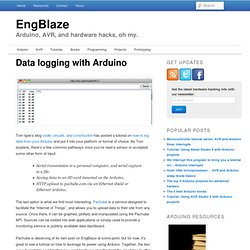
As Tom explains, there’s a few common pathways once you’ve read a sensor or accepted some other form of input: Serial transmission to a personal computer, and serial capture to a file.Saving data to an SD card mounted on the Arduino.HTTP upload to pachube.com via an Ethernet shield or Ethernet Arduino. The last option is what we find most interesting. Pachube is a service designed to facilitate the “Internet of Things”, and allows you to upload data to their site from any source. Once there, it can be graphed, plotted, and manipulated using the Pachube API. Pachube is deserving of its own post on EngBlaze at some point, but for now, it’s great to see a tutorial on how to leverage its power using Arduino. We see a lot of “ROFL MY TOILET IS TWEETING” projects around these parts. Tutorials. In our previous Atmel tutorial, we talked about how to set up the powerful AVR Studio 5 IDE to incorporate Arduino libraries and projects.
As flexible as AVR Studio 5 is, it had a few issues, and Atmel has been hard at work hustling the next major version out the door. Now, rebranded as Atmel Studio 6 (no longer just for AVRs!) , the new version promises to be better, faster, and easier to use. Here, we’ll show you the quickest way to get up and running if you want to use Arduino code with all of the new features. Note: This article explains how to set up the Atmel Studio 6 IDE for use with Arduino projects, step-by-step. A post on Embedded Lab that discusses using a CMOS camera for sensing applications caught our eye today.
By reducing the captured resolution, discarding color data, and potentially converting the pixel values to binary information, you can still receive useful input but can parse it with a low-cost, low-power processor. Source: MightyOhm via Tinkerlog.