
ShiftPWM: the easiest software PWM library for Arduino. Control many PWM outputs with only 3 Arduino pins ShiftPWM is a software PWM library for Arduino that uses shift registers to expand the number of PWM outputs.

With only 3 data pins, you can control an almost unlimited amount of PWM outputs. Because ShiftPWM is a software PWM library, it is not limited by the number of hardware PWM outputs on the Arduino. Shift registers are also a lot cheaper than dedicated hardware PWM IC’s, like the TLC5940. Easy to use The library is written to be as easy to use as possible: It provides intuitive functions like SetRGB and SetHSV to directly set an LED to a certain color. To SPI or not to SPI You can use ShiftPWM with the hardware SPI or without. Demo For a quick demonstration of ShiftPWM, see the video below. To give you an idea of how easy it is to use ShiftPWM, the movie below shows the result of this example code. Arduino: Individually Control Shift Register Pins. Earlier this year we did an article on using the 74hc595 shift register with your arduino.

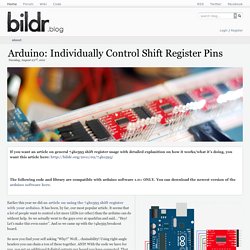
It has been, by far, our most popular article. It seems that a lot of people want to control a lot more LEDs (or other) than the arduino can do without help. So we actually went to the guys over at sparkfun and said… “Hey! Let’s make this even easier”. And so we came up with the 74hc595 breakout board. So now you find your self asking “Why?” Hooking it up At first this board may look confusing to hookup… But just click on the illustration to get a better view of how it is hooked up. You can chain as many of these as you would like. Code Because it is so much easier to use a lot of these now, we wanted the code to be the same. The library by default will only support a chain of 25 of these. To use the library, you just need to create an instance of the Shifter library, then you have a few functions to do everything.
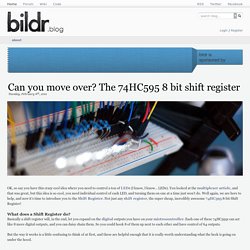
Make sure to check out the discussion area. Default Library Folder Location. Can you move over? The 74HC595 8 bit shift register. OK, so say you have this crazy cool idea where you need to control a ton of LEDs (I know, I know… LEDs).

You looked at the multiplexer article, and that was great, but this idea is so cool, you need individual control of each LED, and turning them on one at a time just won’t do. Well again, we are here to help, and now it’s time to introduce you to the Shift Register. Not just any shift register, the super cheap, incredibly awesome 74HC595 8-bit Shift Register!
What does a Shift Register do? Basically a shift register will, in the end, let you expand on the digital outputs you have on your mictrocontroller. But the way it works is a little confusing to think of at first, and these are helpful enough that it is really worth understanding what the heck is going on under the hood. You can imagine a shift register as a row of chairs. Now, every 10 seconds or so, someone rings a bell, and everyone has to get up and move one chair to the right. How does this let me control LEDs again? Code. CIRC-05 (74HC595 Shift Register) « .:oomlout:. ShiftOut. Learning Examples | Foundations | Hacking | Links Started by Carlyn Maw and Tom Igoe Nov, 06 Shifting Out & the 595 chip At sometime or another you may run out of pins on your Arduino board and need to extend it with shift registers.

This example is based on the 74HC595. The datasheet refers to the 74HC595 as an "8-bit serial-in, serial or parallel-out shift register with output latches; 3-state. " How this all works is through something called "synchronous serial communication," i.e. you can pulse one pin up and down thereby communicating a data byte to the register bit by bit. The "serial output" part of this component comes from its extra pin which can pass the serial information received from the microcontroller out again unchanged. "3 states" refers to the fact that you can set the output pins as either high, low or "high impedance. " Here is a table explaining the pin-outs adapted from the Phillip's datasheet. Example 1: One Shift Register The Circuit 1. Make the following connections: