
MANI MONDAY. Photos + post by Kristin Ess So many dots, so little time.
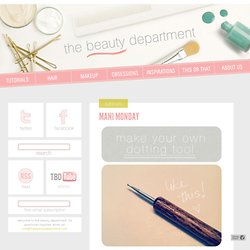
Between the nail pictures you send us + the nail tutorials seen on Pinterest, we have noticed that polka dots are a major favorite right now. Getting those perfect little circles isn’t easy unless you have the right tool– the dotting tool. You can buy them at beauty supply stores and you can find similar tools at art supply stores… or better yet, you can simply make your own using things you most likely have in your house already. Here are the steps! Get a straight pin. Here are some of our favorite dotting tool designs that we found while surfing around!
Tags: DIY, do it yourself, dot, dotting, dotting tool, how to, kristin ess, mani monday, manicure, nail dotting, nails, polka, polka dots, polkadot, polkadots, the beauty department, thebeautydepartment.com, tool, tutorial Related posts: NAILED IT! Photos + post design by Kristin Ess Who doesn’t love a soft, faded floral pattern?
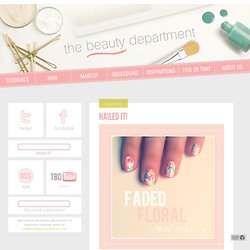
You can basically do this mani in any color combo you want– we chose a spring-y palette. Here’s how you get the look: YOU WILL NEED: Nail polish remover, 4 small paint brushes, a plate or something to put your polish drops on, a white nail polish + 3 of your favorite polish colors that look good together. Place a dot of each color on your plate. Good luck with your pretty faded florals and as always, tweet us a picture when you’re done! (Special thanks to Kimberly, our new nail intern for showing us this technique!!) Tags: DIY, faded florals, floral, floral nails, flower nails, flowers, how to, kristin ess, mani, mani monday, manicure, nail art, nail polish, nails, polish, polished, spring, the beauty department, thebeautydepartment.com, tutorial Related posts:
Tutorials - thebeautydepartment.com - page 8. We get a lot of emails asking how to use brushes correctly so I hope this helps you out a little!

A brow brush is designed to be stiff and angled for a reason. And we use the slanted edge to shade and the tip of the edge to outline. Put those components together and a brow brush is quite frankly a thing of perfection! Here’s how to use it properly: READ MORE… Last week we explored four different ways to wear Spring’s biggest Cobalt blue trend. This method has been around for centuries! A nod to the Uptown Girl, this look is very put together and polished. Highlighting Pencil — Try Too Faced Instant Attitude Highlighting Pencil.Taupe Pencil — I used Le Metier de Beaute Pencil in Champagne. Note: This is a really light nude lip so to keep it as chic as possible, add a hint of blush to the cheek so you don’t get washed out.
Silver & Gold Glitter Manicure ~ Nails for a New Year. My husband LOVES when my nails are painted and if you’re a long-time reader, you know why so doing them to share here, with you, is just an added bonus.

Sometimes I need dual motivation to succeed at certain tasks or it’s just not worth my time. But I’ll admit I’ve been loving all my fun manicures as of late. I wanted something bright and festive and fun for New Year’s Eve and didn’t want to stick to just gold or just silver so I combined the two by painting half of my nail with one and the other half, with the other. It’s similar to my glitter stripe manicures but covers the entire nail. 1.Nicole by OPI – “Make U Smile” 2.Sephora by OPI “Only Gold For Me” 3.Chanel Extreme Brilliance 4.White Nail Polish {I used Wet n’ Wild from literally 100 years ago. . * 3 coats of white nail polish. * 1 coat of chunky silver glitter on half of nail… 1 coat of chunky gold glitter on the other half. * 1 or two coats of your favorite top coat. Have Fun! Find all of my Nail Art Tutorials Here.