
Understanding Sharping in Adobe Lightroom 3. Adobe Lightroom features a wealth of editing tools for the digital photographer, and for anyone concerned about optimizing their images output, understanding the sharpening options is one of the keys to making images sing.
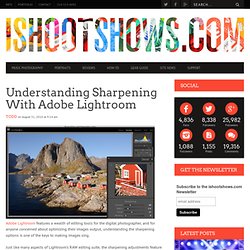
Just like many aspects of Lightroom’s RAW editing suite, the sharpening adjustments feature enough simplicity for set-it-and-forget-it batch processing while also giving the user the fine-tuning that allows individual images reach their full potential. Instead of multiple approaches to sharpening as you might kind in Photoshop, Adobe Photoshop Lightroom takes a different approach with four sliders you can use to optimize your images. Let’s take a look at sharpening a single image and how Lightroom’s Amount, Radius, Detail, and Masking sliders work. Amount Slider The Amount slider is straight forward, controlling the blunt amount of sharpening that’s applied to the image.
Amount Preview: Radius Slider Radius Preview: Detail Slider Detail Preview: Masking Slider Masking Preview: Create Stunning Black-and-White Images in Lightroom. There are many reasons why I thoroughly enjoy using Lightroom, and near the top of my list is creating black-and-white images.

Although the majority of my work is in color, I’m constantly drawn to black-and-white photography because it uniquely “ reduces, simplifies, goes deep, and gets beneath the surface,” as photographer Ryan Caldwell explains. Let’s dive into the process of how to use Lightroom to create better black-and-white images. 1 CORRECT COLOR AND TONE Before beginning the black-and-white conversion, correct the color and tone to bring the image to a “normal” starting point (and minimize later exposure problems). With your image open in Lightoom, press D to select the Develop module, then press W to choose the White Balance tool. Click on an area of the image that should be neutral. 2 QUICK CONVERSION PREVIEW How do you know if an image will look good in black and white? 3 CONVERT TO GRAYSCALE OR DESATURATE?
Lightroom Videos. Lightroom Presets. The Best Free LR Presets List. The power of presets.
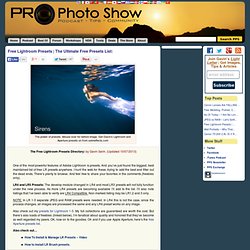
Mouse over for before image. Get Gavin’s Lightroom and Aperture presets on from seimeffects.com The Free Lightroom Presets Directory: by Gavin Seim. (Updated 10/07/2013) One of the most powerful features of Adobe Lightroom is presets. And you’ve just found the biggest, best maintained list of free LR presets anywhere. Top Free LR Preset picks… Seim Effects Free Lightroom Presets (LR4/5 Compatible). 6000+ Facebook Fans say it best – Seim Effects are the ultimate LR presets.
More Free Presets Worth Noting: These may not be large sets but they may have potential… NEW – Photography Planet Presets: Not a lot here, but they give away a few presets from their collections (LR4/5 Compatible).F/stop Spot free presets. Other Random Presets: Some of these have obscure links, some with only 1 preset. Free Lightroom Brush Presets – How To Install Brush Presets LR4 Brushes… Elegance Essentials LR4 Brushes: My own collection of brushes designed especially for LR4.
LR2-3 Brushes. Your source to free Lightroom presets. 6 new presets to “wow” your photos. I’ve been sitting here for hours now.
Playing around in Lightroom, testing and adjusting before I finally got satisfied. Photoshop have a nice feature called “Curve adjustments” where you can change the color channels (RGB) separately with a few clicks with your mouse. I really wish Lightroom had that feature built in. Anyway, I started this session by doing some curve adjustments in Photoshop. When I was satisfied I tried to accomplish the same result in Lightroom.
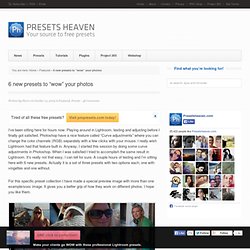
For this specific preset collection I have made a special preview image with more than one example/sooc image. Click image to view full size Free Download (230274 Downloads) Purchase PRO presets.