
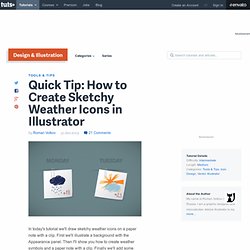
How to Create Sketchy Weather Icons in Illustrator. In today's tutorial we'll draw sketchy weather icons on a paper note with a clip.
First we'll illustrate a background with the Appearance panel. Then I'll show you how to create weather symbols and a paper note with a clip. Finally we'll add some text. Let's begin. Step 1 First of all we should draw the background. Take the Rectangle Tool (M) and draw a rectangle with the same dimensions as the Artboard. Now select this rectangle and go to the Appearance panel.
Now you have two Fills. Then select the top Fill and click a little triangle near "Fill" title and properties appears. Step 2 Create a texture. Then choose a darker color for this Fill. Go Effect > Stylize > Scribble. DeviantART: where ART meets application! Create an Iconic T-Shirt Artwork. Joshua Smith, aka maverick illustrator Hydro74, has a style that's instantly recognisable - combining the thick, clean lines of graffiti with the iconography of tattoos and the symmetry and patterns of vector art.
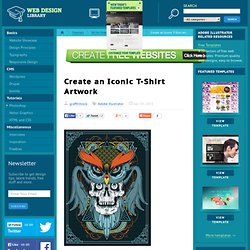
Here he takes you through how he created his latest work, based around his regular motifs of skulls and swirls mixed with this spring/summer's illustration icon, the owl. As you follow this tutorial, you'll discover lots of tricks to help you create better art and work faster in Illustrator. You'll learn how to improve your skills with line art, shading using flat fills and colour techniques for limited palettes (to keep printing costs down). Joshua says that as his techniques are more about drawing vector shapes using the Pen tools than brush strokes, you'll get better results from a mouse than a graphics tablet.
Step 1 First off, I did a really rough drawing of the head of an owl to get the piece in motion. Creating an Illustrative Monogram. Creating a Monogram Monograms are an interesting way to go about making an identity.
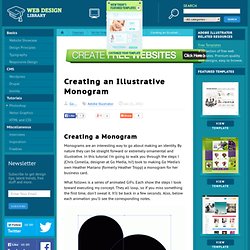
By nature they can be straight forward or extremely ornamental and illustrative. In this tutorial I'm going to walk you through the steps I (Chris Comella, designer at Go Media, hi!) Took to making Go Media's own Heather Mariano (formerly Heather Tropp) a monogram for her business card. What follows is a series of animated GIFs. How To Create a Stylish Skull Based Vector Illustration. The skull and crossed pistons mark is a popular adaption of the tradition skull and crossbones symbol and is commonly seen in motorcycle culture, amongst other.
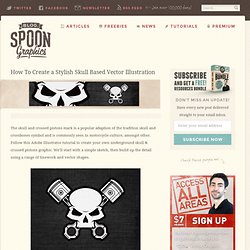
Follow this Adobe Illustrator tutorial to create your own underground skull & crossed pistons graphic. We’ll start with a simple sketch, then build up the detail using a range of linework and vector shapes. Here’s the graphic I’ve put together for this tutorial. The skull and pistons are both made up of simple linework, but with a couple of simple techniques they can really be brought to life. The final illustration would look perfect as a badge or emblem on a motorcycle helmet or the tank of a Harley. View full size skull & crossed pistons illustration. Create a Cool Ribbon Style Logo Graphic in Illustrator.
Usually a logo project would involve lots of research in order to develop a brand that reflects the company, but for this tutorial we'll focus just on the practical task of building a cool looking graphic in Illustrator.
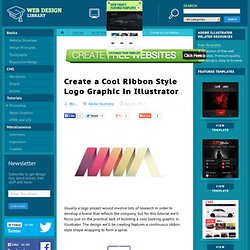
The design we'll be creating features a continuous ribbon style shape wrapping to form a spiral. Open up Adobe Illustrator and draw a long thin rectangle on the artboard. Remember, the initial dimensions that you create your logo doesn't matter seeing as we're working in vector. Unlike Photoshop the design can be scaled up and down without loss of quality. Press CMD+C to Copy then Paste in Front (CMD+F) a duplicate of the rectangle then select the top two points of the overlapping rectangle with the Direct Selection tool. Select both rectangles and hit copy, then paste in front a duplicate. Zoom right in to the document and press CMD+Y to toggle on outline mode.
How to Illustrate a Handgun Using Adobe Illustrator, Phantasm CS and VectorScribe Plugin. Final Image Preview Do you want to illustrate a handgun?
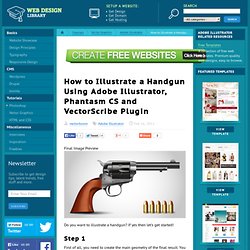
If yes then let's get started! Step 1 First of all, you need to create the main geometry of the final result. You must achieve the following picture shown below. If you know how to achieve this, do it by yourself without assistance and go immediately to Step 8. Then convert this rectangular path to the following form using the Direct Selection Tool (A) and the Convert Anchor Point Tool (Shift + C). Step 2 After that take the Ellipse Tool (L) and draw an elongated elliptical path in the lower part of the handle. Create a Skull & Crossbones Sticker Design in Illustrator. Follow this step by step guide to creating a cool little skull and crossbones sticker design in Adobe Illustrator.
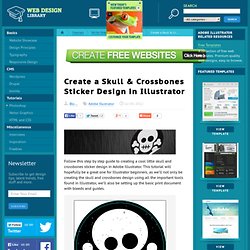
This tutorial will hopefully be a great one for Illustrator beginners, as we'll not only be creating the skull and crossbones design using all the important tools found in Illustrator, we'll also be setting up the basic print document with bleeds and guides. The skull and crossbones design we'll be designing is made up of simple vector shapes to create a cute cartoonish appearance. We'll also use some vector textures to distress the design to give it that old school aged look. The dimensions of your own sticker will all depend on the printer you're using.
My printer of choice creates stickers at 38x38mm, so with the required 1mm bleed the overall artwork size equates to 40x40mm. Retro Style Geometric Lines Poster Design Tutorial. Adobe Illustrator and vector tutorials, from beginner to advanced.