
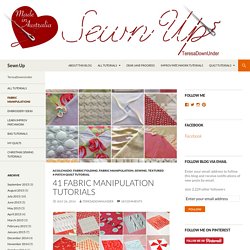
41 fabric manipulation tutorials. All 41 textures belong to two textured quilts I made: Tutorials Texture 1: Twisted pleats Texture 2: Waves Texture 3: Ribbon loops Texture 4: Rabbit ears Texture 5: Pin tucks in two colours Texture 6: Silky grooves Texture 7: faux cathedral window variation.
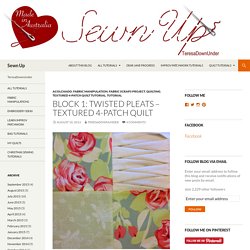
Block 1: twisted pleats – Textured 4-patch quilt. Close up.
Block 12: shell smocking – Textured 4-patch quilt. Close up Block type: 4-patch Block size: 10 1/2 inches Colour scheme: reds, greens and neutrals Texture/fabric manipulation: Canadian smocking Cut: one 6 1/4 in red squareone 6 1/4 in pale green squareone 4 1/2 in red squareone 4 1/2 in pale green squareone 9 in cream square Making the shell smocking Shell stitching diagram As you can see in the diagram, shell smocking is stitched in rows.
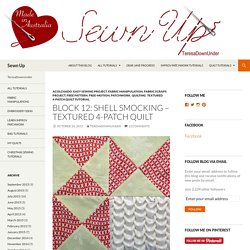
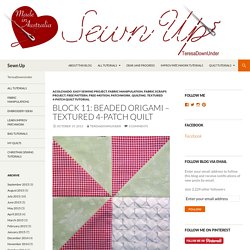
The black line implies that both points, A and B, C and D, E and F, etc are pulled and stitched together. The dotted line implies that you drag your thread from the last pulled stitch to the next stitching point, without pulling. If this is not clear, keep reading below. Get the 9 in fabric square and draw a grid with lines at 1/2 in intervals. Double stitch on the first dot, then pick up the next dot. Pull together and stitch. Now move the thread to B and stitch without pulling. Double stitch to anchor the thread on C. Repeat the previous steps with C and D, and so on. Then trim the piece to 5 1/2 inches. Block 11: beaded origami – Textured 4-patch quilt.
Close up.
Manipulating Fabric - Charlotte Sometimes.