background preloader

Detallitos y cositas

Facebook Twitter

‪Disney and Menstruation‬‏ ‪Safe Sex - tellingitlikeitis.tv [4 episodes]‬‏ ‪New Age Looping Basics by Donna Kallner unedited.wmv‬‏ Long and short stitch - Hand Embroidery Network. La Reina Madre. Embroidery tutorial: crayon tinting. Wyhaftujto.pl. Cinderberry Stitches. Time to share a little Cinderberry fun with you just in time for Easter! It's a Bunny Bunting printable - it's quick and simple to make and will look too cute hanging in your home! No stitching or needle required, just plain old paper & scissor fun. What will you need? Printer/scissors/hole puch/string and your happy face. {Download the printable from the link below} Download Bunny Bunting Step one: Download the Bunny Bunting printable from the link above and print from your home, I used 210gsm paper and printed about six pages {giving me 12 bunting rabbits} so print just what you require.

Step two: Using paper scissors {not mamma's sewing ones here folk's} carefully cut out each bunny egg shape. Step three: Take your hole punch pop a hole in each of the white spots and thread the twine through the holes as shown. So enjoy playing & I'll chat again soon Natalie xx. Hand Embroidery Network. Stitchable Gift Tags Template | Sublime Stitching. Here's a super quick embroidered gift tag tutorial for those extra special gifts. 
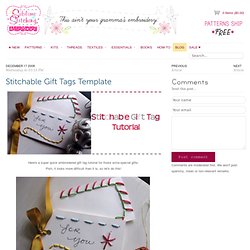
Pish, it looks more difficult than it is, so let's do this! Who: You! What: Embroidered Gift Tags When: Right now!

It'll take 30-45 minutes, tops (unless you need to get some of the supplies) Difficulty Level: Simple and Easy You'll need: *Gift Tag Template (download below) * Light-weight Cardstock (index or Bristol Board, avail at any art supply store) *Embroidery floss in festive hues *Embroidery scissors *Embroidery Needle For this project, there's a template (download below) for you to follow, but did you know that any of the Sublime Stitching transfers can also be ironed on to thick papers?

Tip: When ironing transfers on to paper, try not to press the hot iron any longer than you need to, or the paper may curl. Step 1: Download, print and cut out the tags from the attachment below. (The hole on the far left is where you can use a paper-punch for the ribbon to attach your tag) Step 4: Attach and give!