
Design a Warm, Cheerful Website Interface in Adobe Photoshop. Updated with the HTML Coding Tutorials!
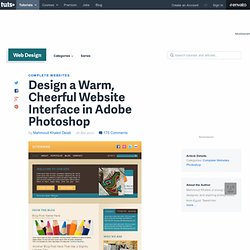
- Not long after Webdesigntuts launched, we posted this excellent tutorial that details the process of designing a warm and cheerful home page in Photoshop. After high demand, we’ve started taking that completed design and we're converting it into a standards-compliant HTML and CSS web page! Along the way, we’ll review a variety of nifty techniques that will help you to improve your own workflow. Even better, when Nettuts hits 80,000 RSS subscribers, Jeffrey has agreed to take things even further and convert the finished product into a custom WordPress theme. Check out our progress below. The PSD to HTML Coding Tutorials Jeffrey Way has produced some spectacular coding tutorials at our sister site Nettuts on converting this design from PSD to HTML, so do yourself a favor and check them out once you've completed the design portion! Create a Modern Lab Theme Web Design in Photoshop. In this web design tutorial I will show you how to create a web layout with a sleek and modern look using Adobe Photoshop.
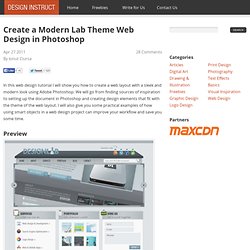
We will go from finding sources of inspiration to setting up the document in Photoshop and creating design elements that fit with the theme of the web layout. I will also give you some practical examples of how using smart objects in a web design project can improve your workflow and save you some time. Preview Tutorial Resources Update: Free Download of This Tutorial Now Available. How To Build a Stylish Portfolio Web Design Concept. This tutorial covers part one of a multi-part series where we’ll go through the process of building a stylish design portfolio website.
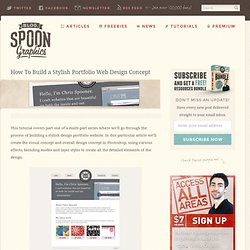
In this particular article we’ll create the visual concept and overall design concept in Photoshop, using various effects, blending modes and layer styles to create all the detailed elements of the design. The website we’ll be creating features a nice and clean layout and makes use of a contrasting header area to draw in the user. Otherwise the concept is styled with large typography and subtle details on the interface elements. Learn To Create A Clean Style Portfolio Layout. In this detailed tutorial I’ll be walking you through the process of create a clean style portfolio layout.
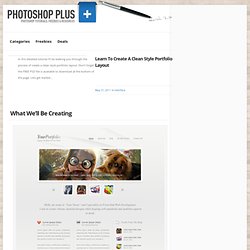
Don’t forget the FREE PSD file is available to download at the bottom of the page. Lets get started… Creating a Professional Business Layout Using Photoshop. Well, for this tutorial we’ll be recreating a simple and professional website design, a business-themed website template, to be exact!
By the end of this Photoshop tutorial you will know how to create a professional business layout. 1. Document & Background. Graphic Design Studio Web Layout. April 2nd, 2007 by ART-D Posted in Adobe Photoshop, Web Layout A simple and professional design studio layout.

Create a new file with 766×700 dpi and select the Rectangle Tool (U) to represent the background of the picture to be next: Blending Options-Gradient Overlay Gradient’s parameters: Select the Pen Tool (P) to represent twenty rays, having a triangle shape. All of them have the same parameters:Blending Options-Color Overlay. Glossy-Style Carbon Fibre Navigation Buttons. Welcome to PhotoshopStar.com!
If you find this site useful, you might want to subscribe to our free newsletter for updates on our new Photoshop Tutorials and Articles. I really love this kind of style, so I thought just I’d share another tutorial with you guys (and girls, of course) on how to design something like what I’ve shown below, a kind of glossy, carbon fiber navigation set 1. Grungy Background Creation I know this navigation set will most likely be going on a clan website design or something like that, but I really love designing really cool, grungy backgrounds for my tutorials anyway, so if you would like to learn how to design the background I’ve shown in the image below, continue with this step, if not you can just skip to the next step.
Start by creating a new document in Photoshop – I used a small document size of 400 x 400 pixels (as usual), but you may want to use something a bit bigger, as it’s always a good thing having plenty of space to work with. 2. 3. Looking good. Modern Portfolio Layout Photoshop Tutorial. Sound System Studio Web Layout. June 22nd, 2007 by ART-D Posted in Adobe Photoshop, Web Layout In this tutorial you will learn how to create a nice looking layout.
Firstly we need to open a new file (File>New) of 800×800. The first layer will represent the site’s background. After that we need to select the Rectangle Tool (U) and use it on the entire page. Set the here shown parameters of Blending Options> Gradient Overlay>Gradient Editor We must get the same result as it is demonstrated next picture: Take now the Rounded Rectangle Tool (U) and represent an element like that one from below, placed in the middle of the picture. Fill 0% on the right side on the layers’ palette, for our picture to get a transparent gradient.
Set next parameters in the Blending Options> Gradient Overlay Select Blending Options> Gradient Overlay>Gradient Editor and choose here Presets transparent gradient’s type. We should get that: Continue by working with the next element. Portoflio Layout Photoshop Tutorial. Business Web Page. September 20th, 2007 by ART-D Posted in Adobe Photoshop, Web Layout In this detailed tutorial you will learn how to create a web layout for your business.
Create a new file (File>New) with 780×700 px and 72 dpi. Create a new layer and select the Rectangular Marquee Tool (M) to mark out the necessary zone and take the Paint Bucket Tool (G) to paint the marked zone in black color. Next use the Elliptical Marquee Tool (M) (on the same layer) to mark out the zone as it is shown on the picture and press Delete button. This operation must be done five times. Make a copy of the recently made layer and place it under the original layer of black color on the layers palette. Show again the previous layer. Select now the Brush Tool (B) of standard type. Stylish Web Layout Photoshop Tutorial.