

Rectangular Glassy Logo - Photoshop Graphic Design Tutorial 18. In Category: Intermediate Photoshop Tutorials I was lurking around the web for graphic design inspiration, and saw a rectangular glassy logo web design concept on Monster Templates, so I decided, “Hey, why not make a Photoshop tutorial?”
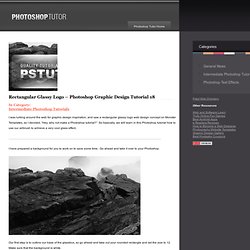
So basically, we will learn in this Photoshop tutorial how to use our airbrush to achieve a very cool glass effect. I have prepared a background for you to work on to save some time. Go ahead and take it over to your Photoshop. Our first step is to outline our base of the glassbox, so go ahead and take out your rounded rectangle and set the size to 12. Drop the opacity of our current outline down to eight percent. It’s barely visible now and that’s good.
So now after airbrushing off the tip, you should have something along the lines of this: Duplicate the following layer. Photoshop Darkness Logo Tutorial. This tutorial will show you how to create a great looking dark logo using Adobe Photoshop.
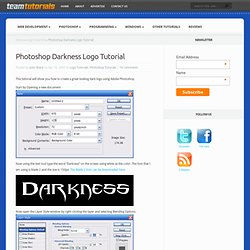
Start by Opening a new document Now using the text tool type the word “Darkness” on the screen using white as the color. The font that I am using is blade 2 and the size is 150px. The Blade 2 font can be downloaded here. Now open the Layer Style window by right clicking the layer and selecting Blending Options. Now apply an Outer Glow with the following settings. Create beautiful glowing flowers - 31 January 2011 - Poetry, Writings, Art, Design. I made this tutorial from a request though i did not mean to write this time .
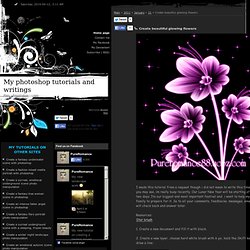
As you may see, im really busy recently. Our Lunar New Year will be starting after two days. Its our biggest and most important festival and i want to help my family to prepare for it. So to all your comments, feedbacks, messages, emails, i will check back and answer later. Resources: Star brush. How to Use Blending Modes in Photoshop. » Creating a Retro Logo - Photoshop Tutorials. Hi all, and welcome!
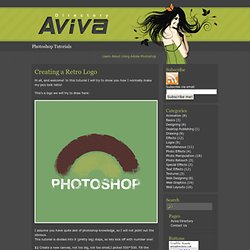
In this tuturial I will try to show you how I normally make my pics look retro! This’s a logo we will try to draw here: I assume you have quite alot of photoshop knowledge, so I will not point out the obvious. This tutorial is divided into 9 (pretty big) steps, so lets kick off with number one! 1) Create a new canvas, not too big, not too small,I picked 500*500. 2) In this step I am going to show you how I normally pick colors. 3) Select 2 colors the way I described above, making it your primary and secondary color. 4) Now, rasterize all layers, and control-click the top layer, so you select its contents. 5) Delete the smallest circle-layer, it has now become useless, scale the small circle down a bit, while holding shift and alt. 7) Now, we have an arch, but it still looks a bit dull, dont you think ?
A Beginner’s Guide to Photoshop Masks – Part One. A Beginner’s Guide to Photoshop Masks – Part One Recently I have received many emails and comments about the use of Layer Mask techniques in Photoshop.
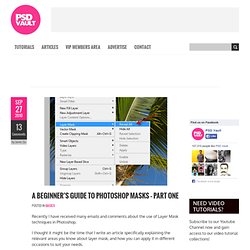
I thought it might be the time that I write an article specifically explaining the relevant areas you know about layer mask, and how you can apply it in different occasions to suit your needs. In Part One of this Beginner’s Guide to Photoshop Masks, I will show you some basic information about masks and simple way of adding, deleting and painting on layer mask. Create Eye-Catching text effect « PSDartist.
Usign this tutorial you will learn to create eye-catching text effect using a few filters and layer styles. Tutorial Details Program: Adobe PhotoshopVersion: CS5Difficulty: EasyEstimated Completion Time: 20 minutes This is what we will be creating with this tutorial: Step 1. Start of with a new document. Choose any background you want. Step 2. Add your layer styles to the text: Multimedia Business Logo- Photoshop Tutorials- Depiction. Tutorials > Photoshop > Multimedia Business Logo Learn how to create a glossy and professional logo for a multimedia business website. 1.
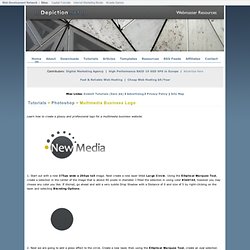
Start out with a new 375px wide x 200px tall image. Next create a new layer titled Large Circle. Using the Elliptical Marquee Tool, create a selection in the center of the image that is aboiut 90 pixels in diameter. Making the ATI LOGO photoshop tutorial. Check out these examples of logo design for inspiration and implement your branding through social media . Hallo and welcome in making the ATI LOGO tutorial. Photoshop Bubble Effect - Logo Tutorial. 1.
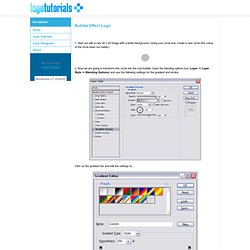
Start out with a new 40 x 40 image with a white background. Using your circle tool, create a new circle (the colour of the circle does not matter). 2. Now we are going to transform this circle into the cool bubble. Open the blending options box (Layer -> Layer Style -> Blending Options) and use the following settings for the gradient and stroke: Click on the gradient bar and edit the settings to... Create Your Own Social Icon Stickers. In this tutorial I will run you through some simple steps to create some social networking icon stickers you can use on a website or any other project you want to use them for.
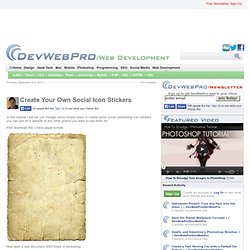
First download this crinkle paper texture Now open a new document 300X300px in photoshop Create a new layer and choose your ellipse shape tool. Now create a circle in the middle of the canvas any color you want. Now I am going to make it a bluish color, similar to the twitter color blue. Go to color overlay and type in the color #33ccff Once you made that blue open your crinkle paper image. Now drag it into your canvas above your circle. Once you drag that in, turn the opacity of the crinkle paper down to about 65% so you can see the blue circle behind it.
After you figure out what part you want on your sticker turn the opacity back down. If you do that correctly you will see a selection made in the shape of your circle layer. After that set the layer to overlay.