

Easy No Sew Fleece Blanket Edging. What a week I have had – some good and some not so good.
How about I start with the good. I think I mentioned the Joann’s fabric store in Grand Island, NE. is having a liquidation sale as they are opening a new store in another location in town and I guess they are not moving any of the merchandise from the old store to the new one so they have had very good sales going on. I purchased the anti-pill fleece in 2 yard segments to make single layer throws for my daughters, sons in law and grand children – 8 in all. DIY: How To Make Tiny Pom Poms With A Fork! Tiny pom pom's.
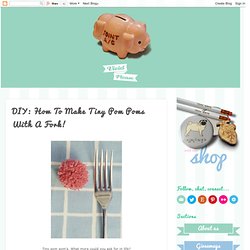
What more could you ask for in life? This week we thought we would show you how to make these adorable little balls of happiness with just a fork and some wool. Cute, basic and ready to be glued onto everything; now that is my kind of tutorial! Itching to get started? Ok, lets go: Tutorial: Invisible Seams, The Hidden Stitch. To close up a seam without showing any stitches you can use the hidden stitch, sometimes it is also called a ladder stitch.
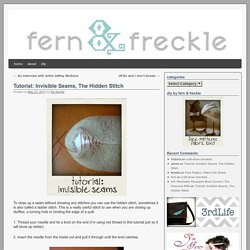
This is a really useful stitch to use when you are closing up stuffies, a turning hole or binding the edge of a quilt. 1. Handy Reference Cards for Knitters and Crocheters « The C Side. Check out the latest version here Every time I come across a pattern that calls for a needle or a hook thats size is not given in metric I have to go ask Google what size that is.
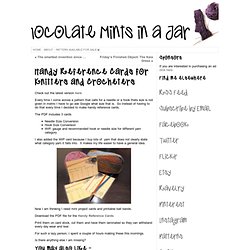
So instead of having to do that every time I decided to make handy reference cards. The PDF includes 3 cards Needle Size ConversionHook Size ConversionWIP, gauge and recommended hook or needle size for different yarn category. Embroidery basics: stem and split stitches. Last time, I showed you two of my favorite stitches, and this week, we have two of my least favorites.
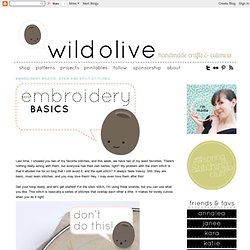
There's nothing really wrong with them, but everyone has their own tastes, right? My problem with the stem stitch is that it alluded me for so long that I still avoid it, and the split stitch? It always feels messy. Still, they are basic, must learn stitches, and you may love them! Hey, I may even love them after this! Get your hoop ready, and let's get started! As someone who likes the stabbing method (see this previous lesson), I'm tempted to take a single stitch, come up from the back just behind the end of my first stitch, and continue on. Instead, use the sewing method with the fabric a little loose in the hoop.
Pull the floss through (not too tight!) Continue along the line, and it looks like this! Handmade Fabric Deco Tape ▽▼▽ My Poppet. The Zen of Making: Tutorial: Sewable Shrink Plastic Buttons. Did you know that you can make your own custom plastic buttons for just about any project, any time you need them, and for super cheap?
Testing a Theory... ...a theory on inkjet printers, lettering transfers, and washability...
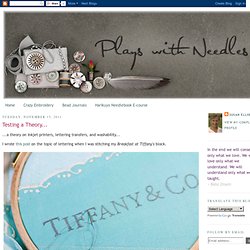
I wrote this post on the topic of lettering when I was stitching my Breakfast at Tiffany's block. In that post, I mentioned this class that I had taken with Canby Robertson; a needleartist, teacher and designer who also happens to be a member of my local Embroiderer's Guild Chapter. While taking Canby's lettering class, she made the comment that she had discovered that she could effectively transfer lettering to fabric using her inkjet printer AND that she had also discovered a way that the lettering would wash out. She had found that when she printed out in full black, the transfer did not wash out. However, when she printed out in grayscale, the transfer DID wash out. Www.decoratingandcookingforchristmas.com. Making paper beads and using them for Christmas crafts is real fun!
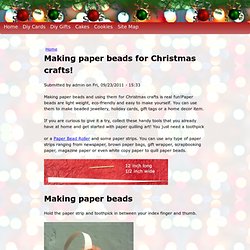
Paper beads are light weight, eco-friendly and easy to make yourself. You can use them to make beaded jewellery, holiday cards, gift tags or a home decor item. Salley Mavor. The last part of the animated title sequence in the Rabbitat film (which just hit 2001 views!)
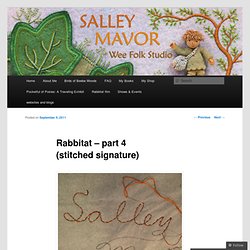
Includes this stitched signature. We wanted my name to appear below the title made of found objects, so I wrote the script out in a simple line of stitches. On tissue paper, I wrote out my name in pen and then pinned the paper to a stretched piece of black felt. I then stitched through the paper, tracing the lines with orange Perle cotton, making one continuous line.
Removing the paper afterwards was a tedious mess. We stabilized the camera by strapping it to a stack of books. Cinderberry Stitches: Transferring designs on felt? One thing I have often wondered in the past is how to transfer stitching and embroidery designs to felt or those difficult fabrics that are too heavy to see through with a light box.
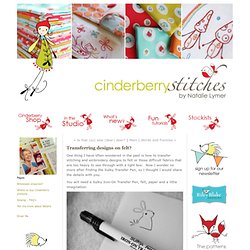
Now I wonder no more after finding the Sulky Transfer Pen, so I thought I would share the details with you. You will need a Sulky Iron-On Transfer Pen, felt, paper and a little imagination. Draw your design onto plain paper, the design will be reversed when printed on the fabric so just keep this in mind. Place the drawing onto your felt (right side down) and press lightly. Lift the edge of the paper to check the transfer and you are done. The nib of the pen is quite thick so you have to be light handed when drawing if you like fine lines to stitch over but it does open up quite a lots of options for design and fabric choice. If you are wondering, this is the pen I used when making my army of toadstools - it was a blessing, making cutting dozens of pattern pieces a breeze. And don't forget the kids! Till then, Pleat week guest! - delia from delia creates.