
Teeny Tiny Leather Spell Book Tutorial. Was it just me that as a kid thought that the Macbeth Witches speech went as follows: Hubble Bubble Toilet Trouble?
What a dufus hey! Ok finally got round to posting this in time for you to make a cute mini spell book for Halloween. What you'll need:Small piece of scrap Leather, the more wrinkled and aged the betterSmall scrap of Cardboard (Hard back of a notebook would do fine)1 piece of printer paperScrap of decorative Paper1 O RingGold Sharpie Pen (permanent marker)ScissorsHot Glue GunBull Dog clip/Bag clipNeedle (to punch a hole)Yellow Pages (to lean on) 1. Take one piece of printer paper (A4 if you're in the UK) cut it into 1 inch slices along the width of the paper. 2. 3. 4. 5. 6. 7. 8. 9. 10. 11. 12.
Hope this was worth the wait, an enormous 6 month pregnant belly and a grumpy Potty training Toddler has been slowing me down these days, oh and the foot is still in a cast but not for long. Set of All 3 Patterns - Simply Modest Swimwear. Save $$ by purchasing this set of all 3 patterns!
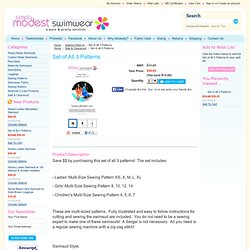
The set includes: - Ladies' Multi-Size Sewing Pattern XS, X, M, L, XL - Girls' Multi-Size Sewing Pattern 8, 10, 12, 14 - Children's Multi-Size Sewing Pattern 4, 5, 6, 7 These are multi-sized patterns. Swimsuit Style: These swimsuits have been designed for modesty, comfort and flexibility. The leggings are not attached to the swimsuit to make it easy to take on and off, and more comfortable to swim in. The bodice is lined, so there is a double layer of spandex fabric covering the entire bodice. Note: These patterns are for individual home use only and cannot be used for making swimsuits to sell. Paper Mosaic Activity Kit. Mosaic Instructions including how to grout mosaics. Side Finishing Options Once you have created your masterpiece, you will want to finish it off by doing something to the sides so that you aren't simply looking at the edge of the material you are working with.
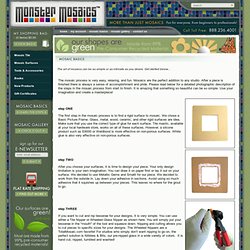
There are 4 good options to finish the sides. Adhere tile to the sides of the piece for the most professional and polished lookPaint the sides using an acrylic paint - consider using the same color as your groutIf using wood, MDF or similar, you can often pack the grout on for a textured lookIf using wood, MDF or similar, you can scrub grout on edges for a color washed look Grout InstructionsAllow adhesive to set for 24-48 hours. Add small amounts of water until you get a smooth peanut butter or toothpaste consistency. WARNING:Contains Portland Cement. How to Build an Outdoor Mud Oven for Use Now and When the SHTF. As part of a recent giveaway, one of the questions I asked was “What DIY project would you like to see featured on Backdoor Survival?”
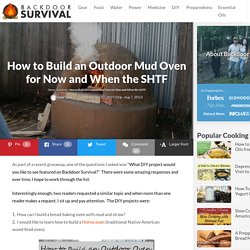
There were some amazing responses and over time, I hope to work through the list. Interestingly enough, two readers requested a similar topic and when more than one reader makes a request, I sit up and pay attention. The DIY projects were: 1. How can I build a bread-baking oven with mud and straw? As luck would have it, this is a familiar topic since awhile back, I featured an article on DIY mud ovens. For those of you that are new to the concept, outdoor Mud Ovens are common in third world countries where indoor cooking facilities are nominal and where cooking fuel consists of wood and biomass. Here is the full article: How to Build an Outdoor Mud Oven There are some things, though, that cook best in an oven. What is a Mud Oven and How Does it Work? Photo taken at the Mother Earth News Fair The Quest for A Mud Oven The very first firing went as follows.
Paper gems (+ templates) This has got to be one of my favourite projects to date…which is a good job because I nearly broke my brain putting the templates together!!

I’m not so good at maths and figuring out angles (my lovely Mum is a retired maths teacher so I should know better!). By the way this project is quite fiddly so more aimed at grown-ups or older kids. My paper gems were very influenced by these wonderful crayons (via Deborah’s Pinterest board).