

Fabric Paper Tape: A little Tutorial. I have fallen in love with all the Japanese tape that I am seeing everywhere online.
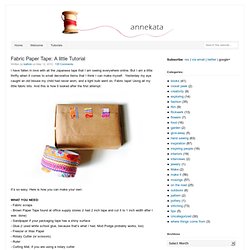
But I am a little thrifty when it comes to small decorative items that I think I can make myself. Yesterday my eye caught an old blouse my child had never worn, and a light bulb went on. Fabric tape! Mommy Cooks: Furoshiki. I've been doing a lot of crafts lately, especially fabric-related things, it seems -- don't worry, we're still eating.

I've been in a bit of a slump, cooking-wise, it seems, and anyway the weather has been so dreary for the past few weeks that photographing it would be next-to-impossible. ("No, honey, you can't eat it yet. I'm waiting for the sun to come out. ") So I spare you. TGIF: It's a wrap! Just in time for some valentine wine and dine, today we're using our fabric wrap to gift TWO bottles of wine!
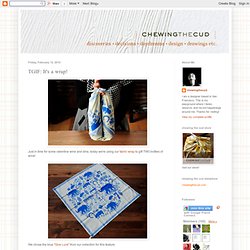
We chose the blue "Give Luck" from our collection for this feature. Lay the wrap face down.Tip: The two corners with the "give luck" message should be on either side of you.Place the two wine bottles in the middle of the wrap. Lay bottles flat with bottoms facing each other. Start rolling... ... and rolling till you reach the end of the wrap. Gather the ends and bring bottles upright. Tie a knot and spread the ends so the "Give Luck" message is visible. Voila! TGIF: It's a wrap! Happy friday lovelies!
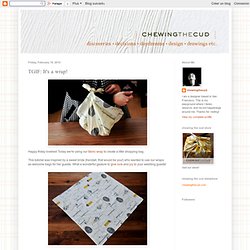
Today we're using our fabric wrap to create a little shopping bag. This tutorial was inspired by a sweet bride (Kendall, that would be you!) Who wanted to use our wraps as welcome bags for her guests. What a wonderful gesture to give luck and joy to your wedding guests! Luckily our "Give Joy" wrap is in Kendall's yellow and gray palette.Place wrap face-up on your work surface.
Fold into a triangle. Tie a knot on one side. Repeat on the opposite side. Turn the wrap inside out from the open end. Tie a third knot to create handles. Voila! DIY Cloth Wrap Tutorial. Lately I’ve been using all my fabric leftovers to make cloth wrap squares.
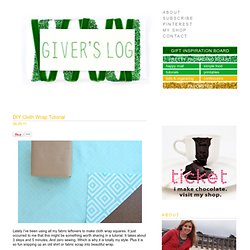
It just occurred to me that this might be something worth sharing in a tutorial. It takes about 3 steps and 5 minutes. Brooklyn Bride - Modern Wedding Blog. Everyone we know loves vintage scarves, and they can often be had at thrift stores for between $.50 and $2.
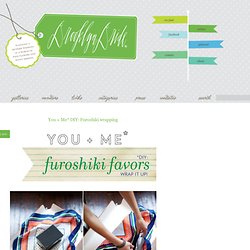
Consider adding some color to your table by wrapping your favors Japanese-style (the proper word is furoshiki) in vintage scarves. Look for scarves that are square (or have a tailor or seamstress sew the rectangular ones you find into squares). To wrap them, just place your favor in the middle of the square. Fold one corner over the box and tuck it under.
Fold the opposite corner over the box and tuck it under. [images from Angela Gaspar] Angela Gaspar and You + Me* Lifestylists are sponsors of Brooklyn Bride Leave a Comment. How to Emboss a Metal Tin. August 20th, 2008 976Email 190 users recommend Use hardware-store foil tape to create lovely embossed surfaces on ordinary candy tins.
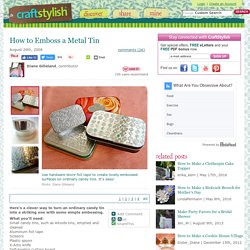
It's easy! Diane Gilleland Look in your local hardware store for aluminum foil tape. An ordinary pencil makes a great embossing tool. Photo: Diane Gilleland Here's a clever way to turn an ordinary candy tin into a striking one with some simple embossing. Techniques.