
Creative Headboard Alternatives. Last week, I shared photos of some of the custom bed canopies that I have created for clients.

Those pictures made me pause to consider some of the other fabulous headboard alternatives that I have seen and/or crafted myself through the years. Here is a picture compilation of some of my favorite unique and creative ideas. Photo from Country Living. I love this painting over the bed! Adds a special detailing to the space that seems to create the mood. TUTORIAL: DIY Felt Flowers - makeanddogirl.com. When my parents were visiting, my mom and I dropped into a fabric store “just to see if we could find any inspiration.”

(The place we went is called Quilting Adventures. Don’t you love that name? Makes me picture good-natured, rosy-cheeked grandma just having a heck of a good time sewing up a storm.) Well, who enters a place called Quilting Adventures and doesn’t find any inspiration? Not these girls. I had seen some DIY felt flowers around the internets for a while now and always wanted to try to make some. Here are the ingredients you need to get your own DIY felt flowers blooming: 1. Begin by printing the DIY_Felt_Flower_Template. Use the circle template to cut the cardboard for the back of the flower as well as the two circles of felt. Use a very small amount of hot glue to secure pleats in all the felt petals. Once you have all your petals glued, it’s time to start adhering the largest ones to the circle base.
Now it’s time to finish off the back of your pin/hair piece/etc. DIY inspiration. Washer necklaces for friends and family! *Tutorial Added at bottom of 1st post* - JEWELRY AND TRINKETS. So these took me about 45mins to make all of them, they were really easy!

The big one with the string is for my best friend for her birthday, the tie dye one is for my hippie mom and the matching ones are for my niece and her doll. The rest are going to be on hand in case I forgot anyone. I am also planing on making more since they are super fast and super cheap. Thanks for looking! **********************************************************************I have never written a tutorial before, so I hope that this one will work out. Tutorial for Washer necklace Things you need : Paper of your choice Mod Podge Glossy Accents Washer Twine to put on it when it is done. Step one: Trace washer on the paper then cut it out. Step Two:Mod Podge it by adding a layer of glue to both the washer and paper.
Step Three: Put a thick layer of Glossy Accents on the washer. Paper Flower Tutorials. Powered By Blogger Widgets | Customized By: Blogging Tips close 17,754 readers RSS feed | E-mail Search This Blog Grosgrain Archives This Blog Linked From Here The Web Paper Flower Tutorials February 1, 2012 Are you planning a wedding soon?

12 {comments}: Sangeetha said... The Ultimate Brown Paper Flooring Guide. Check out my floors in the May/June 2012 issue of Natural Home and Garden!
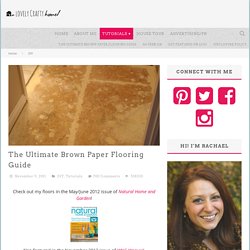
Also featured in the November 2012 issue of WNC Woman! My brown paper floors are by far my most viewed content, at the top of the list for FAQs, and seen more on Pinterest than anything else I’ve done. I think that’s kinda cool for such an easy and cheap floor solution! But I cannot take credit for this method alone, I originally saw this idea in a magazine that featured Jami from An Oregon Cottage. I changed a few things about the process to suit my tastes, but her site is also a great resource. I wanted to put all the details in one place (instead of scattered over several posts) to make it easier for you to start your project.
I also HIGHLY recommend getting a piece of scrap wood and testing the technique with your stain and poly of choice. But remember you will be working in a larger area than your sample. With that said, if you’re ready to make a change, let’s get started! Next, mix up your glue. FAQs 1. 2. 3. I Believe I Can Fry: Reconditioning & Re-Seasoning Cast Iron Cookware. I LOVE cooking with cast iron.
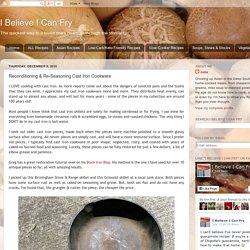
As more reports come out about the dangers of nonstick pans and the toxins that they can emit, I appreciate my cast iron cookware more and more. They distribute heat evenly, can stand up to almost any abuse, and will last for many years - some of the pieces in my collection are around 100 years old! Most people I know think that cast iron skillets are solely for making cornbread or for frying. I use mine for everything from homemade cinnamon rolls & scrambled eggs, to steaks and roasted chickens. The only thing I DON'T do in my cast iron is boil water. I seek out older cast iron pieces, made back when the pieces were machine polished to a smooth glassy surface after casting.
Greg has a great restoration tutorial over on his Black Iron Blog. I picked up this Birmingham Stove & Range skillet and this Griswold skillet at a local junk store.