
Quilts:) Kitchen:) Tips:) Summer Series - Project #2. Maybe you guys are like me, and don't actually follow tutorials at all.
I just look at the pictures and go - "yeah I think I could make that," and then give it a go. Well anyway, feel free to do just that, and completely ignore my instructions, which might not be that fab anyway. But if you do want a step by step, this is how I made the following project... The Sunbathing Companion From this: To this: Just add your sunbathing self to this pic! This project is a little more challenging than the last, though still really a beginner project (because what am I? You will need: Cut the 1st towel into the following pieces (you should have a medium sized piece left over) The instructions (sorry they're so hard to read on this one): Draw both edges together and pin - leaving 1cm(ish) between the edge of the pillow seam and your new seam, so that the towel lies flat (see the pic below for further clarification... Then sew!
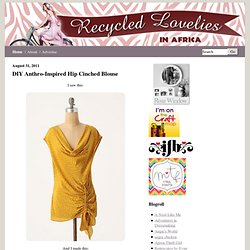
I think velcro will work much better than domes, but either would be fine... » DIY Anthro-Inspired Hip Cinched Blouse. I saw this: And I made this: All you need is: a shirt(t-shirt would even work), a piece of fabric, a ribbon, and a sewing machine. 1. find a shirt and turn it inside out. 2. lay your ribbon down, then cut a piece of fabric big enough to cover your ribbon. 3. pin the piece of fabric over the ribbon. 4. sew on the fabric, making three long stitches, between the ribbon and on each side.
Baby Gifts: Pretty Bird Binky 'Leash' & Carry Bag. Summer seems like the prefect time to pull up some projects that will make the most of all those pretty pieces in your scrap bag, bin or box.
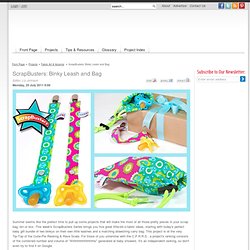
This week's ScrapBusters Series brings you five great little-bit-o-fabric ideas, starting with today's perfect baby gift bundle of two binkys on their own little leashes and a matching drawstring carry bag. This project is at the very Tip-Top of the Cutie-Pie Ranking & Rave Scale. For those of you unfamiliar with the C.P.R.R.S., a project's ranking consists of the combined number and volume of "Ahhhhhhhhhhhhhs" generated at baby showers. It's an independent ranking, so don't even try to find it on Google. Our thanks to our pals at Michael Miller Fabrics for originally providing us with this absolutely wonderful Pretty Bird from Pillow & Maxfield. Any Sewing Machine (we recommend the Janome DC2011) Supplies for TWO Binky Leashes and ONE matching Bag Binky Leash Find one 11½" x 3" piece of leash fabric.
Repeat for the second leash. Carry Bag. Potholder Tutorial - The Ribbon Retreat Blog. Hello Ribbon Retreat Readers! It’s Beverly from Flamingo Toes again! Today I’m sharing the last part of my fun series using the darling fabric Verona from Riley Blake! This cute little potholder will dress up your kitchen – it’s got my fun wonky silverware appliqued and Moonstitch Ribbon decorating the front! If you haven’t checked out the matching Apron, click here, or the matching Dishtowel, click here. Fat Quarter Bag Tutorial. This project is a really quick and easy one creating the perfect little girl-bag.
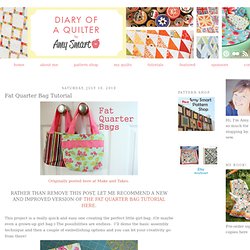
(Or maybe even a grown-up girl bag.) The possibilities are endless. I’ll demo the basic assembly technique and then a couple of embellishing options and you can let your creativity go from there! To start all you’ll need is a Fat Quarter. A Universal Shopping Cart and High Chair Cover (A Tutorial and Free Pattern Download) Burp cloth tutorial. I've had a few requests lately for my burp cloth pattern, so I decided to put together a little tutorial.
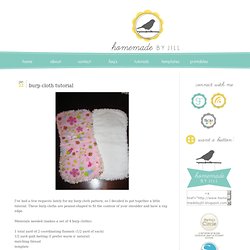
These burp cloths are peanut-shaped to fit the contour of your shoulder and have a rag edge. Materials needed (makes a set of 4 burp cloths): 1 total yard of 2 coordinating flannels (1/2 yard of each) 1/2 yard quilt batting (I prefer warm n' natural) matching thread template To print this template, right click on each image to save to your computer, and then print them as a full 8 1/2 x 11 sheet of paper. You'll need to print two copies of the end piece and one copy of the middle, cut them out, and tape them together to form a full-sized template. The assembled template should measure about 19 inches long and 9 inches wide (the burp cloths will shrink in the wash if you don't pre-wash your flannel, which I never do).
The diagram above is not to scale. 1. 2. 3. 4. 5. 6. 7. 8. I like to make large batches of these to have on hand for baby showers. I hope this tutorial is useful to you!