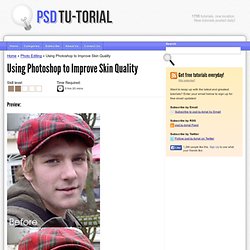

Photoshop Tutorial ›› Using Photoshop to Improve Skin Quality. Home » Photo Editing » Using Photoshop to Improve Skin Quality Skill level: Time Required: 0 hrs 20 mins Preview: Step 1: Save the image and open it up in Photoshop.

Step 2: Select the Healing Brush Tool . Step 3: Repeat the process until you're happy with the clean-up. Step 4: Next, we're going to work on the overall skin quality. And draw a selection around the face. Hold down the Alt key and draw around the eyes and lip area to remove those area from your selection. Reduce Beard Stubble In Photoshop - Photo Editing Tutorial. Written by Steve Patterson.

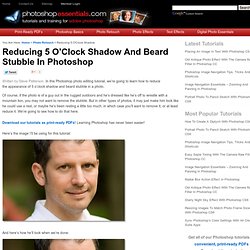
In this Photoshop photo editing tutorial, we’re going to learn how to reduce the appearance of 5 o’clock shadow and beard stubble in a photo. Of course, if the photo is of a guy out in the rugged outdoors and he’s dressed like he’s off to wrestle with a mountain lion, you may not want to remove the stubble. But in other types of photos, it may just make him look like he could use a rest, or maybe he’s been resting a little too much, in which case you’ll want to remove it, or at least reduce it. We’re going to see how to do that here. Here’s the image I’ll be using for this tutorial: And here’s how he’ll look when we’re done: Let’s get started! Step 1: Duplicate The Background Layer The first thing I always do is duplicate my Background layer so that I don’t run the risk of losing my original image information. Photoshop’s Layers palette showing the Background layer.
Press “Ctrl+J” (Win) / “Command+J” (Mac) to duplicate the Background layer. Photo Retouching - Skin Photoshop TutorialTutorial Blog. Photoshop Video Tutorial - Soften Skin with Surface Blur. Dec 08 2008 I’ve been asked by quite a few of you on how to soften skin in Photoshop . So I thought that I’d show you the steps I use to soften skin. Contrary to what many photographers use which is the Gaussian Blur filter, I prefer to use the Surface Blur filter. I actually show both techniques in this photography tutorial so that you can try both and see the results side by side. If you’re using Lightroom 2 , you can also check out my video tutorial on soften skin using the clarity brush. If you’d like more Photoshop tutorials on portrait retouching, you can view them here , here , here and here .
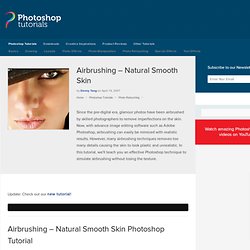
You liked this post? Photoshop Video Tutorial – Creating Mood with Gaussian Blur How to Create a Vintage Photo Look in Photoshop – Video Tutorial. Airbrushing - Natural Smooth Skin. Update: Check out our new tutorial!

Step 1 First, go to the File menu and select Open to open a photo you would like to edit. Because we will be working with fine details, it is important that the image is a high resolution so that the details of the skin can be seen. The image I used is a high resolution 10 megapixel image with plenty of skin detail. Step 2 In the next steps, we will be duplicating the layer twice and applying two filters to each of the new layers. Step 3 Now, press Ctrl+J or open Layer menu and select Duplicate to duplicate the layer.
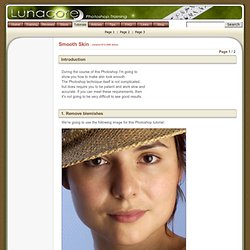
Step 4 Lets work on the Low Pass layer first. Photoshop Training - Smooth Skin tutorial (part 1/2) We're going to use the following image for this Photoshop tutorial: Download this image to your hard drive by right clicking on it and selecting (when you use Windows) Save Picture As...

The first thing we're going to do is removing blemishes in the face. In the following image I've marked which areas I considered needed a correction: The reason why we're going to remove blemishes first is because we will have better results when we soften the skin in our next step. The tool that we're going to use to remove blemishes is the Healing Brush Tool which can be found in the tool bar: Let's first add a new layer by clicking on the Create a New Layer icon in the layers palette. With the Healing Brush Tool still selected, let's look at the option bar: On the left we can see a black dot with a sharp edge; it means that the brush is going to have a hard edge (also called 100% hardness). The next option is called Source, for which we have two options; Sampled or Pattern. We are going to use Sampled.