
Gothic Cathedral Single Platform by Skimbal. RC printed Buldozer by crazytiti. It's an RC buldozer that i designed and made with an huxley reprap.
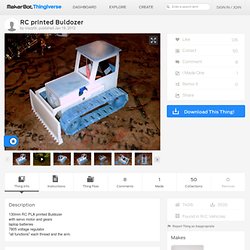
To make it you need : -2x 608 bearings, -M8 screw rod with some nuts (nylon nuts seems to fit well inside 608 bearings) - some tiny screws and washers 3 servo "9gr" and two have to be modified to become "motors" (unlink the potentiometer from the last gears and cut the block that prevent it to make complete turns) a battery pack (mine is 2 elements 3.7V 2200mAH from a laptop battery) And some voltage regulator to amke 5V for the receptor. Now for the mechanical part : Before printing make sur that you correctly positioned the part in your slicing software, some of my stl are "in the air" You will certainly need some wood fill mainly on the tank thread and the tooth of the "wheels" to make them run smoothly.
I use "acetone " (french word for the chemical that melt the PLA) to glue all the parts together The thread are assembled with paper clip See it in action :youtube.com/watch? Leaf spring frame by crazytiti. Sharpie Plane by mattkroner. MiniSkybot Robot V1.0 by obijuan. The MiniSkybot is a new mobile robot aimed for educational purposes.
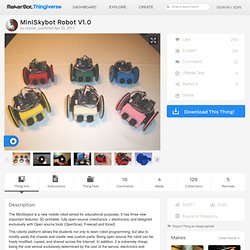
It has three new important features: 3D-printable, fully open-source (mechanics + electronics) and designed exclusively with Open source tools (OpenScad, Freecad and Kicad) This robotic platform allows the students not only to learn robot programming, but also to modify easily the chassis and create new custom parts. Being open source the robot can be freely modified, copied, and shared across the Internet.
In addition, it is extremely cheap, being the cost almost exclusively determined by the cost of the servos, electronics and sensors. This work is being done between three professors from the Robotics Lab at Carlos III University of Madrid and one part-time teacher at Universidad Autonoma the Madrid: Dr. Left Hand robot InMoov by hairygael. Screwable Jewellery Box by wizard23. Minimalistic Mk7 replacement by whosawhatsis. Orange juicer by Samuel Bernier, Project RE_ by samuel. Twisted Bottle by 2ROBOTGUY.
Hand robot InMoov by hairygael. This is a work in progress, files might change until it is finished.
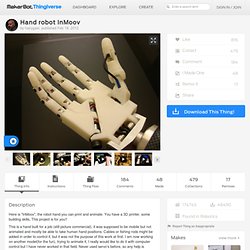
Print one of each STL files attached. I did it in ABS. Before printing read all this, since the updates are on the bottom, it might save you printing time. Find a full tuto here: Print wriargeV3, wristsmallV3,thumb4 with an infill of 30%, 3 shells, best with no support, no raft. Quadcopter/Hexacopter by hardik. EasyMaker by ipeerbhai. There are quite a lot of assembly steps to build this.
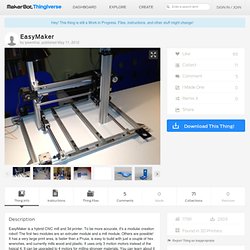
These instructions are rough at this time. EasyMaker is very easy to build -- if you get all the parts, you can figure out what goes where. I had a friend blind build one as a test, and it took him only a couple of hours to figure it out. If you put something in the wrong place, it becomes obvious that it can't work that way. 1/20 Suzuki samurai body by crazytiti. Chainmail by Zomboe. Summary: 1.
Change parameters in OpenSCAD file and export a single ring as STL, OR use included Chainmail 1x1.stl file. It uses default parameters of .25mm layer thickness and .5mm line width. 2. Use multiply plugin in skeinforge, 4x4 or 8x8 are good places to start, 16x16 will fit on a Makerbot but is more difficult 3. If you are printing raftless, the bed needs to be very flat and level 4.
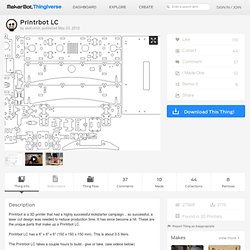
Remove from bed by scraping from edges Alternately, you can try exporting the grid as an STL first, but watch out for the travel moves between extrusions. Long version: Printrbot LC by abdrumm. Printrbot is a 3D printer that had a highly successful kickstarter campaign... so successful, a laser cut design was needed to reduce production time.
KNRLR - a tool for making knurled bolts which are actually spiky by chopmeister. Print all the parts.
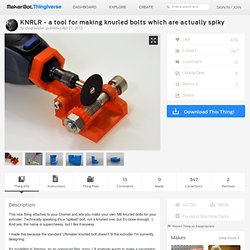
I sliced mine with Cura, 0.2 layers, 25% infill. You'll need: 2x M3x8 screws 1x M3x20 or longer screw 1x M8 nut (NOT a locking nut) Thing-O-Hoist by Thing-O-Fun. Start by printing a few copies of Drive 3.
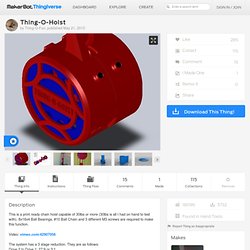
You will need to modify your print profiles to make sure that the inner area of each tooth is filled in. They need to be solid to transmit the torque required. Once you have a gear that is solid, continue printing the rest of the components. Press the bearings into the recesses in the two sideplates, the Final Drive and the pulley. Add Drive 1, Drive 3 and Final Drive to Sideplate Left. Add Drive 2 to the other side of Sideplate Left. Press ends of the load ball chain into Ball Retainer and MirrorBall Retainer. Printable electric motor by Berend. Parametric Doric Temple Building Set by elindow. Building the temple: A full set of .stl files is provided for those who haven't yet discovered the power of openSCAD.
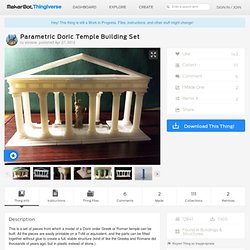
As is, these should print a large temple that completely fits/snaps together with only minor filing/sanding etc. It also should be possible to scale these pieces all to the same amount and create smaller or larger temples, though I have yet to try this. As you would expect, some detail would be lost if the pieces are scaled to a significantly smaller size.