
An Overview of iOS 6 Collection View and Flow Layout. From Techotopia The Collection View and Flow Layout have been introduced as part of iOS 6 and combine to provide a new, flexible, and some might say long overdue, way to present content to the user.

This is essentially achieved by providing a mechanism by which data driven content can be displayed in cells and the arrangement, appearance and behavior of those cells configured to meet a variety of different layout and organizational needs. Before the introduction of Collection Views and Flow Layout, the closest iOS came to providing organized data presentation involved the use of the Table View. Whilst still a powerful user interface design option, the Table View was intended to fill a very specific need and, as such, has some limitations in terms of flexibility. Table View, for example, displays data in cells arranged in a single column layout. [edit] An Overview of Collection Views Figure 48-1 Figure 48-2 As with the Table View, a collection view may be divided into multiple sections.
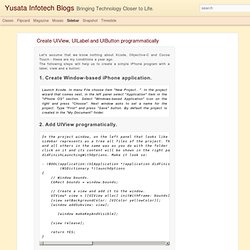
Create UIView, UILabel and UIButton programmatically. Let's assume that we know nothing about Xcode, Objective-C and Cocoa Touch - these are my conditions a year ago.

The following steps will help us to create a simple iPhone program with a label, view and a button: 1. Create Window-based iPhone application. Launch Xcode. In menu File choose item "New Project... ". 2. 3. In Xcode, in project window, in the left-up corner you can a toolbar that now, probably, contains text "Device - 4.0. 4. CGRect labelFrame = CGRectMake( 10, 40, 100, 30 ); UILabel* label = [[UILabel alloc] initWithFrame: labelFrame]; [label setText: @"My Label"]; [label setTextColor: [UIColor orangeColor]]; [view addSubview: label]; You can Build and Run the program again to check the label is on the application screen. 5. If something goes wrong, verify our working function: How to create an On/Off UISwitch programmatically. How To Published on February 17th, 2013 | by Guilherme Mogames This is one of the most easy objects to create programmatically.

The UISwitch object is that famous ON/OFF switch that you can use in your in-app settings or in some editing screen. ON/OFF UISwitch allows you to give the user the control to enable/disable functionalities, show/hide objects or even purchase to activate in-app purchases. Follow the directions below and download the source code (link at the bottom of the post) to create your own UISwitch object. Don’t want to see the whole explanation? To create a UISwitch via code you first have to: UISwitch *mySwitch = [[UISwitch alloc] initWithFrame:CGRectMake(130, 235, 0, 0)]; Instantiate and initialize the object with the single initWithFrame: method.
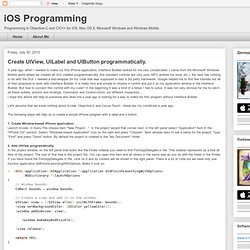
The next step is to set what action is going to be executed when the switch is used, to do that you can add the following code: [mySwitch addTarget:self action:@selector(changeSwitch:) forControlEvents:UIControlEventValueChanged]; iOS Programming: Create UIView, UILabel and UIButton programmatically. A year ago, when I needed to make my first iPhone application, Interface Builder looked for me very complicated.

I came from the Microsoft Windows Mobile world where we created all GUI created programmatically (the standard controls are very poor, MFC worked too slow, etc.). My task has nothing to do with the GUI. I needed a test-wrapper for my code that was supposed to test a 3rd party framework. Google helped me to find few tutorials but all of then proposed to work with Interface Builder. It is really nice and simple to choose a control and put it on my application window in the Interface Builder. Let's assume that we know nothing about Xcode, Objective-C and Cocoa Touch - these are my conditions a year ago. The following steps will help us to create a simple iPhone program with a label and a button: 1. 2. 3. 4. You can Build and Run the program again to check the label is on the application screen.