
(1496) Pinterest. Grand ménage naturel en 60 minutes. Shading with Wood Stain to make Artwork - Reality Daydream. Self Architecture. Pt.pinterest. How to Refinish Furniture. If you discover missing veneer, chipped wood or a damaged molding, you can fix it easily with epoxy putty.
Kevin showed us the process he uses (watch a video of him patching a piece of chipped veneer with Quickwood), and the resulting repair is so realistic that it’s hard to spot. When it’s hardened, the epoxy is light colored and about the density of wood. You can shape, sand and stain it like wood too, so it blends right in. Quickwood and KwikWood are two brands of this Tootsie Roll–shaped epoxy. You’ll find it at home centers and specialty woodworking stores for about $9 a tube.
To use this type of epoxy, you slice off a piece with a razor blade or utility knife and knead it in your gloved hand. See photo for how to replace missing veneer. Rangement mural pour atelier. Bonjourun petit tuto sur le rangement efficace des outils au mur dans un atelierj'ai trouve ca sur un site canadien que j'ai retraduit et refait pour la comprehention de tout le monde Système de rangement mural pour l'atelierDepuis un bon moment, je tenais à me faire du rangement efficace au dessus de l'établi.

Par contre, je ne voulais rien savoir des panneaux perforés (pegboard) habituels. Je voulais une solution solide, plus jolie, et qui s'adapte bien à n'importe quel outil. J'ai alors songé à me faire un système qui pourra évoluer avec les années et mes besoins. Cette solution consiste à refendre des lattes de contreplaqué pour le système mural, et implique la confection de supports en bois francs rainurés sur mesure pour chaque outil.
La première chose à concevoir est le "mur de lattes". Concernant les supports "sur mesure", il s'agit de la partie intéressante (et évolutive) de ce projet. En sommes, ce projet est une idée générale puisqu'il faut l'adapter à ses besoins. Christian. Teinter le bois naturellement - Patines bio. Stripping, Repairing, and Upholstering a French Chair, Part 1 - Shades of Blue Interiors. I decided to show a “play by play” if you will, of how to strip, repair, and reupholster a chair for the absolute beginner.
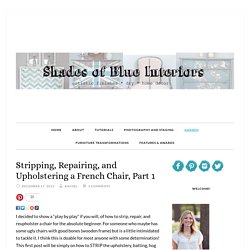
For someone who maybe has some ugly chairs with good bones (wooden frame) but is a little intimidated to tackle it. I think this is doable for most anyone with some determination! This first post will be simply on how to STRIP the upholstery, batting, hog hair (or what have you), and burlap so you are down to the bare springs.
Needle-nose Pliers Tack Puller That is all. And here is how the story begins: Once upon a time, I went to the thrift store hoping to get lucky– furniture-wise. This sat in my living room for a few weeks because I was trying to decide how much I like the dark wood frame, or if I would paint it to bring out the details. I’ve reupholstered several chairs, so I am not afraid of ripping things apart. Here is the before: So I got to ripping it out. The arms weren’t too bad… some interesting velvet was exposed… Here is what was underneath that batting: Stripping, Repairing, and Upholstering a French Chair, Part 1 - Shades of Blue Interiors.
Stripping, Repairing, and Reupholstering a French Chair, Part 3. This post will be showing how to paint (white wash) the frame, & place, cut and staple fabric onto a chair.
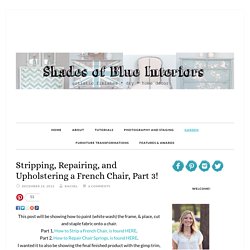
I wanted it to also be showing the final finished product with the gimp trim, glued in place, however, after I went to Joann’s and Hobby Lobby this morning, I found they were COMPLETELY out of white gimp! So on Thursday morning I will head back to Marscott Upholstery Supplies, since I noticed they had a lot of gimp trim in lots of colors. If you remember, this is where I left you, last Thursday: The chair had all the cushion and batting re-placed on the seat and I would have put it on the seat back, but it wouldn’t have stayed.
Darn gravity! Before you staple fabric into place, if you are going to paint the frame, you do it first. Stripping, Repairing, and Upholstering a French Chair, Part 2. Ready for the next step?
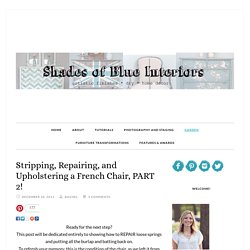
This post will be dedicated entirely to showing how to REPAIR loose springs and putting all the burlap and batting back on. For this next step you will need the following: Italian Ruby Jute Spring Twine Small Hammer (I started out using what was pictured above, but ended up buying a cheap tack hammer at Joanns for $8- after coupon) Upholstery Tacks – about 20- 1/2 inch long ones and about 50 smaller ones about 1/4 inch long (I reused ALL of mine from what was there previously) Burlap – enough to cover the size of the seat.