
Learn Adobe InDesign: Getting Started Tutorials and Lessons. Getting to know Adobe InDesign « The Web Squeeze. 25 Great Adobe InDesign Guides & Tutorials InDesign is part of the well known Adobe Creative Suite and it’s very powerful for many of us designers.
Art of Type: Changing the Rules. Lines and rules aren’t the most scintillating aspects of typography, but beneath their dull appearances lurk some interesting graphic capabilities you might not have considered.
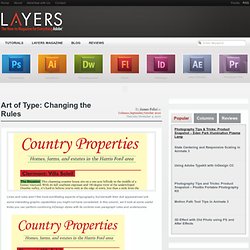
In this column, we’ll look at some useful tricks you can perform combining InDesign styles with its controls over paragraph rules and underscores. All of the color graphic elements in this example are actually rules, created automatically with a single mouse click, as part of paragraph and character styles. Striking headings The red headings in the figure here were created using a simple paragraph style. The trick is to use one paragraph rule that’s as wide as the text and so fat that the type can sit right on top of it.
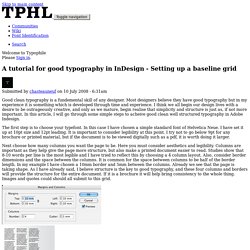
First, create a sample heading in the typeface, assigning the Leading and Font Size in the Control panel. From the list on the left side of the dialog, click on Paragraph Rules. In the Paragraph Rules section, select Rule Below from the menu and enable the Rule On checkbox. Mputer Arts - Design a portfolio magazine using InDesign. A tutorial for good typography in InDesign - Setting up a baseline grid. Good clean typography is a fundemental skill of any designer.
Most designers believe they have good typography but in my experience it is something which is developed through time and experience. I think we all begin our design lives with a desire to be outrageously creative, and only as we mature, begin realise that simplicity and structure is just as, if not more important. In this article, I will go through some simple steps to acheive good clean well structured typography in Adobe Indesign. The first step is to choose your typefont. In this case I have chosen a simple standard font of Helvetica Neue. Next choose how many columns you want the page to be. So we have set up a grid vertically, the next step will be to set up a horizontal or baseline grid, which all our text will stick to.
Start the grid at 10mm in accordance with your borders. The InDesigner. See this animation?
I know what you’re thinking…Illustrator to Flash, right? Think again. InDesign Secrets: Tutorials, Tips, Templates, Blog, Podcast, and More. InDesign. InDesign Style Sheets Tutorial. Using InDesign Style Sheets (click here for Quark Style Sheets) If you've ever formatted large amounts of text in Adobe InDesign or Quark and then had to change the font, colour, character size or leading of all of the headings or body text, you'll know how time consuming it can be.
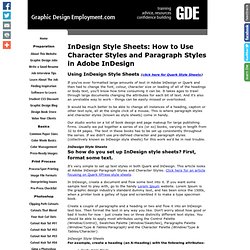
It takes ages to trawl through large documents changing the attributes for each bit of text. And it's also an unreliable way to work - things can be easily missed or overlooked. It would be much better to be able to change all instances of a heading, caption or other text syle, all at the single click of a mouse. Packaging Indesign Files for your Printing Service. Magazine Design with InDesign Part 1 of 3. As faculty advisor to a student newspaper, I’ve seen what problems university students often run into and concepts that are most useful to them when laying out a publication in InDesign.
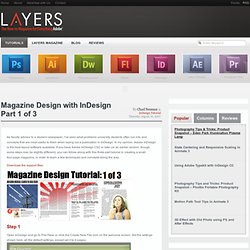
In my opinion, Adobe InDesign is the best layout software available. If you have Adobe InDesign CS2 or later (or an earlier version, though some steps may be slightly different), you can follow along with this three-part tutorial in creating a small four-page magazine, in order to learn a few techniques and concepts along the way. Download the support files. Step 1 Open InDesign and go to File>New or click the Create New File icon on the welcome screen. Step 2 Let’s set up the master pages. Step 3 In the lower-left hand corner of the left master page, click-and-drag with the Text tool to drag out a text box for the page number. Step 4 Go to Type>Insert Special Character> Auto Page Number. Getting To Grips With Adobe InDesign. Posted by Daniel in Tutorials on September 9th, 2010 with 13 Comments. Writing Effectively in InDesign Using Book. InDesign allows you to collect all documents in a Book.

Using Book, you can easily synchronize styles in every document and maintain a consistent layout throughout your project. In this tutorial, we will create a book made from 3 chapters, complete with Table of Content, Introduction, and a Cover. You will learn the concepts of InDesign, from applying styles, adding page numbers, warping text, using variables and master pages. Let's get started! Step 1: Creating the First Document. Create Numbered Tickets the Easy Way in InDesign. In this tutorial, we'll explain how to do an easy setup in InDesign for automatically numbered tickets.
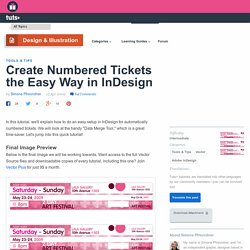
We will look at the handy "Data Merge Tool," which is a great time-saver. Let's jump into this quick tutorial! Below is the final image we will be working towards. Want access to the full Vector Source files and downloadable copies of every tutorial, including this one? Join Vector Plus for just 9$ a month. Formatting Typography and the Use of Styles in Adobe InDesign. After working for a couple agencies as an Art Director, I noticed many entry level designers and old pros alike still use InDesign very inefficiently when it comes to typography and formatting.
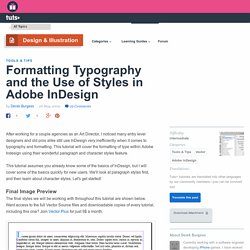
This tutorial will cover the formatting of type within Adobe Indesign using their wonderful paragraph and character styles feature. This tutorial assumes you already know some of the basics of InDesign, but I will cover some of the basics quickly for new users. We'll look at paragraph styles first, and then learn about character styles. Let's get started! The final styles we will be working with throughout this tutorial are shown below. Create a new one page document with half inch margins to begin with.
You should now have a 8.5 inch by 11 inch document with half inch margins, giving you a 7.5 inch by 10 inch live area to work with. Using the Type Tool, lets create a 7.5 inch by 10 inch type box. You have two options when it comes to creating a type box. Now onto the Indents and Spacing tab. Indesign - Table des matières.