
Acute Designs: shelves! Last week I finally got around to doing two shelving projects I have had in my head for months.
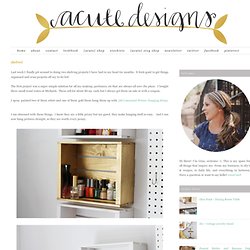
It feels good to get things organized and cross projects off my to-do list! The first project was a super simple solution for all my makeup, perfumes, etc that are always all over the place. I bought three small wood crates at Michaels. These sell for about $6.99 each but I always get them on sale or with a coupon. I spray painted two of them white and one of them gold them hung them up with 3M Command Picture Hanging Strips.
I filled each shelf with makeup, perfumes, lip glosses, nail polishes, etc. The second shelf project I tackled was a thrift store re-do and slightly more invoved than my crate shelving. How to Make a Paper Orchid. My favorite ways to use this paper orchid are on top of a gift and to clip into your hair for a tropical event.
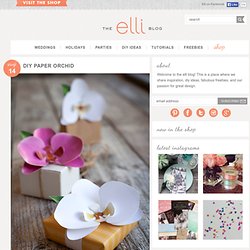
But I am guessing that you all have at least another dozen great ideas for using this ever blooming bit of bliss. Maybe napkin rings or added to a tropical centerpiece? With only 4 pieces, this is so far the easiest paper flower I have posted. So print either the bright pink or white PDF (or both) and follow the easy steps below! You can see the complete Luau Party Kit post by clicking this link.
Lia Lia is a daily crafter, maker, designer and DIYer.
Braid Your Paper. May 24, 2012 at 2:06 pm , by sbelindsay We love this great woven paper project from Lisa Storms in our August 2012 issue.
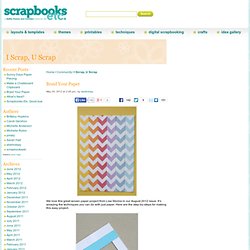
It’s amazing the techniques you can do with just paper. Here are the step-by-steps for making this easy project. Step 1: Adhere white and blue strips perpendicular onto second white strips. Step 2: Adhere second blue strip perpendicular onto perviously adhered strips, as shown. Step 3: Fold right white strip over to left side, being sure to line up with the left strips. Step 4: Repeat with the left white strip over to the right side. 52 Week Challenge: #18 DIY Coasters. I admit it, I'm a little behind with my craft challenge posts.

I had some tutorials building up, unfinished projects, and a pile of images to edit. Procrastinate much? Well I'm here to show you how to make these awesome little coasters that I made last week for my sister's birthday. Then I'll be sharing this week's diy tomorrow over at My Billie! Here's what you need: Trace squares that fit just slightly smaller than your tiles. Home made gift boxes. Dear Chicago House, I love scrap book papers but rarely use them for scrap book projects, they tend to get frame and hung within your walls like here and here.
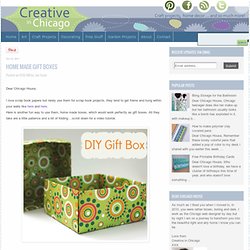
Here is another fun way to use them, home made boxes, which would work perfectly as gift boxes. All they take are a little patience and a bit of folding ...scroll down for a video tutorial.
Bags. Wednesday find: the glossy queen. Hello there, how are you doing?

To be honest i’m actually driving myself crazy and i’ll explain why! Construction work is being done on my street and they are breaking the whole road, the noise is impressive and not even the music i’m playing is doing any good! So, asides from all the heat these last days, now it’s this noise… which is great when you have so much work to do, creative work, as usual! BEADED WRAP BRACELET DIY : Trinkets in Bloom. This Beaded Wrap Bracelet DIY is a great way to reuse the beads from old necklaces or any odd beads you have lying around from other projects.

(I used at least 3 old necklaces for this bracelet.) I feel invincible, like I have Wonder Woman’s gold cuff on! This Beaded Wrap Bracelet is so fun because it feels like a gauntlet on your arm. You can adjust the wire to fit snugly or to be loose and dangle, its up to you. (diy tutorial & giveaway) upcycled izze bottle flower vase.
DIY Macrame Bracelet. Growing up by the beach in Southern California, the ability to knot a macrame bracelet was practically a right of passage.

Although those days are long behind us, we’ve never forgotten the ever-so-simple square knot technique. This time, however, we’re replacing hemp and wooden beads for more updated elements like colorful nylon cord and glossy metal charms. Happy knotting! You’ll need: Start by cutting the knotting cord into two 30 inch, two 20 inch and one 10 inch lengths. Center the 30 inch cord under the two middle strands. Pull tightly and slide the knot up to the top. Finish the 2nd half of the square knot by folding the left cord over the middle strands and under the right cord. Pull tightly and repeat the steps – left, right, left, right . . . To finish the knots, thread one of the cords onto a needle and sew up the center of 3-4 knots along the backside.
Repeat the same step on the other cord. After sewing up both knotting cords, trim away any excess.