
DIY Glow Jars Tutorial. Posted on October 19, 2011 by Christina Aren’t these glow jars sublime?

They take about two minutes to make and cost only 20 cents a piece. How’s that for an enticing DIY wedding project? These would look amazing at an evening outdoor wedding. Line walkways with them, or place them on tables. If you like this project, check out my DIY ‘glitterarium‘. DIY Glow Jars Tutorial For each glow jar you will need: a jartwo Glow Sticksscissorsrubber glovessafety glasses Disclaimer: This is a project meant to be done by an adult – not a child! Purchase Glow Sticks (I got a pack of 15 for $1.50) and dig a jar out of your cupboard. Grab two glow sticks and cut at one end. Best DIY Wedding Ever. Do-it-Yourself DIY String Wedding Lanterns Yarn Chandeliers.
Jessica of Wednesday Inc shows us how to make those gorgeous twine chandeliers from the inspiration shoot she shared with us this morning.

Using balloons, glue and twine, you can also make these lanterns for your wedding – and then bring it home and use it as your very own mid century lampshade. What you will need are: balloons, glue, yarn, tray for glue, corn starch 1/2 cup of Corn starch, 1/4 cup of Warm water, clear fast drying spray paint, hanging lamp cord or fishing line (depending on your desired final product), and a lighting kit if you’re looking for a fully functional lantern.
Jessica recommends using a sharpie to mark on the inflated balloon how much room you need to leave for the lighting cord. She also recommends coating the balloon with vaseline prior to wrapping the yarn coated with glue so it doesn’t stick on the balloon once it’s dry. You can see all the details on Jessica’s blog. Are you getting excited to try to do this at home as much I am? Instructions: 1. Ynez Tiny House on Wheels by Oregon Cottage Company. The Oregon Cottage Company built this beautiful tiny house on wheels for a client with great ideas.
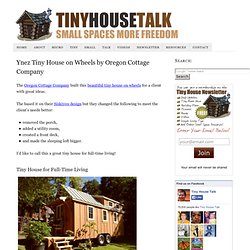
The based it on their Siskiyou design but they changed the following to meet the client’s needs better: removed the porch,added a utility room,created a front deck,and made the sleeping loft bigger. I’d like to call this a great tiny house for full-time living! Tiny House for Full-Time Living Photos by the Oregon Cottage Company This house has everything you need: bathroom with composting toilet and showerutility room with storagetwo large storage closets with washer/dryerseparate storage space for clothes But let’s take you on the rest of the tour so you can decide for yourself below: Rich the Cabin Man's Extra Long Tiny House on Wheels. Now here’s a tiny house on wheels that more folks might be open to.
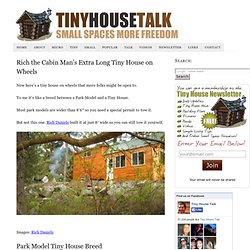
To me it’s like a breed between a Park Model and a Tiny House. Most park models are wider than 8’6″ so you need a special permit to tow it. 13 Spectacular Retro Campers, RVs, Motorhomes, & Crazy Conversions. Rustic, Modern, Reclaimed & Free: 13 DIY Pallet Projects. The lowly pallet: it’s just disposable packaging made of sub-par wood, right?
Nope – as these 13 (more!) Stunning examples of pallet furniture reuse prove beyond a splinter of a doubt. How to Make a Pallet Headboard. It only took about 5 hours of actual work, and 10 hours of stealth hunting, but it’s done. You might be thinking deer hunt, but I’m actually referring to Whitney’s master bedroom headboard pallet project. We’ve seen inspiration for pallet projects everywhere, like PB&J Stories, WebEcoist, and Ana White, and love the rustic worn look. Whitney originally put this idea into our mood board for the master bedroom, so I knew the plan was in the works, I just wasn’t prepared with the process of actually getting pallets. Of course, now that we have what we need (thanks Electrical Wholesale Supply, Sherwin Williams, and some helpful neighbors), we see them everywhere. Here’s what our driveway looked like at the beginning of this project.
We were prepared with all sorts of different formulas to give it the look we wanted, but settled on an old, mostly-used can of white latex paint that we watered down to a 1:1 ratio. Sharing with various sites, see blog party tab. Home: CHALKBOARD PAINT.